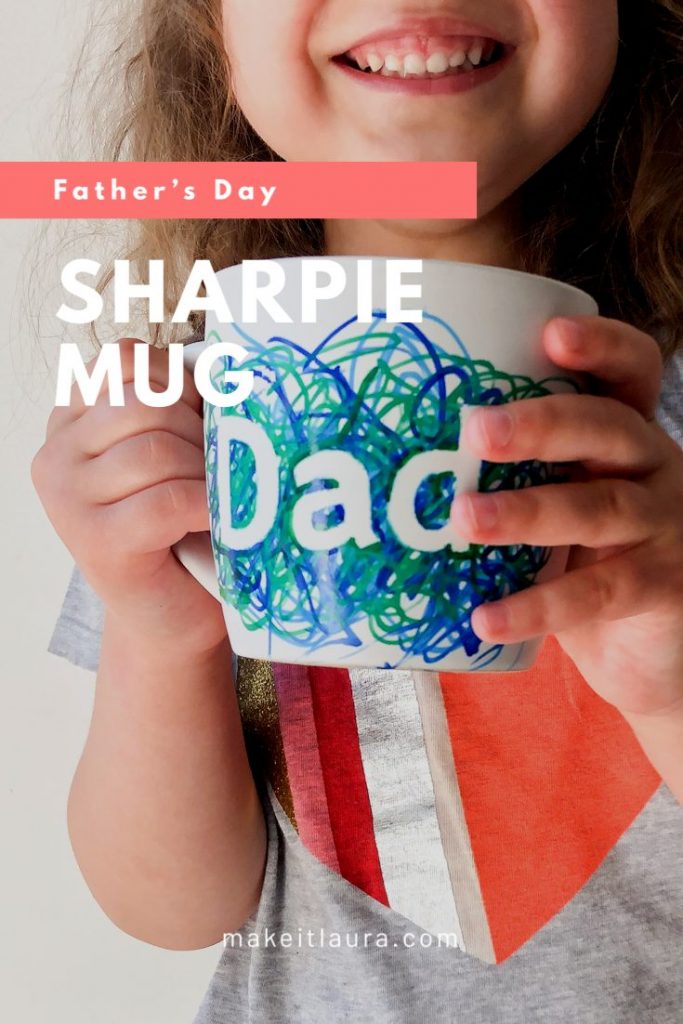
Father’s Day is right around the corner and I am so excited for my girls to give their dad a gift they helped make! This year we made DIY Sharpie mugs for Dad and Dziadzo (grandpa in Polish). These mugs are cute, practical and super customizable. My oldest helped choose the sharpie markers and both girls had turns colouring the mugs.

Here’s what you need to create your own!
- Sharpie *oil based paint markers
- alphabet stickers
- painters tape
- an inexpensive white mug
*Oil based paint markers are really important for this project. A regular sharpie marker or water based paint marker will just rub off.
Before starting, remove any labels from your mugs and wash them in warm soapy water. You want to make sure the mugs are completely clean and free from any glue or grease, which can affect how well the paint markers adhere. I read on a few blogs that the inexpensive dollar store mugs are best for this project. The paint seems to stick to them best!
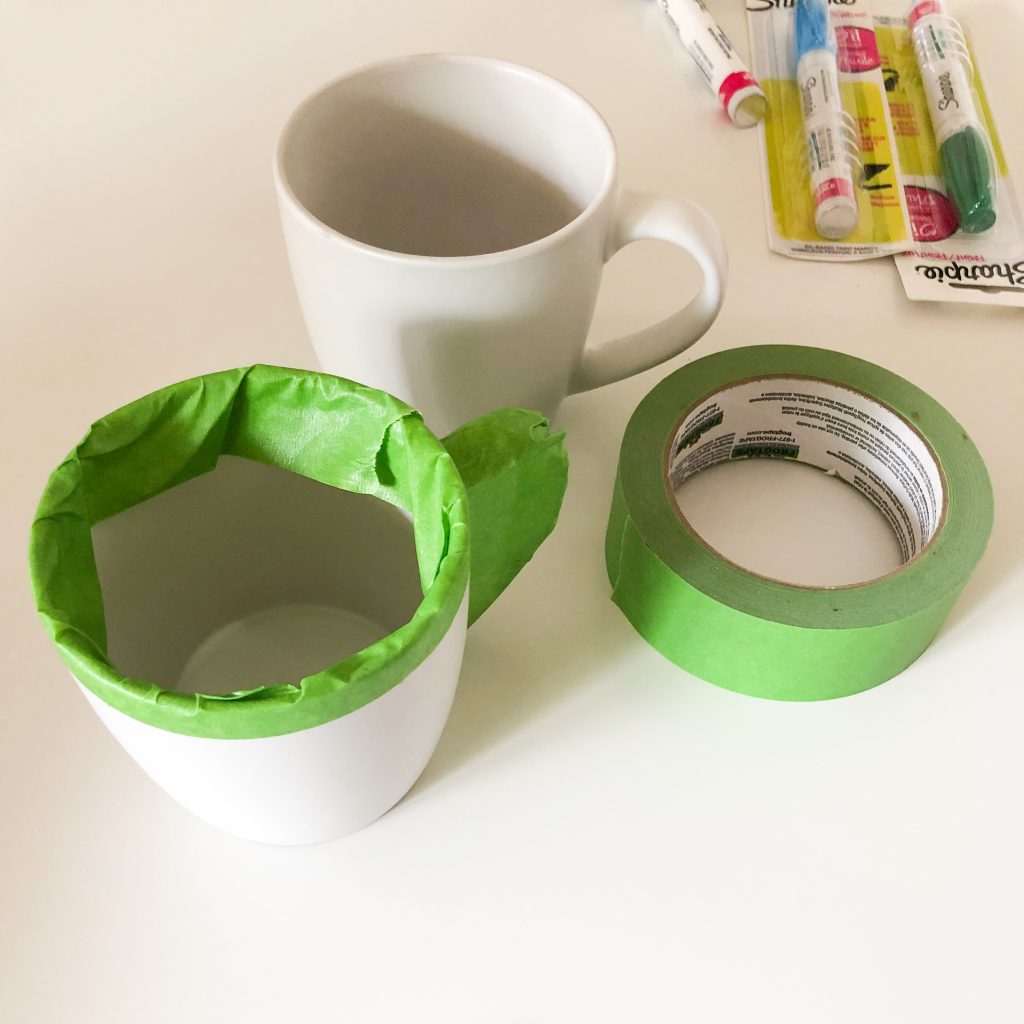
Once your mugs are clean and dry, use painters tape to block off any areas you do not want coloured. For us, I taped the handle and the rim of the mug, so that there is no risk of paint chipping off into someone’s mouth (just in case).
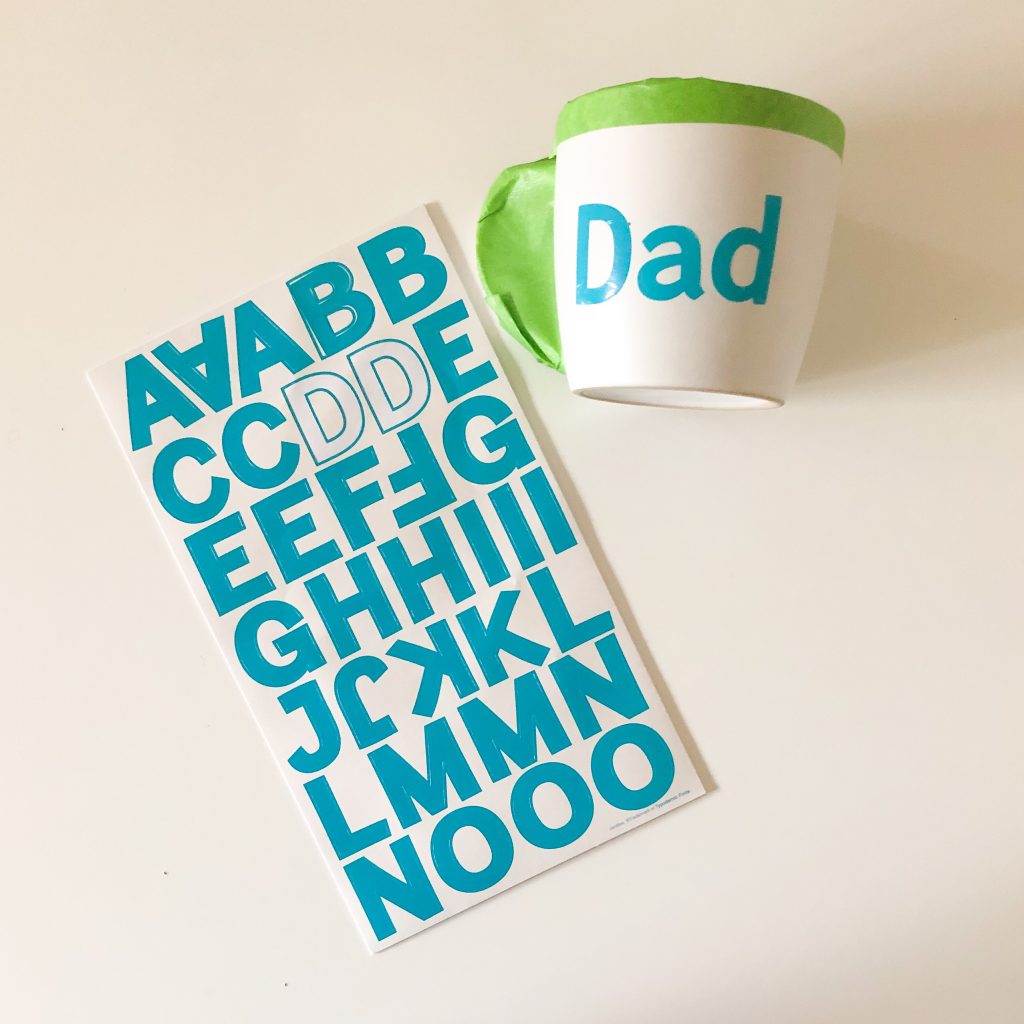
Next, use alphabet stickers to spell out the name/word you have chosen. I used some scrapbooking stickers that I had in the house which probably weren’t the best choice. They were paper which made them super hard to reposition without ripping and extremely difficult to remove afterwards. Oops. I would definitely look for vinyl or some other plastic-type stickers that would make your life easier.
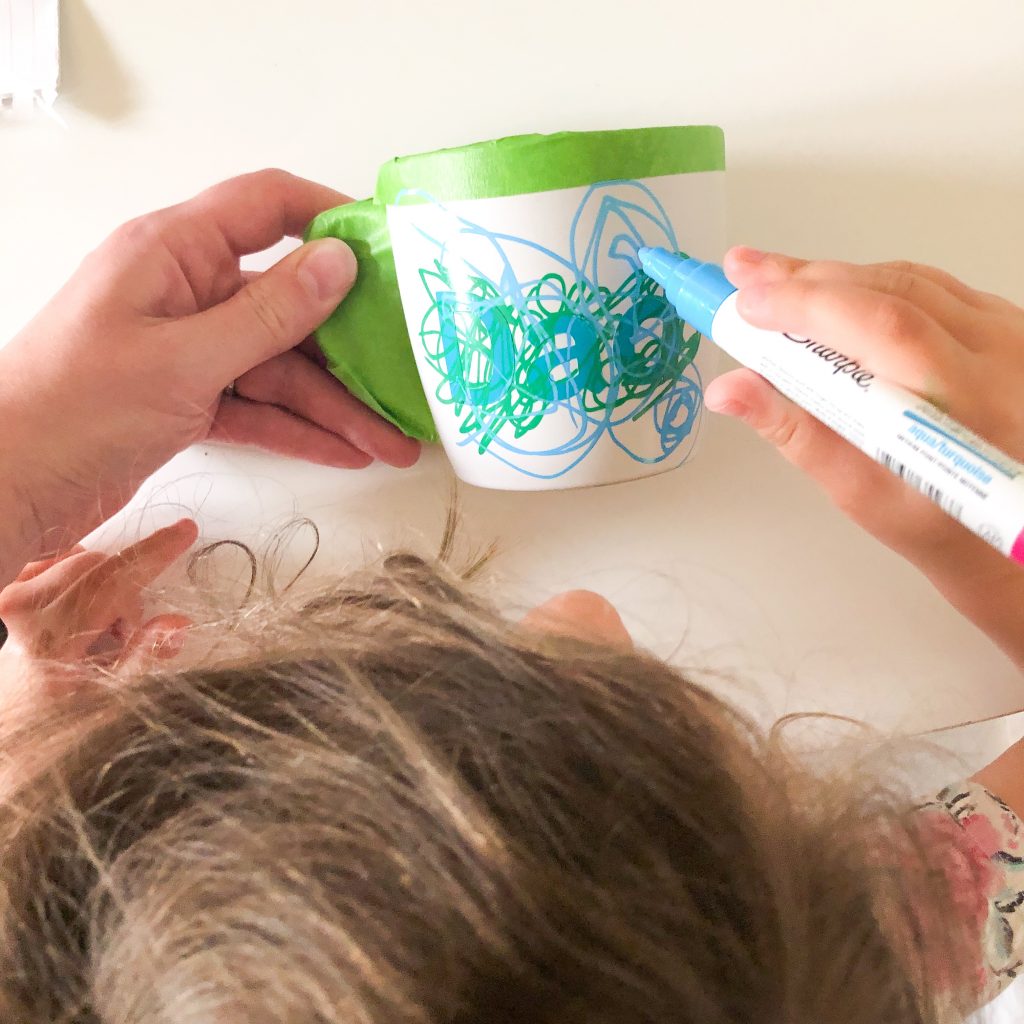
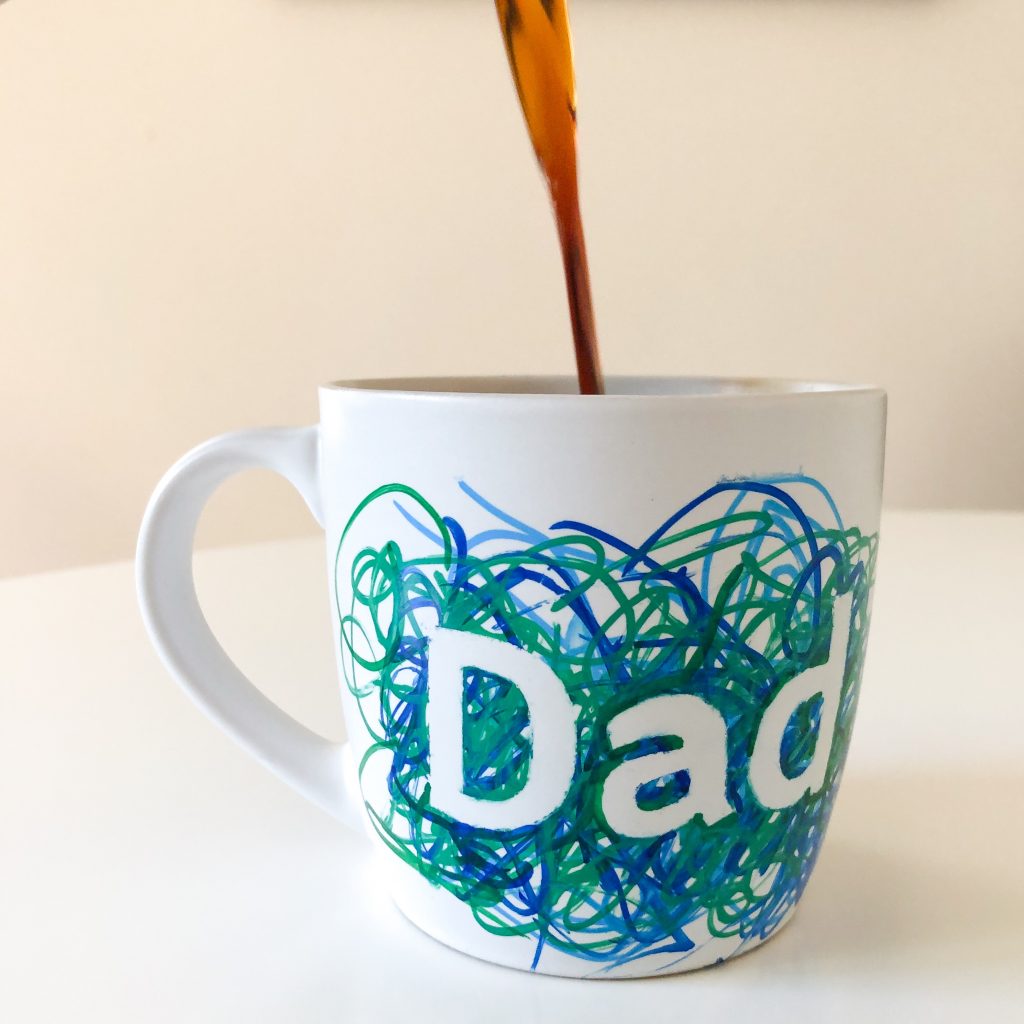
Once you are happy with the positioning of the stickers it’s time to start coloring! This was the step I had my girls participate in (they are almost 4 and almost 2). We used 3 different colours of oil based paint markers to colour over the stickers on the mug. I let them go to town scribbling, but you could also paint stripes or dots, anything that will cover the entire sticker. Be sure to open a window since these markers can be a bit stinky.
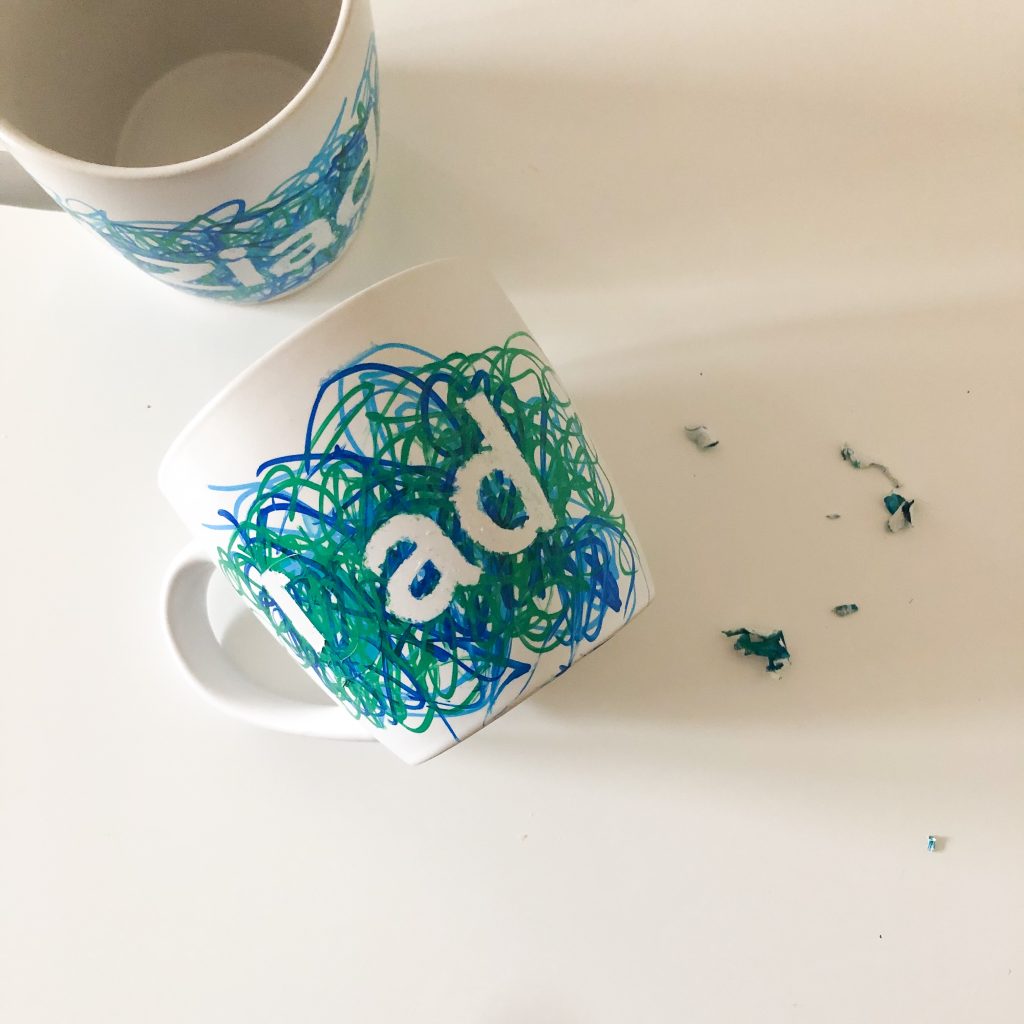
Allow the paint marker to dry well before removing the stickers. I ended up removing them the following day, but 30-60 minutes should be all you need. I struggled to peel the stickers off our mugs and ended up having to scrape to remove residual sticker glue and paper. I also found the paint bled a little under the stickers and didn’t leave as clean a line as I would’ve liked. But some acetone nail polish remover and q-tips fixed them up nicely.
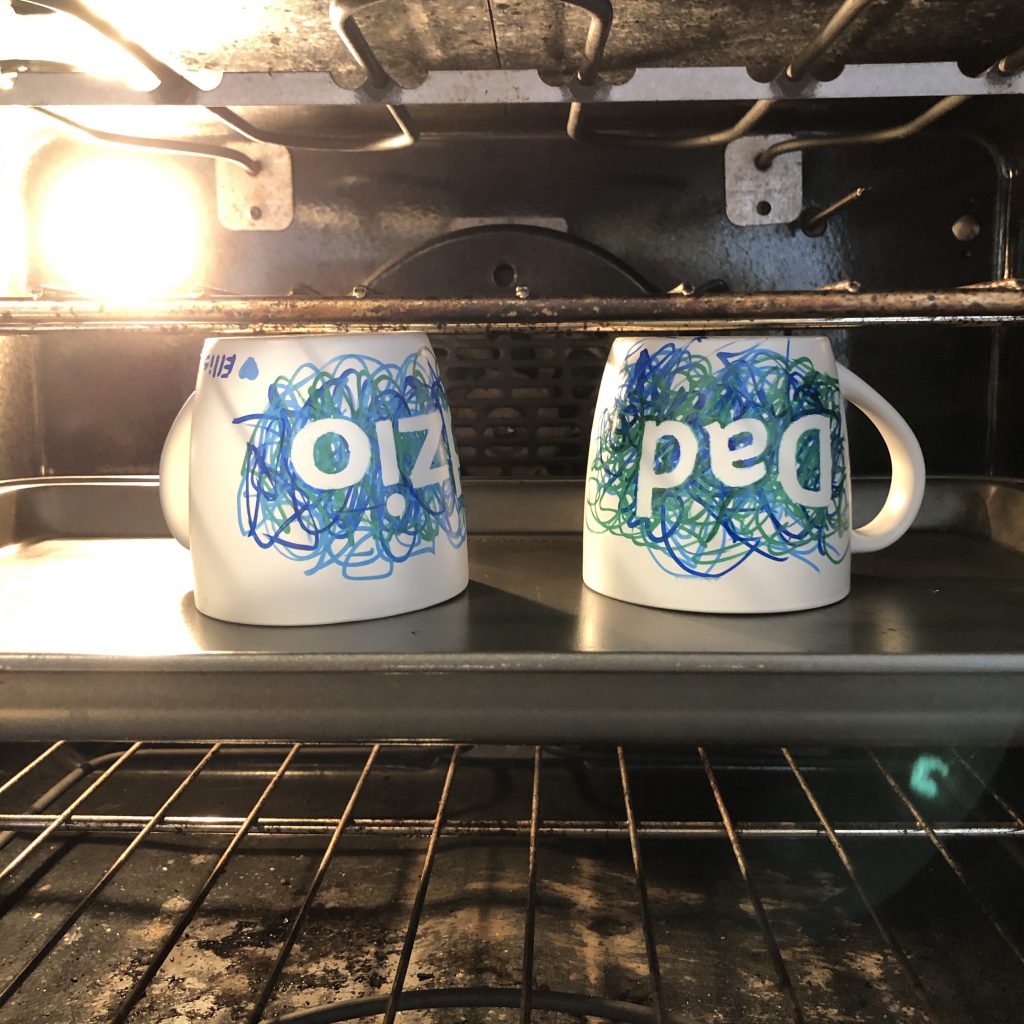
The final step to set the paint on the mugs is baking them in the oven. I did a lot of research and discovered a great blog post from Destination Decoration that tested temperatures and bake times when making sharpie markers. Based on Elizabeth’s recommendations I baked our markers for 2 hours at 250°.
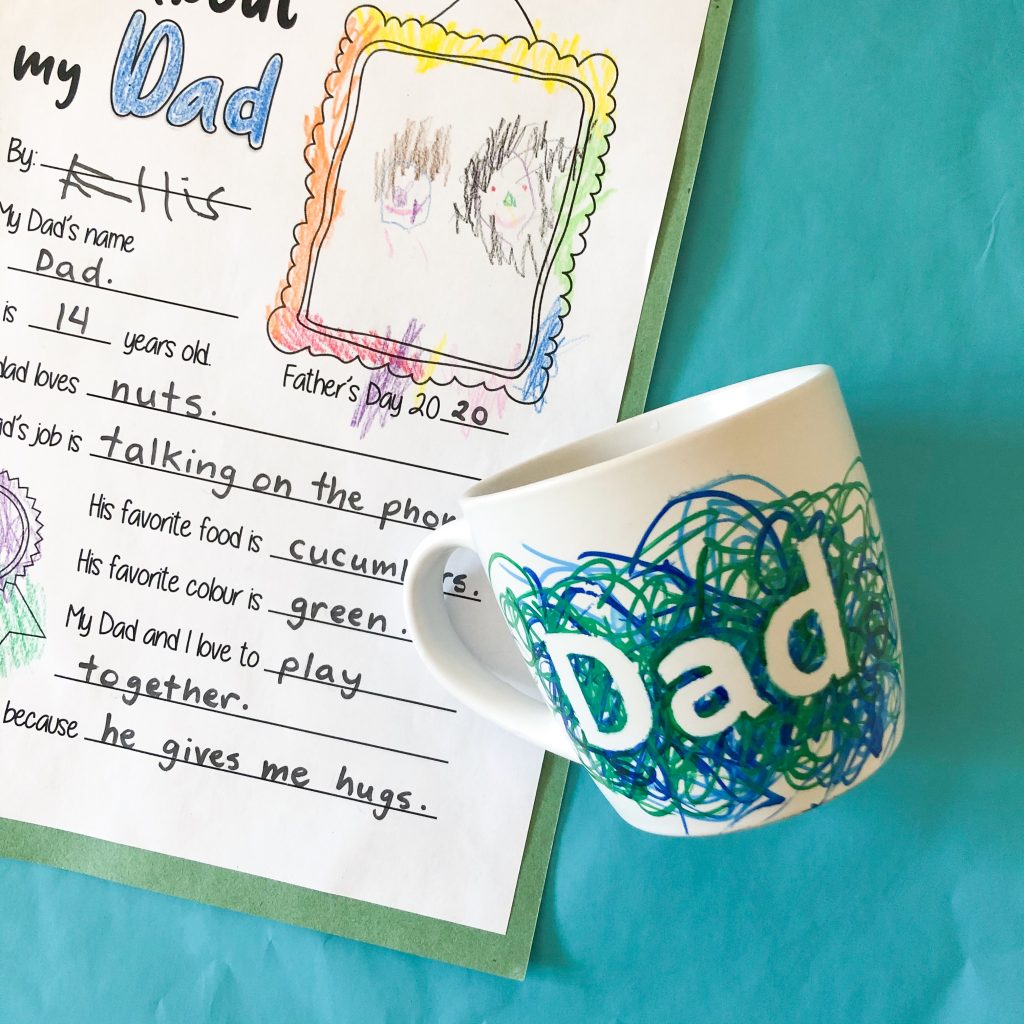
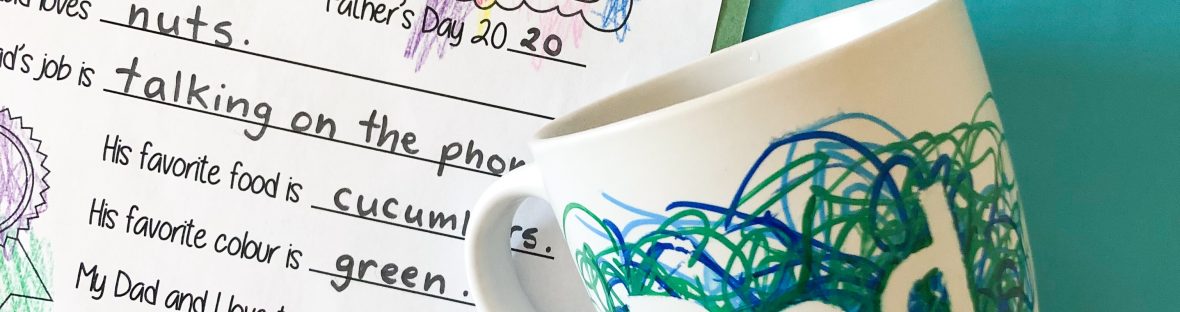
Ta da! The girls will be giving their dad this mug and an “All About my Dad” poster that I also created. You can download your own copy here on my Teachers Pay Teachers page. Be sure to follow me on Pinterest and Instagram for more craft ideas, art projects, and recipes!