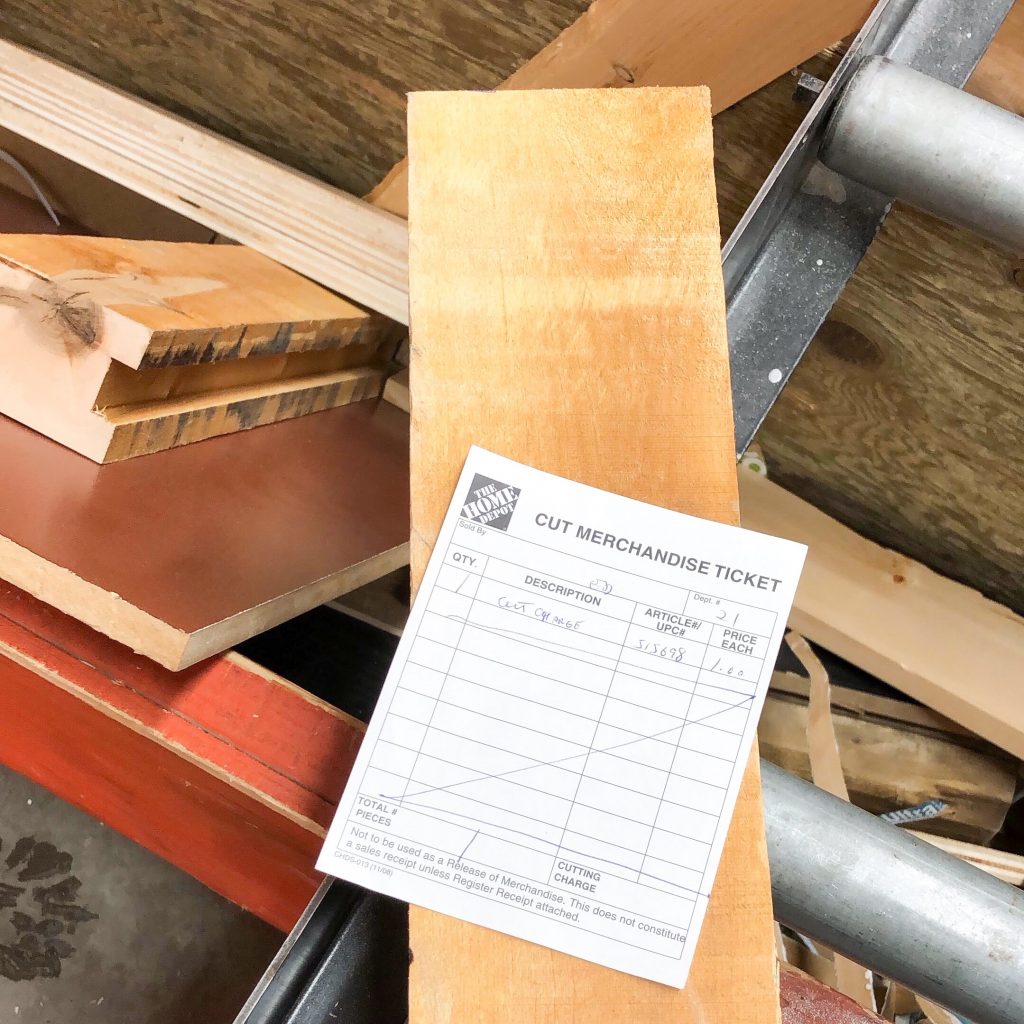
Whenever I go to Home Depot, I always make a trip to the back of the store to check out their scrap wood bin. It’s usually right next to the large saw and it’s where they toss any leftover wood cut offs customers did not want to keep. You never know what you might find and often you can get a piece of wood you need for a few dollars or less. I have to say, I’ve rarely been charged for anything out of that bin. Sometimes they write me a slip for $1 to carry to the cash, and the cashier often chuckles and says they don’t need to ringing it up.
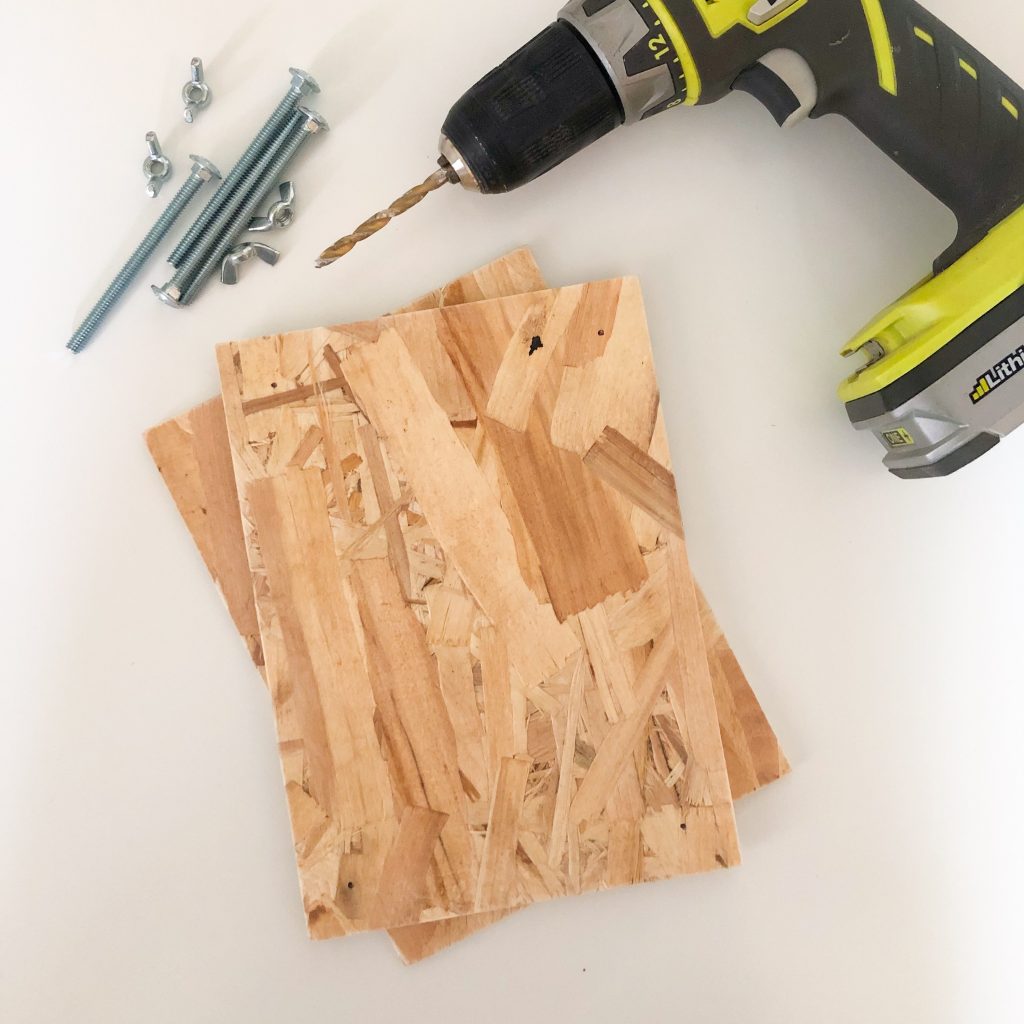
I picked up 2 rectangular pieces of particle board from Home Depot last year for free, and knew right away I wanted to make a flower press! This project is really simple to make yourself. Here’s what you need:
- two rectangular pieces of wood
- 4 carriage bolts (1/4” x 3.5”)
- 4 wing nuts (1/4”)
- multiple pieces of cardboard
- parchment paper
- drill
***Now I will note, if you are planning on making yourself a flower press, don’t use particle board. I learned afterwards that the pressure when screwing down the wing nuts may crack the board. So when I redo this press, I will be looking for plywood or MDF instead.
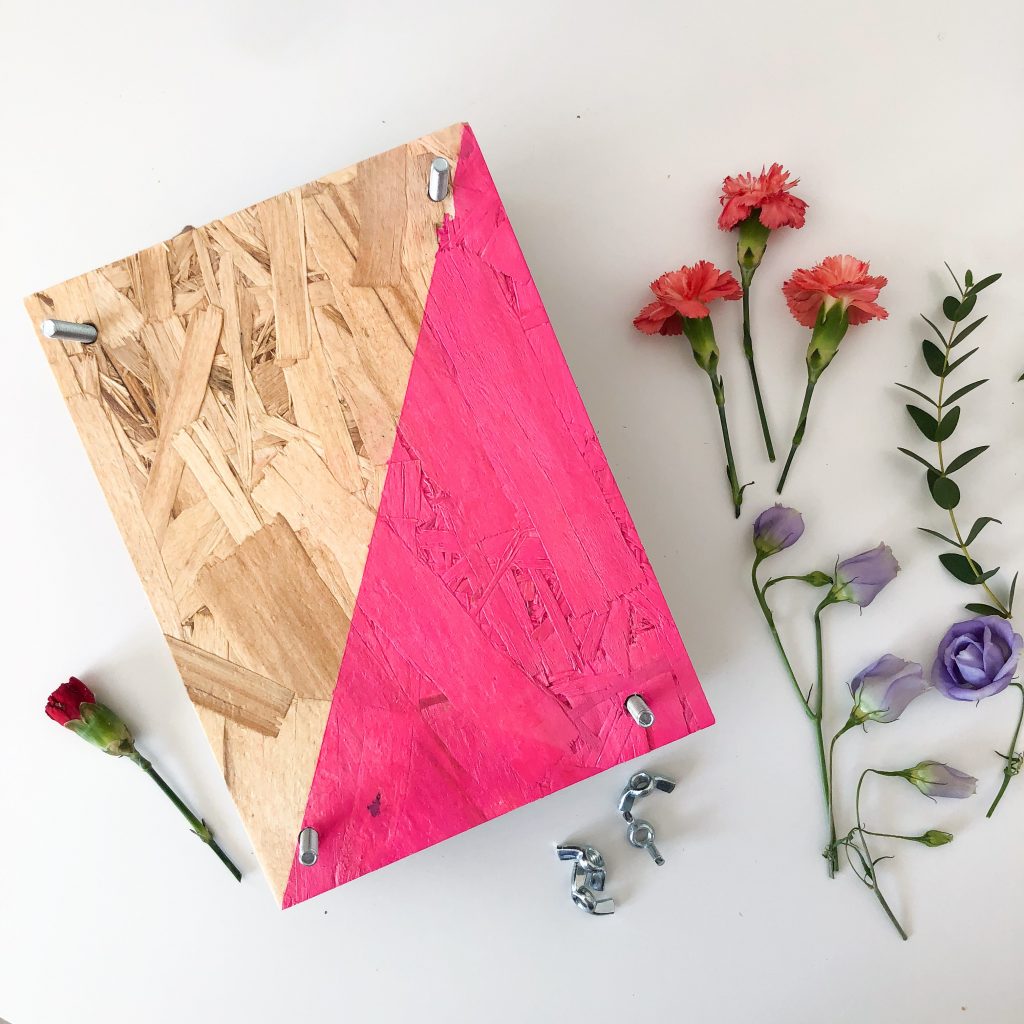
First, drill holes through the corners of each board. You want to choose a drill bit slightly larger than the diameter of the bolts you have chosen so that they don’t have too tight a fit. Make sure to measure and mark where you plan on drilling first so that your bolts line up once the press is assembled. I drilled each hole approx 1” from the corners.
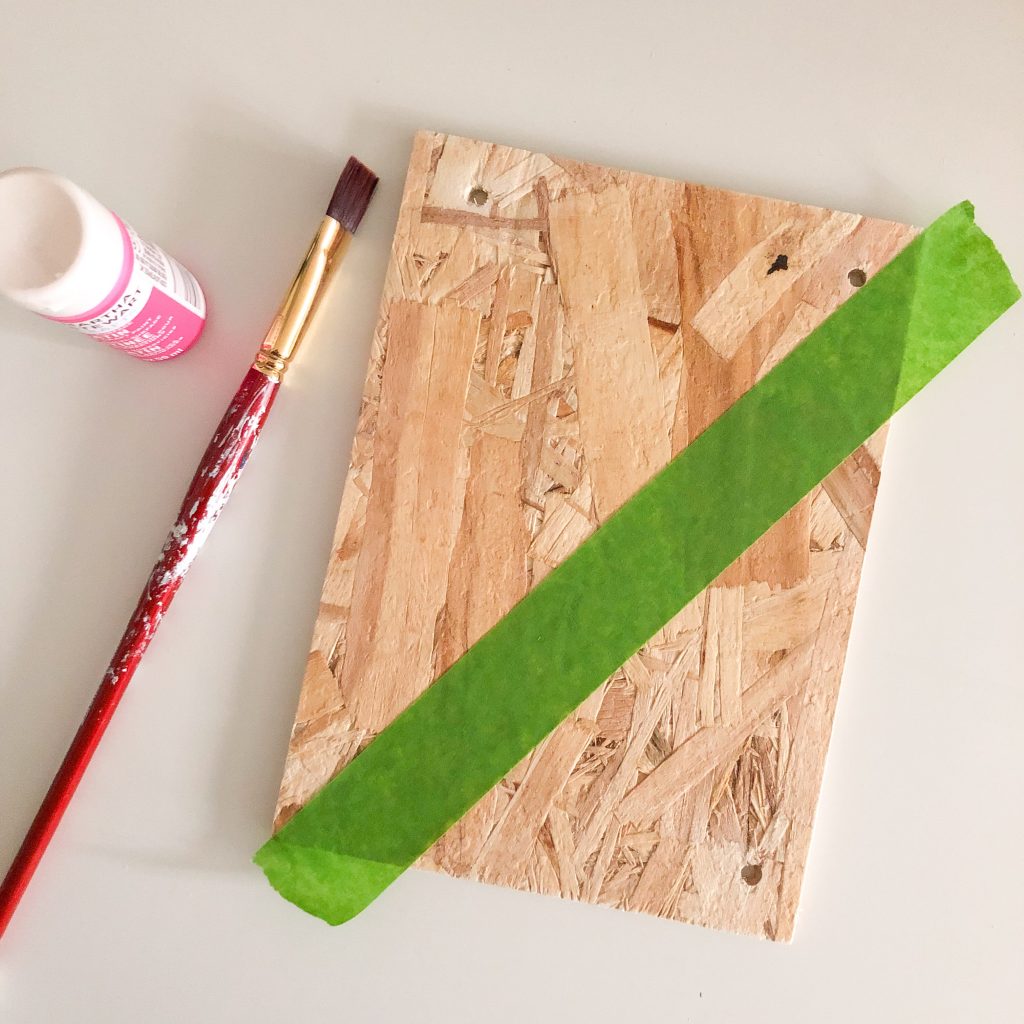
To make my press a little more pretty, I taped off a section diagonally and painted it with 2 coats of Martha Stewart multi-surface paint in Party Streamer. I then sealed all sides with water based varnish. These were really extra steps to make my press more attractive, so if plain wood is more your style, you can skip ahead.
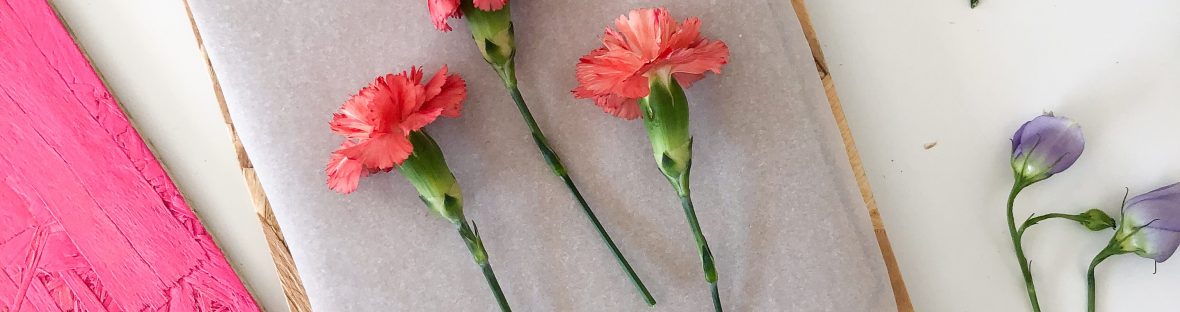
Once your holes are drilled it’s time to start assembling. Lay one board down, and thread the bolts through the back of each hole. This will be the bottom of your press. Next, cut multiple pieces of cardboard to fit between the boards. They don’t need to be perfect, but they will need to be smaller than your wood and have angles cut off of each corner to accommodate the bolts.
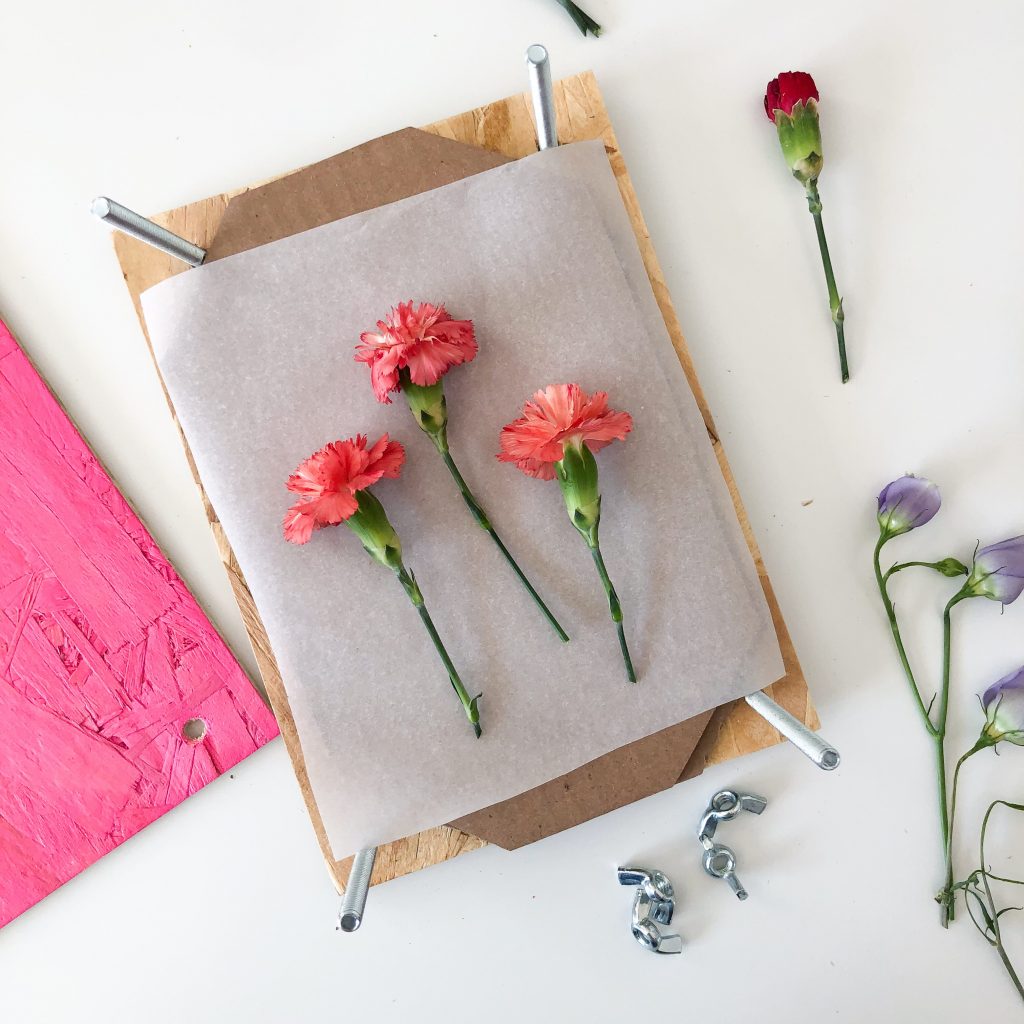
When you’re ready, sandwich cut flowers between the cardboard pieces. I also used sheets of parchment between the flowers and cardboard to keep them from sticking. Paper towel or tissue paper are also great options. Layer and repeat cardboard, parchment, and flowers to the top of the press.
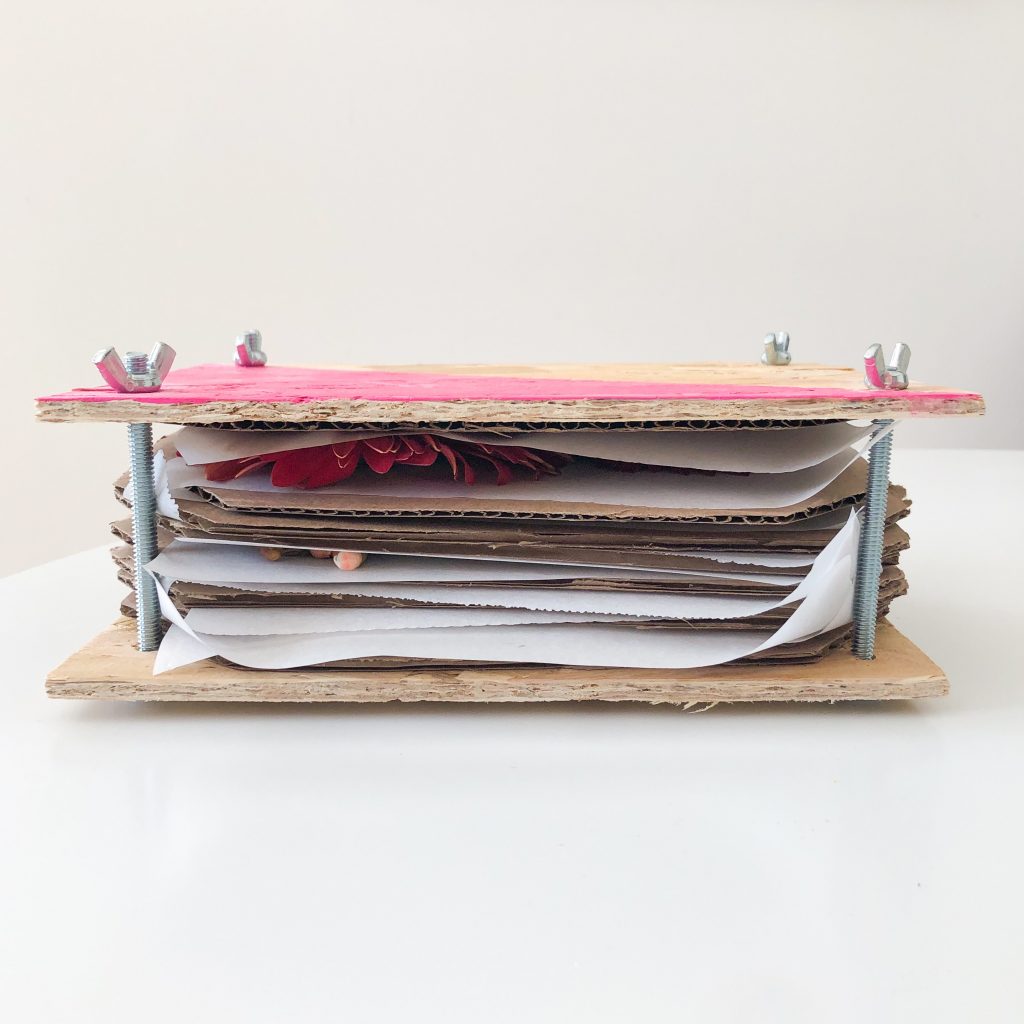
Place your second wood board on top threading the bolts through each hole. Screw the wing nuts onto each bolt and turn to tighten. You want to tighten them slowly and evenly. This is when I discovered particle board has a hard time withstanding the pressure of the wing nuts! I ended up loosening them and retightening them a few times over the next few days as the flowers dried.
Leave the flowers in the press to dry for at last a week to 10 days. This all depends on how dry or humid your house is. You may be surprised and discover your flowers have dried faster. I set my press aside and forgot about it…for months! Oops. I’m blaming it on the quarantine.
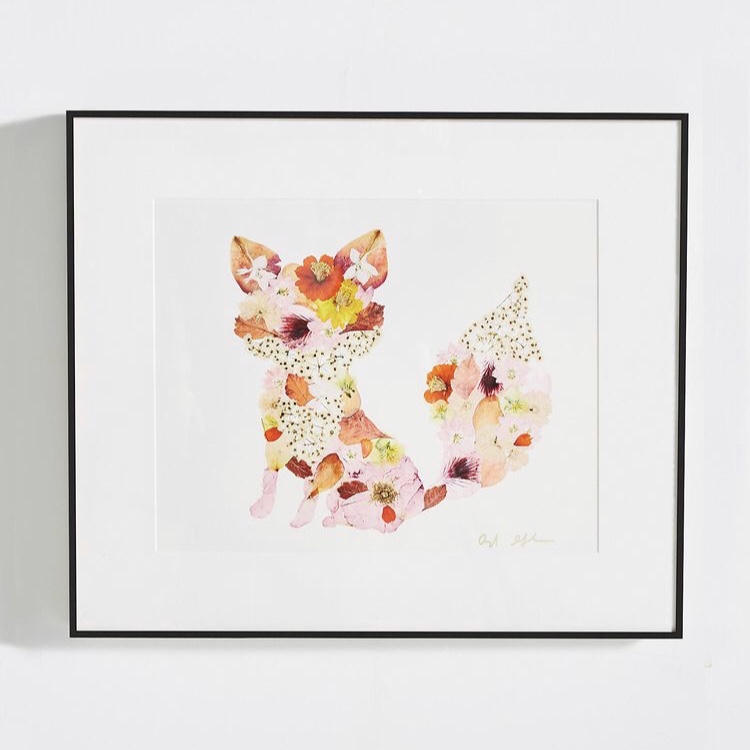
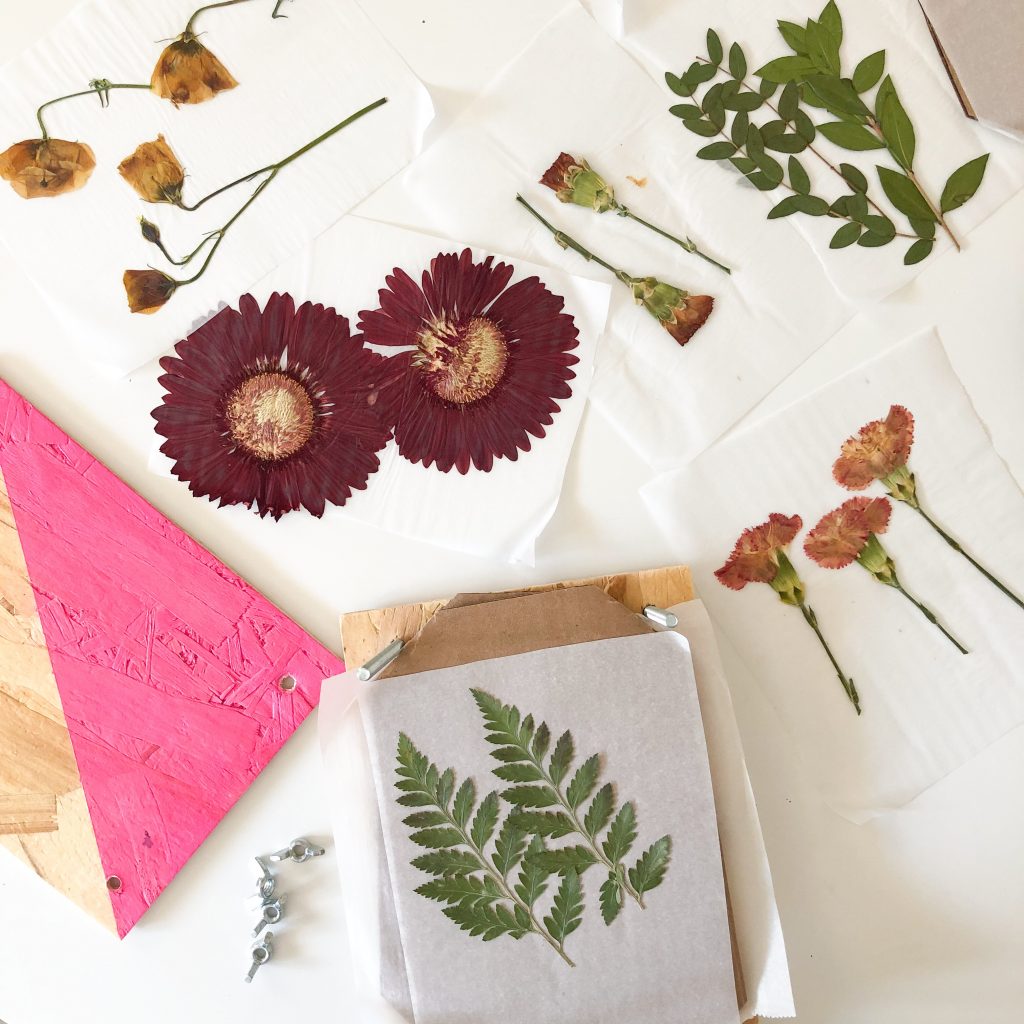
Once your flowers have dried, carefully remove them from the press and get crafting! Make greeting cards, collage art, bookmarks, coasters, or framed arrangements. Pinterest is a great place to explore for inspiration!

Since my girls are now at the age where picking flowers is part of every outdoor adventure, I want to help them press and preserve their favorite flowers to use in their own art projects. What would you want to create with pressed flowers? Follow me on Instagram or Pinterest for more inspiring crafts, DIY projects and recipes!