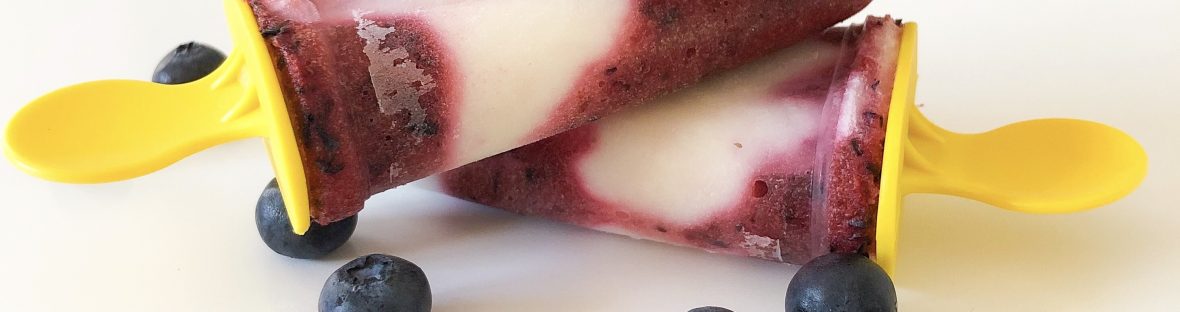
A few weeks ago it was snowing in Ottawa, and now we are looking at a forecast of sunny skies and warm weather yippee!!! My girls have already started asking for popsicles so I decided to whip up a batch using Greek yogurt and berries.
I used the IKEA Chosigt popsicle mold with this recipe. This mold has been my favorite for a few years now. It makes popsicles that are the perfect size for kids, it’s super affordable, and doesn’t require wooden popsicle sticks like other molds.

This recipe is super easy and adaptable to whatever you have in your fridge. I buy plain Greek yogurt when I go shopping, so that is what I chose to use in this recipe, but you can substitute in any flavored yogurt instead.
Here’s what you need:
- 1 1/2 cups plain Greek yogurt
- 1 tbsp maple syrup or honey
- 2 cups fresh or frozen berries
In a small bowl, stir together yogurt and maple syrup. I find a tablespoon of maple syrup is enough to sweeten the yogurt, but you can add more or less to taste. If you are using a flavored yogurt, just skip this step entirely.
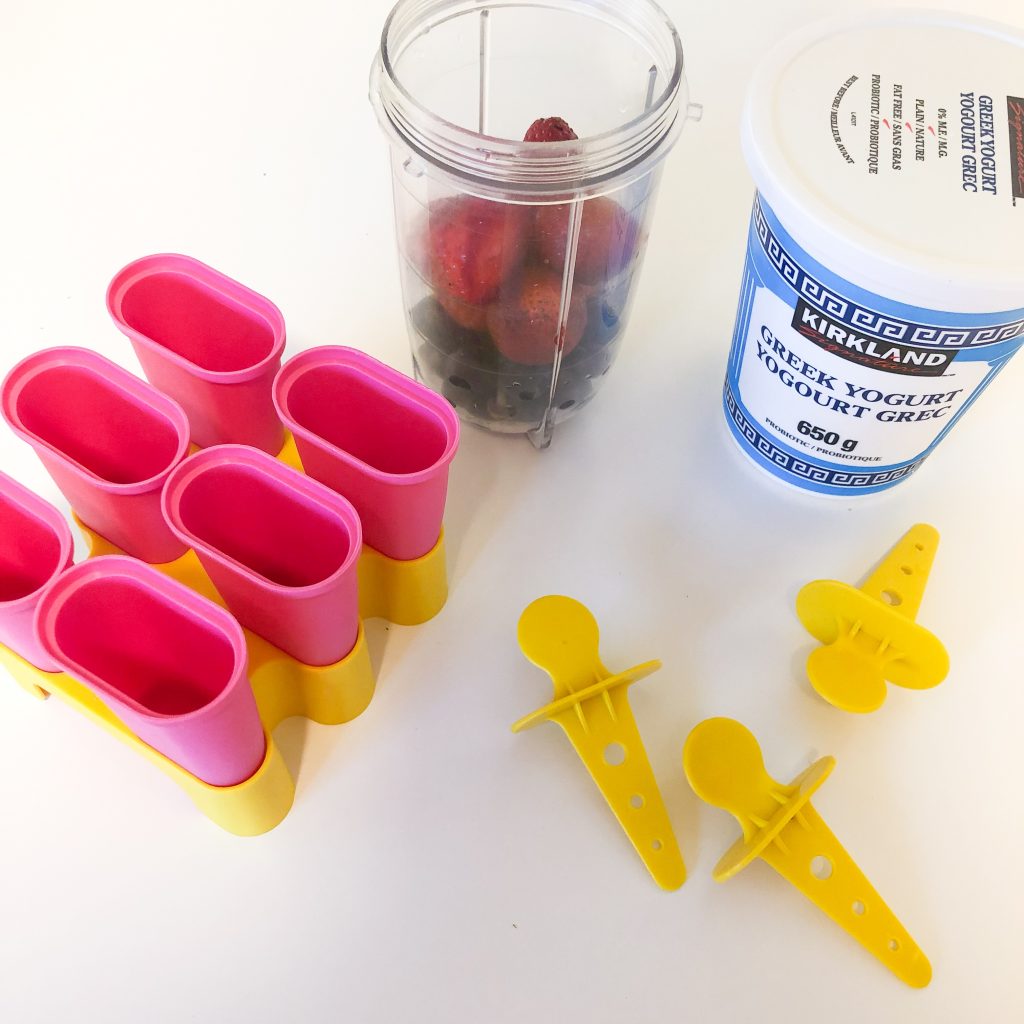
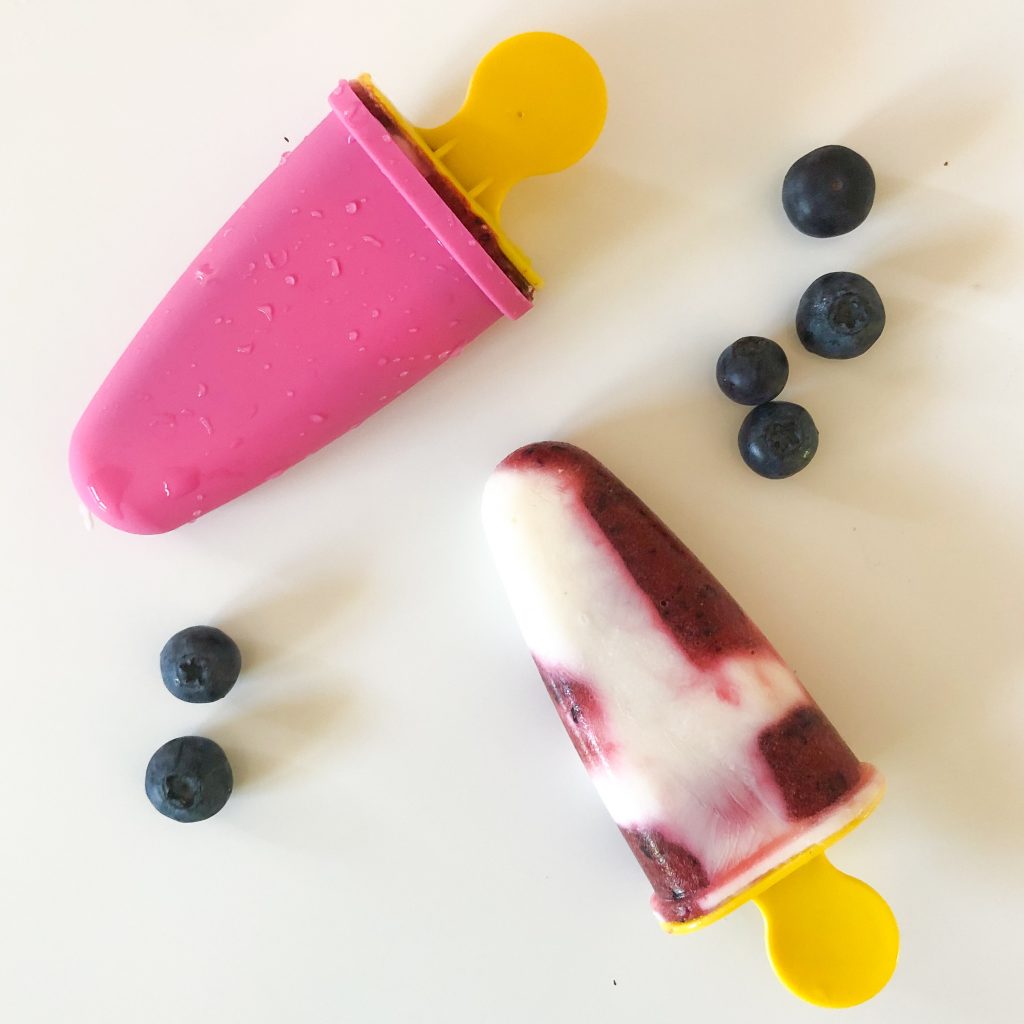
Wash berries and add place them in a blender or food processor. I use my Magic bullet for small jobs like this. This is a great recipe for using up berries that may be starting to go. I used a mixture of blueberries and strawberries. You could also use peaches, pineapple, or a mix of fruit like you would in a smoothie. Blend berries until smooth.
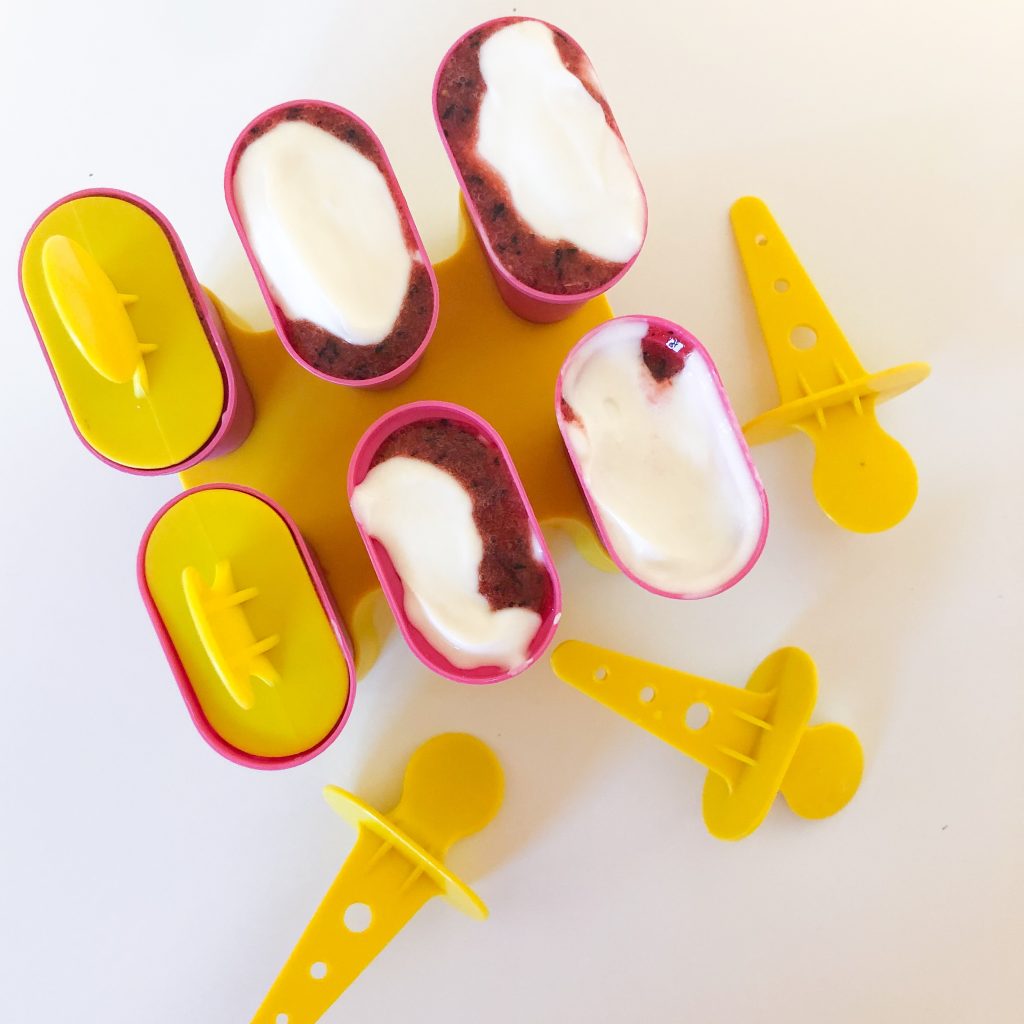
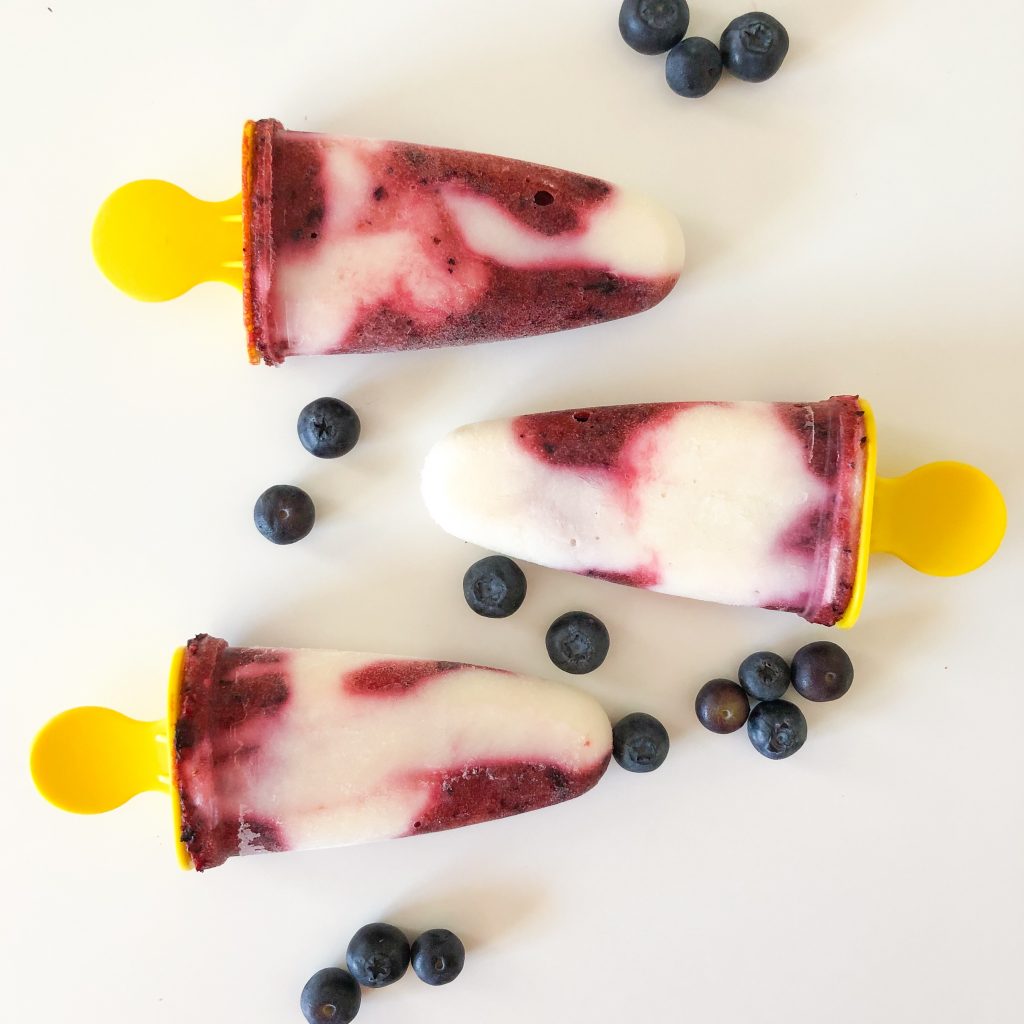
Using a spoon, pour yogurt and berry blend in alternating layers into each popsicle mold. I find knocking the molds between layers helps everything settle to the bottom. Once full, insert popsicle sticks and place in the freezer for 6-8 hours, or until completely frozen.
To unmold, run under hot water until popsicle releases. Store in the freezer for up to 3 weeks. I like to place the frozen popsicles in a ziplock bag in the freezer to keep them tasting fresh.

What treats do you love to enjoy when the weather gets warm? Be sure to follow me on Pinterest and Instagram for more recipes, crafts and DIY projects.