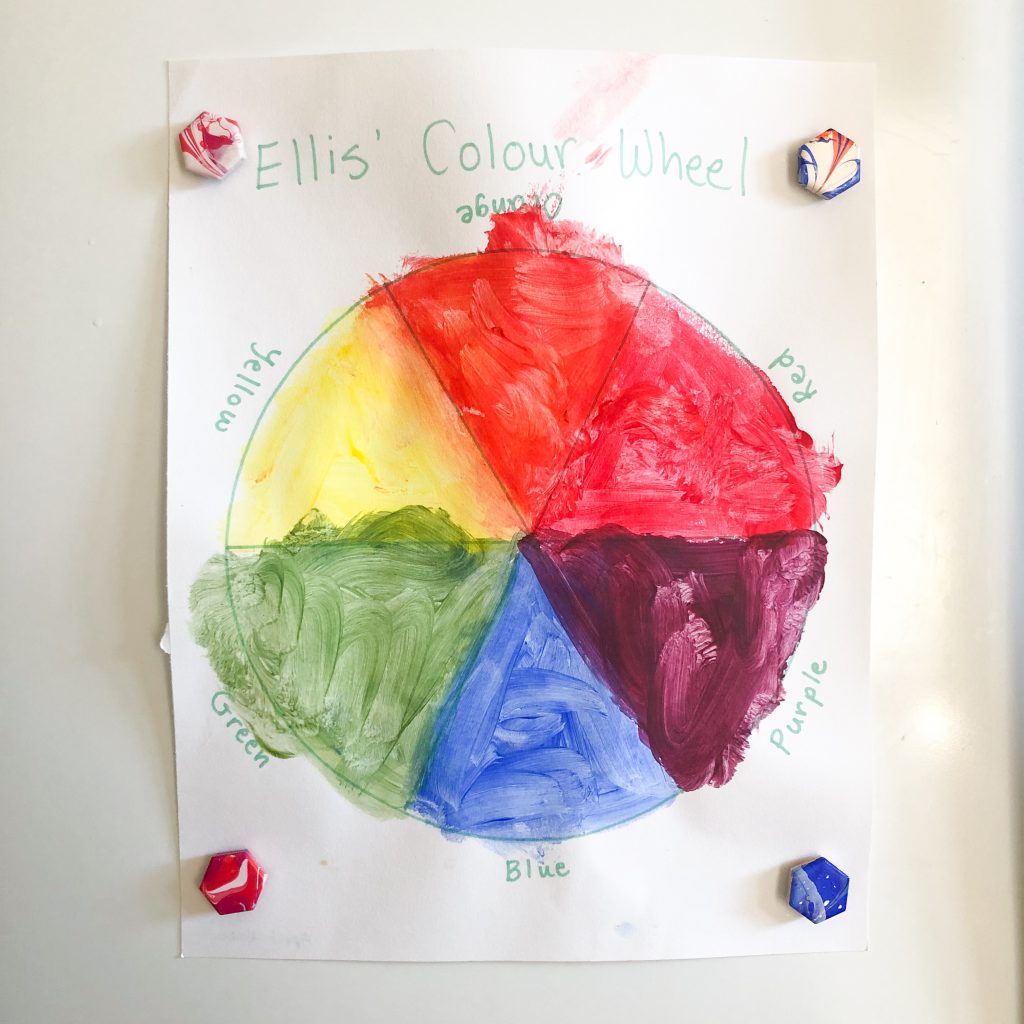
For the last few weeks all my 3 year old has been asking about are colours. “Mommy, what does yellow and green make? What does pink and orange make? What does yellow and purple make” all day long. I love her questions and I want her to come up with the answers herself, so I keep planning different colour activities and experiments for her.
My girls also love to paint! But we’ve been in quarantine for over 2 months now and we’ve been painting so much that we are actually starting to run out. So in an effort to save what we have, mix things up a bit, and learn more about colours, I made a quick batch of ice cube paints.
Here’s what you need to make your own:
- clean and empty ice cube tray
- liquid food colouring
- popsicle sticks
- watercolour or multipurpose art paper
Start by placing 3-5 drops of food colouring in each cube. I chose to make mostly primary colours so that this activity would be a painting and a colour mixing experiment.
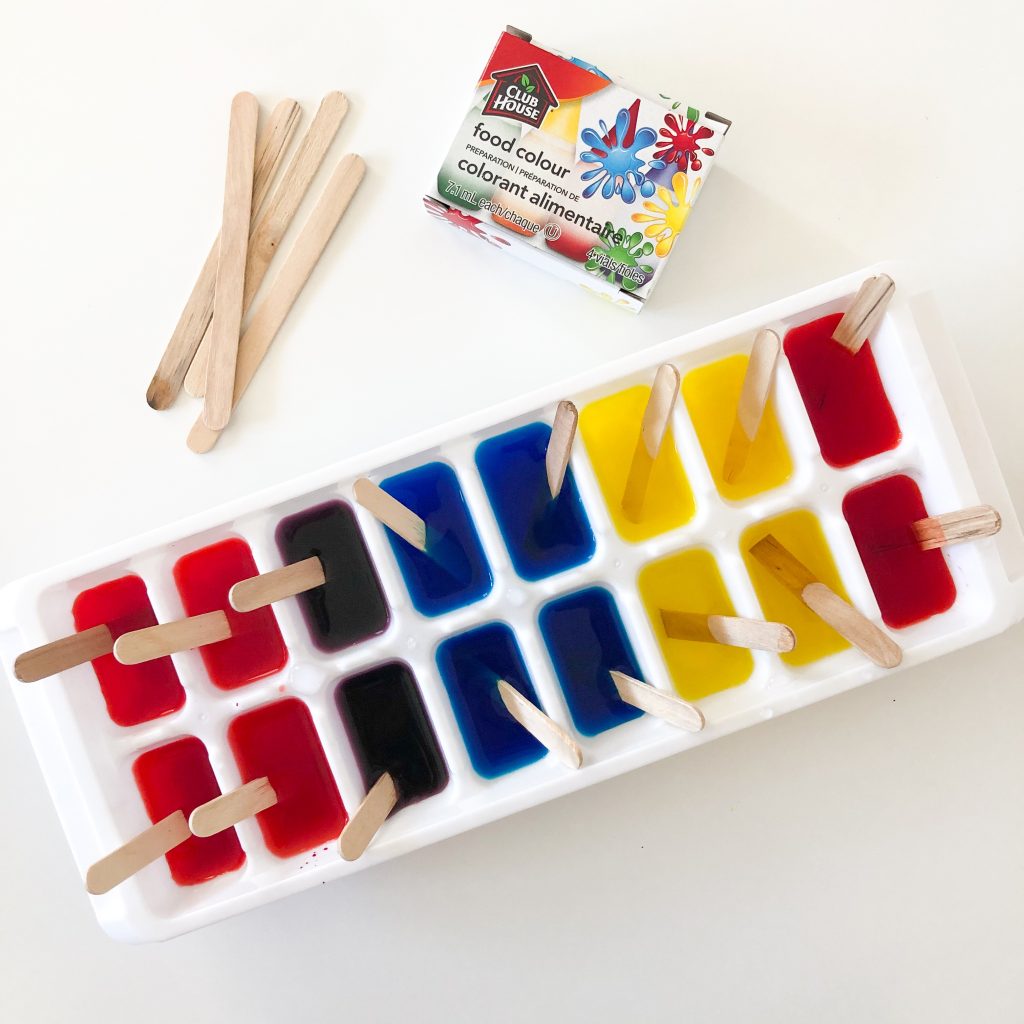
Carefully fill the ice cube tray, making sure not to overflow the individual cubes. Place a popsicle stick in each. I cut my popsicle sticks in half first so that they weren’t super long. Place the ice cube tray on a flat surface in your freezer. Again, take your time here so that you don’t accidentally knock coloured water from one cube to the next. You may also need to adjust the positioning of your popsicle sticks so that they are as upright as possible. Leave them to freeze overnight.
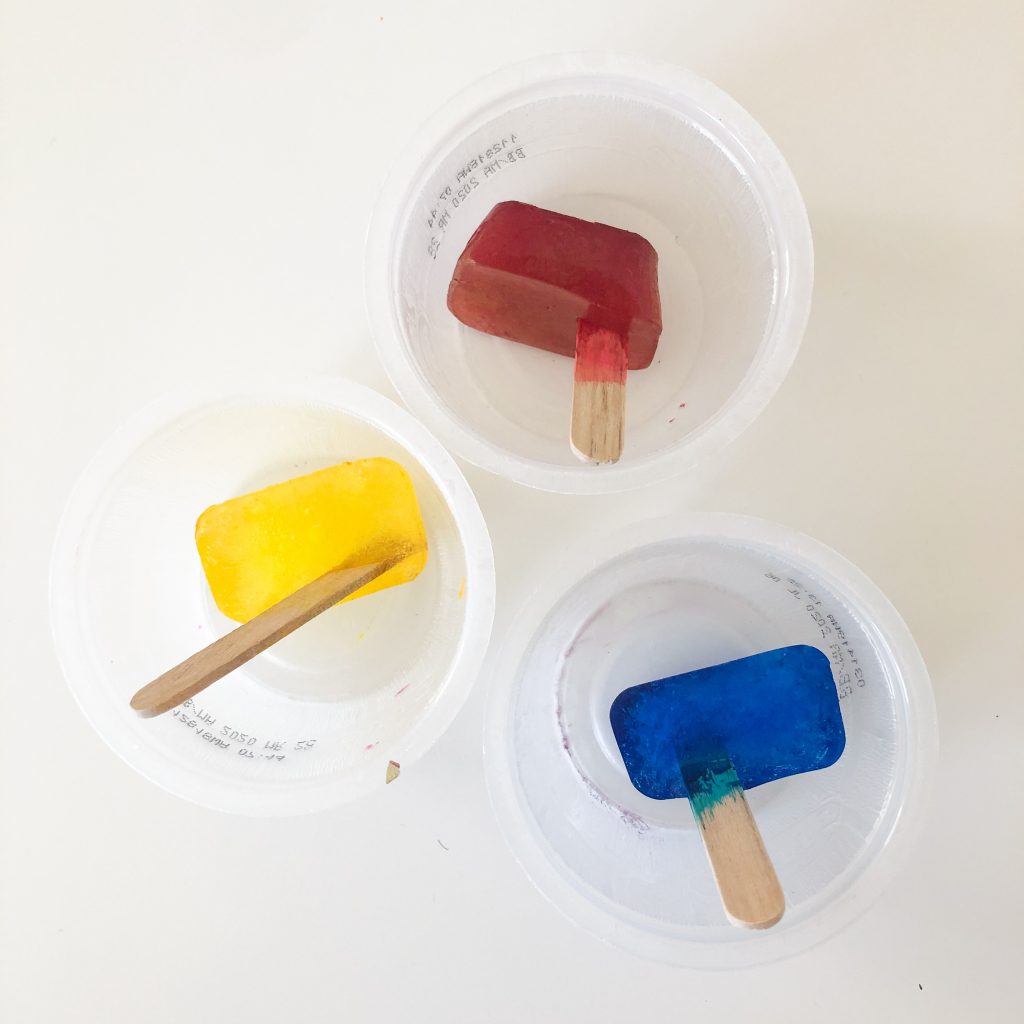
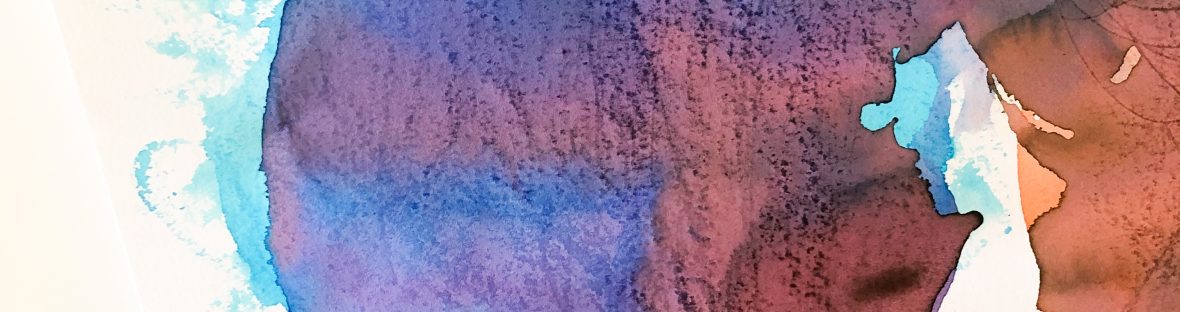
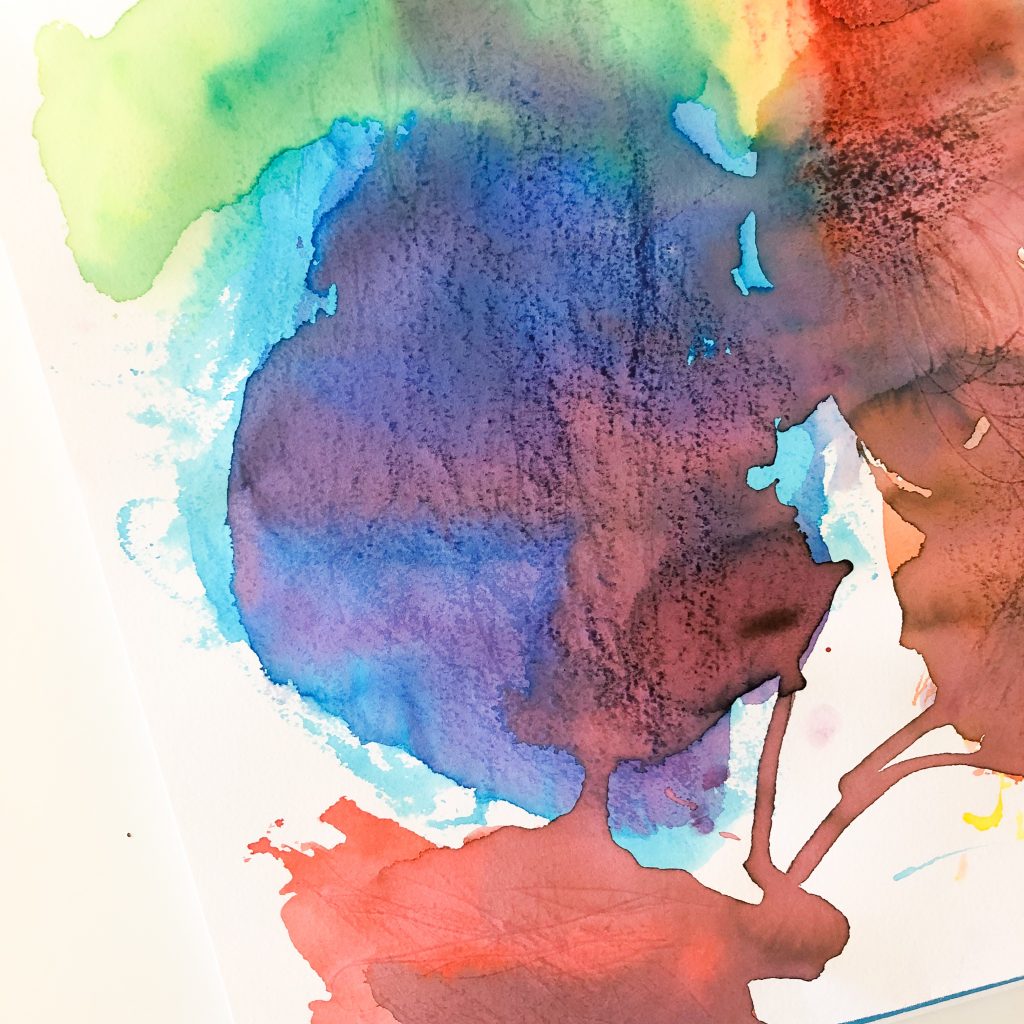
Once they are fully frozen, it’s time to paint! I cracked a few cubes out at a time and put them into small cups for the girls to use. I always save plastic yogurt and apple sauce cups for uses like this. They are perfect for holding paint or small craft items. Because these paints are basically water, I recommend using a heavier water colour paper, white cardstock or multipurpose art paper.
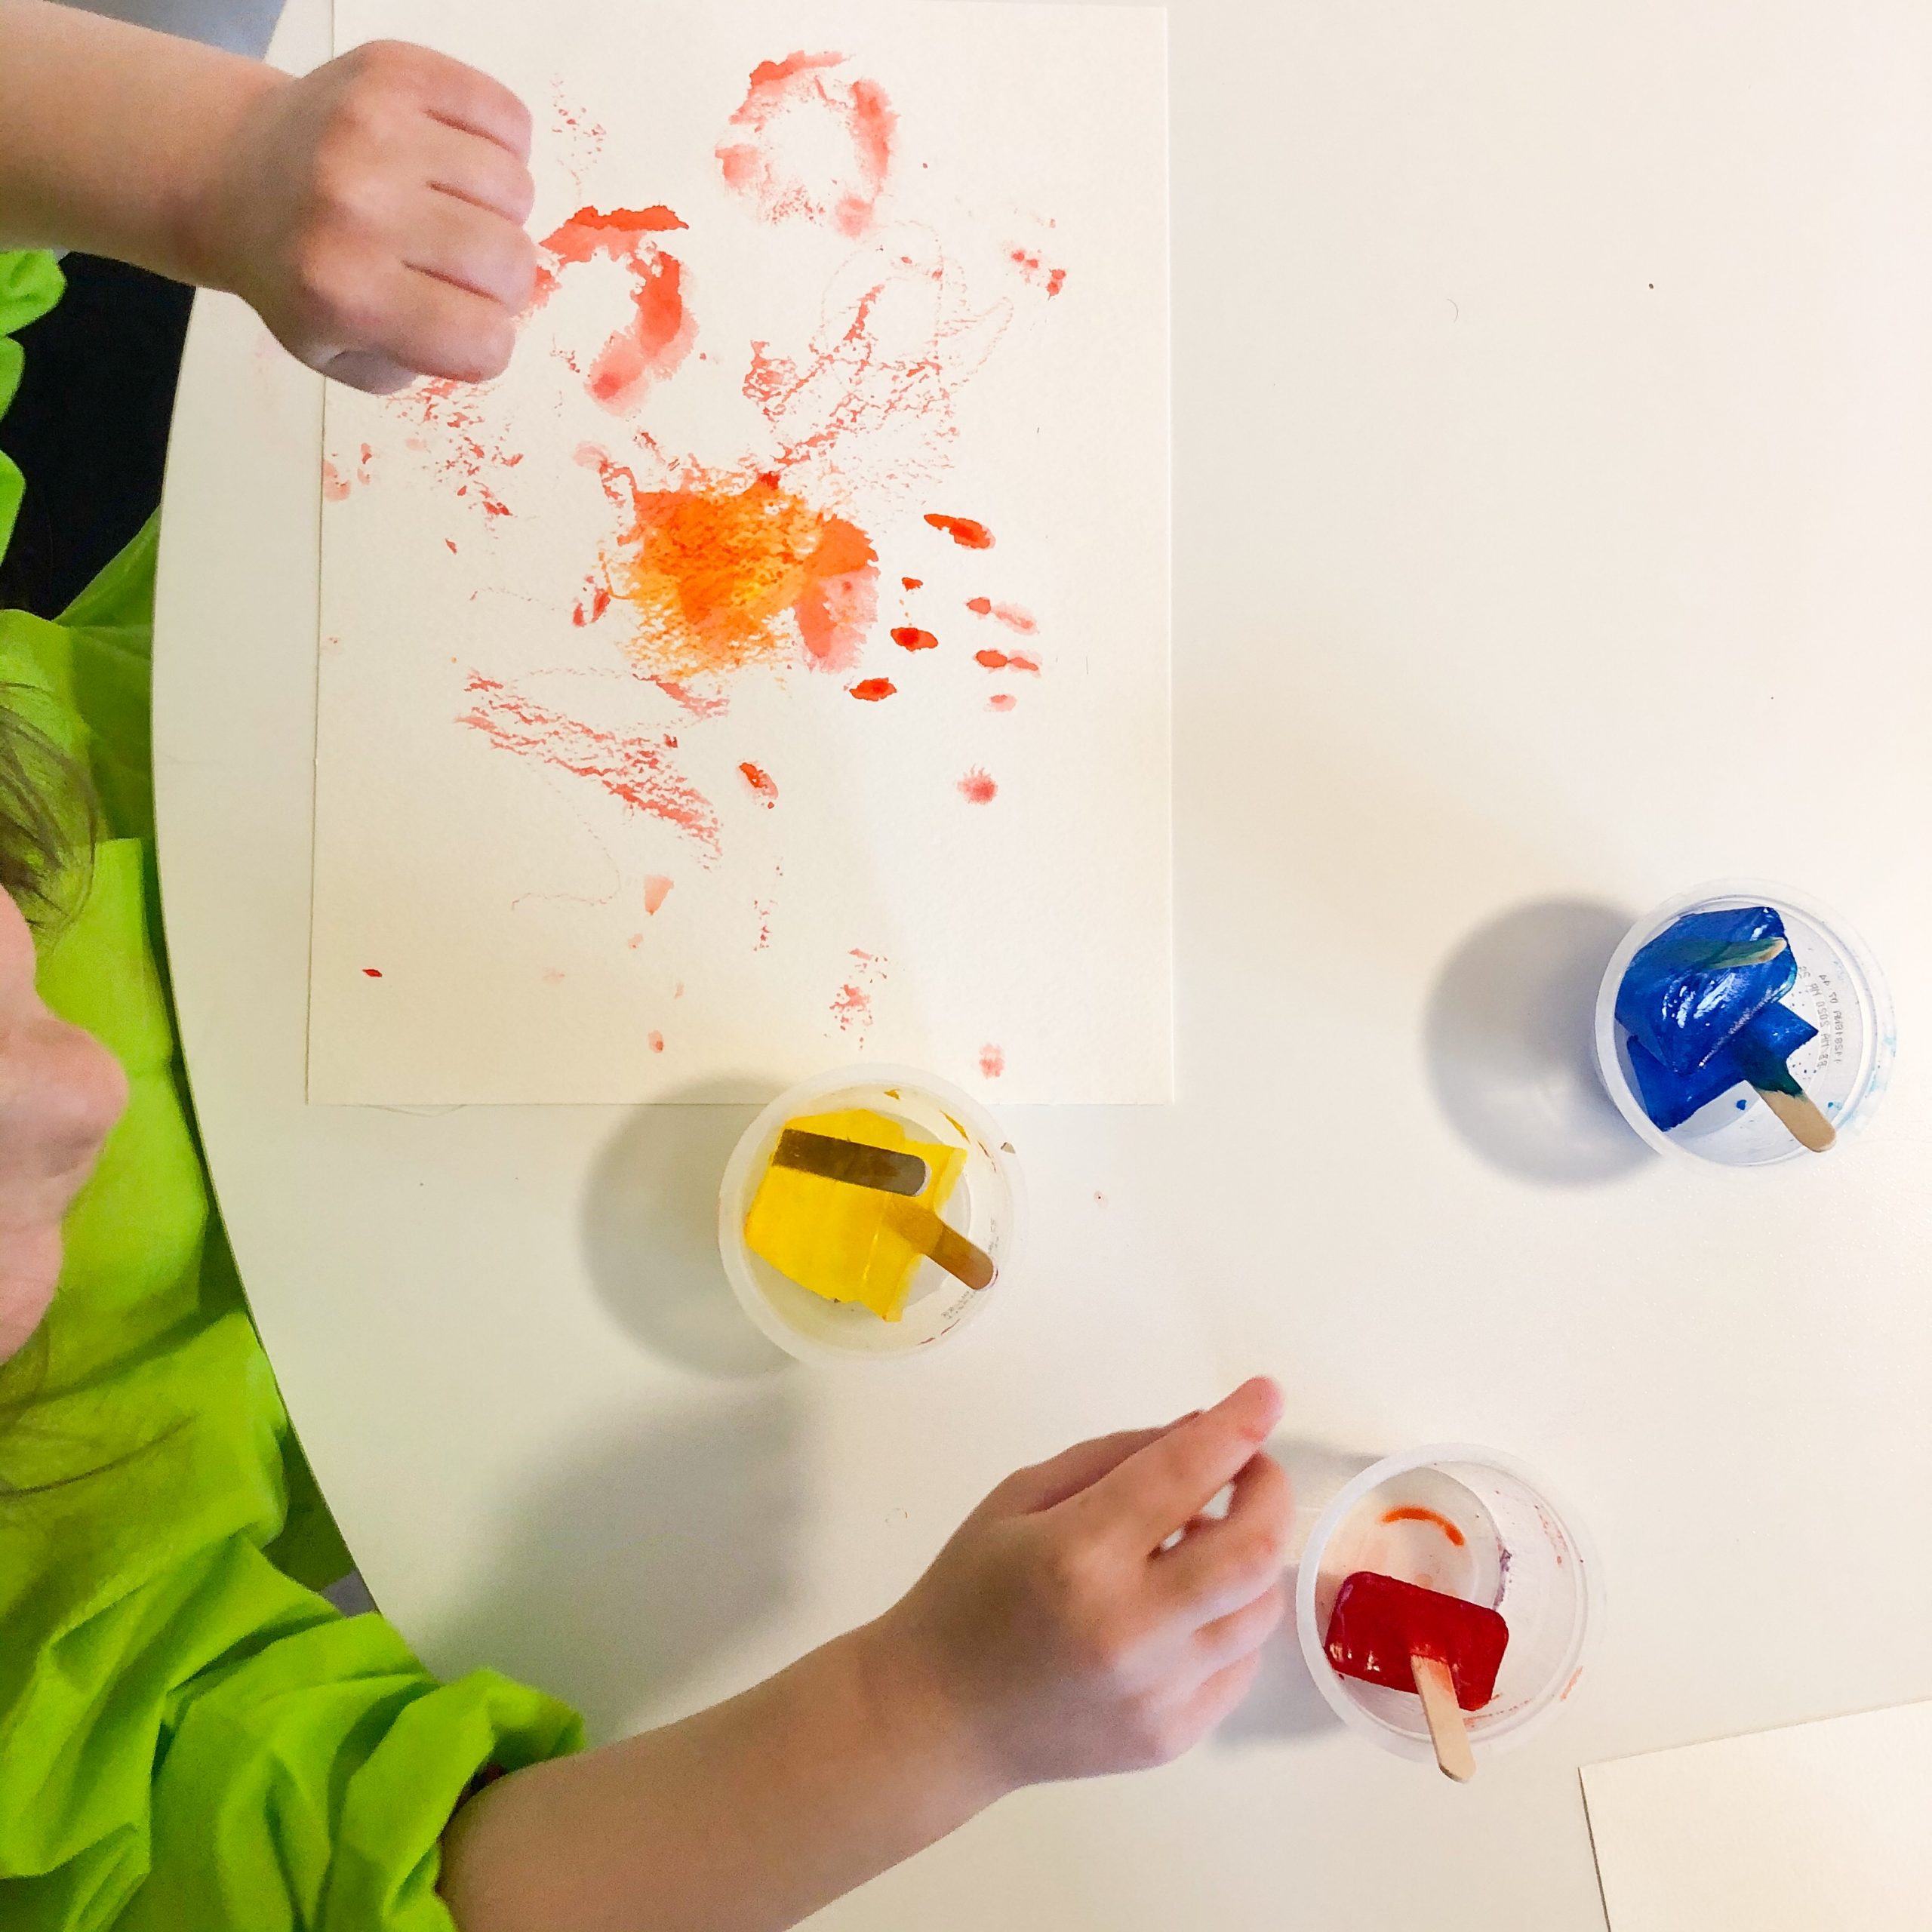
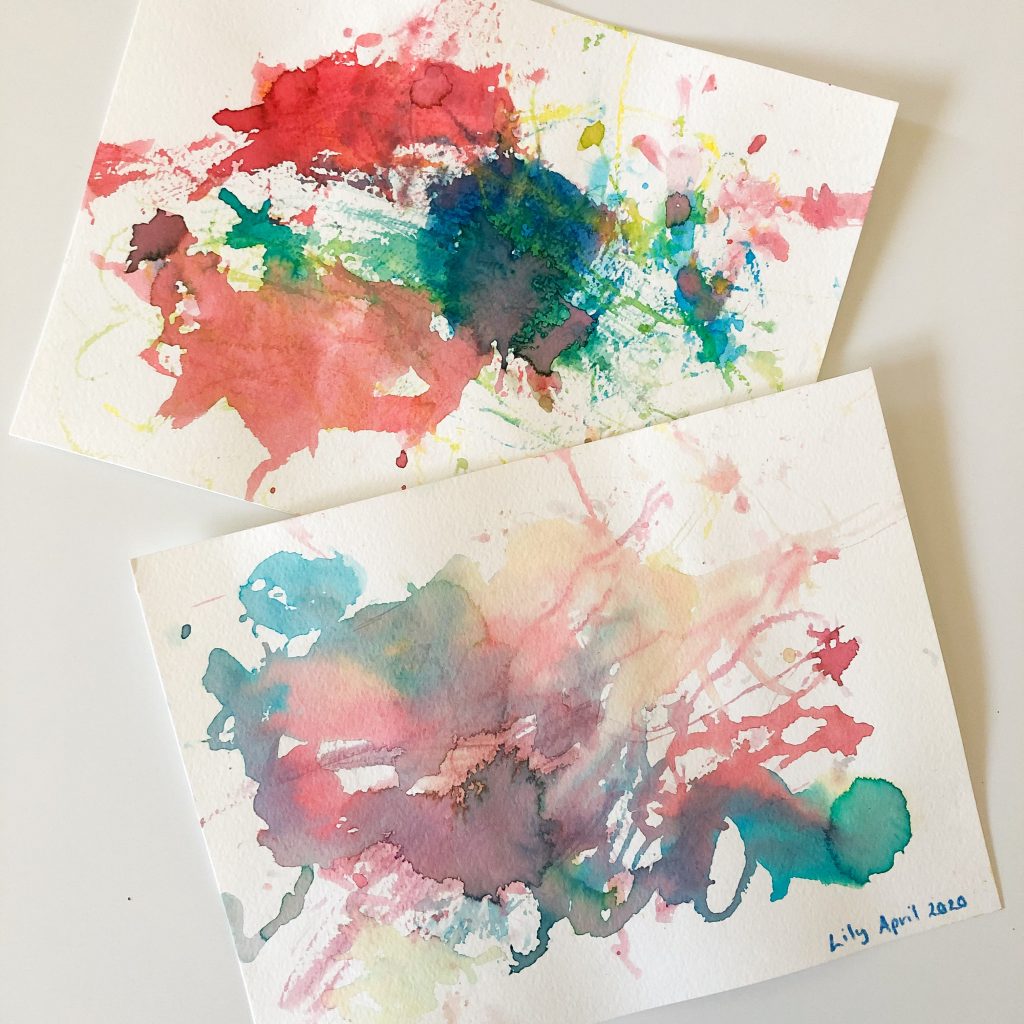
My girls used the same cubes twice and it was interesting to see the difference as they melted. Their first paintings have much more intense colours from their second which had a softer, watercolour look. Either way, they were a hit, and we still have cubes in the freezer to repeat this activity again!
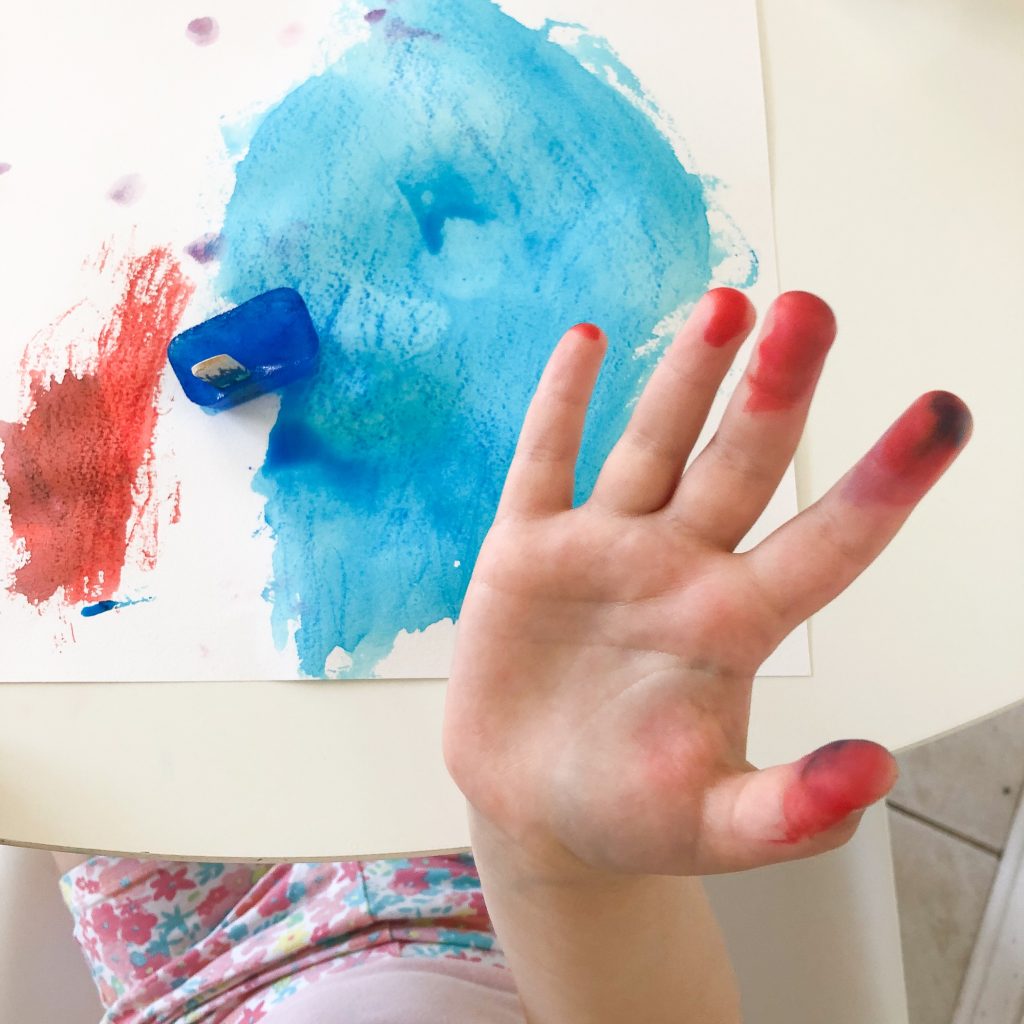
Be warned! Fingers will get dyed, but the girls didn’t mind and it all washed off by the end of the day.
Looking for more art activities to do with your kiddos? Check out these DIY Scratch Art Cards, and follow me on Pinterest and Instagram for more craft and art inspiration.