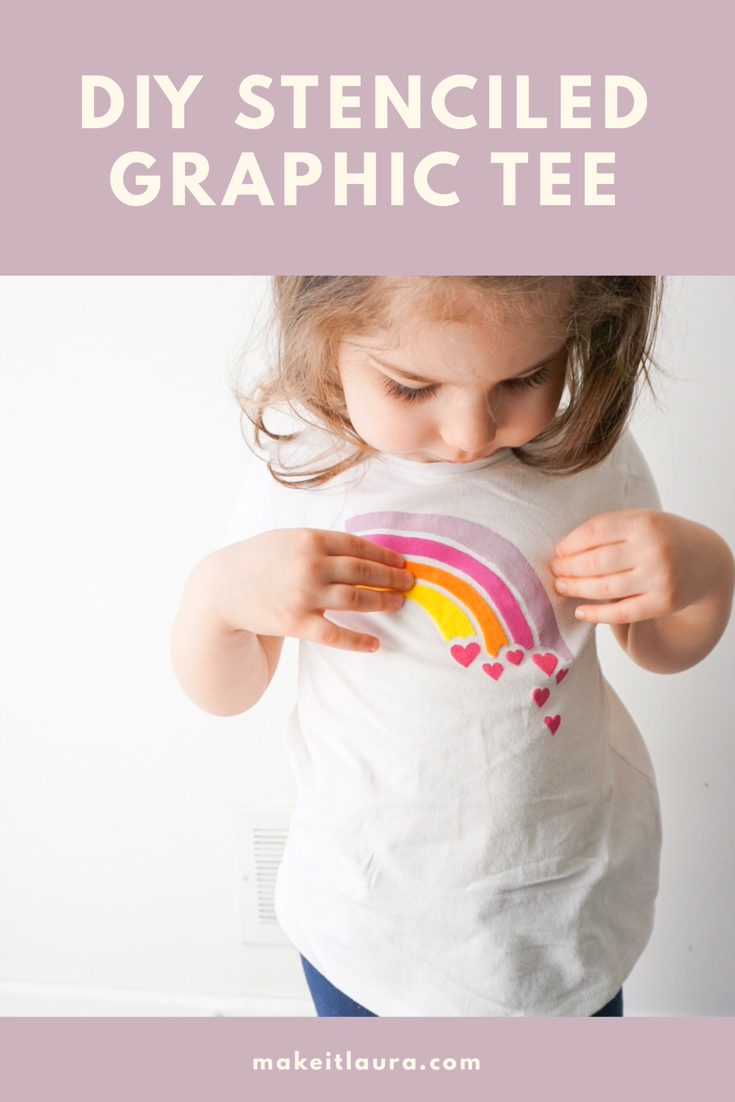
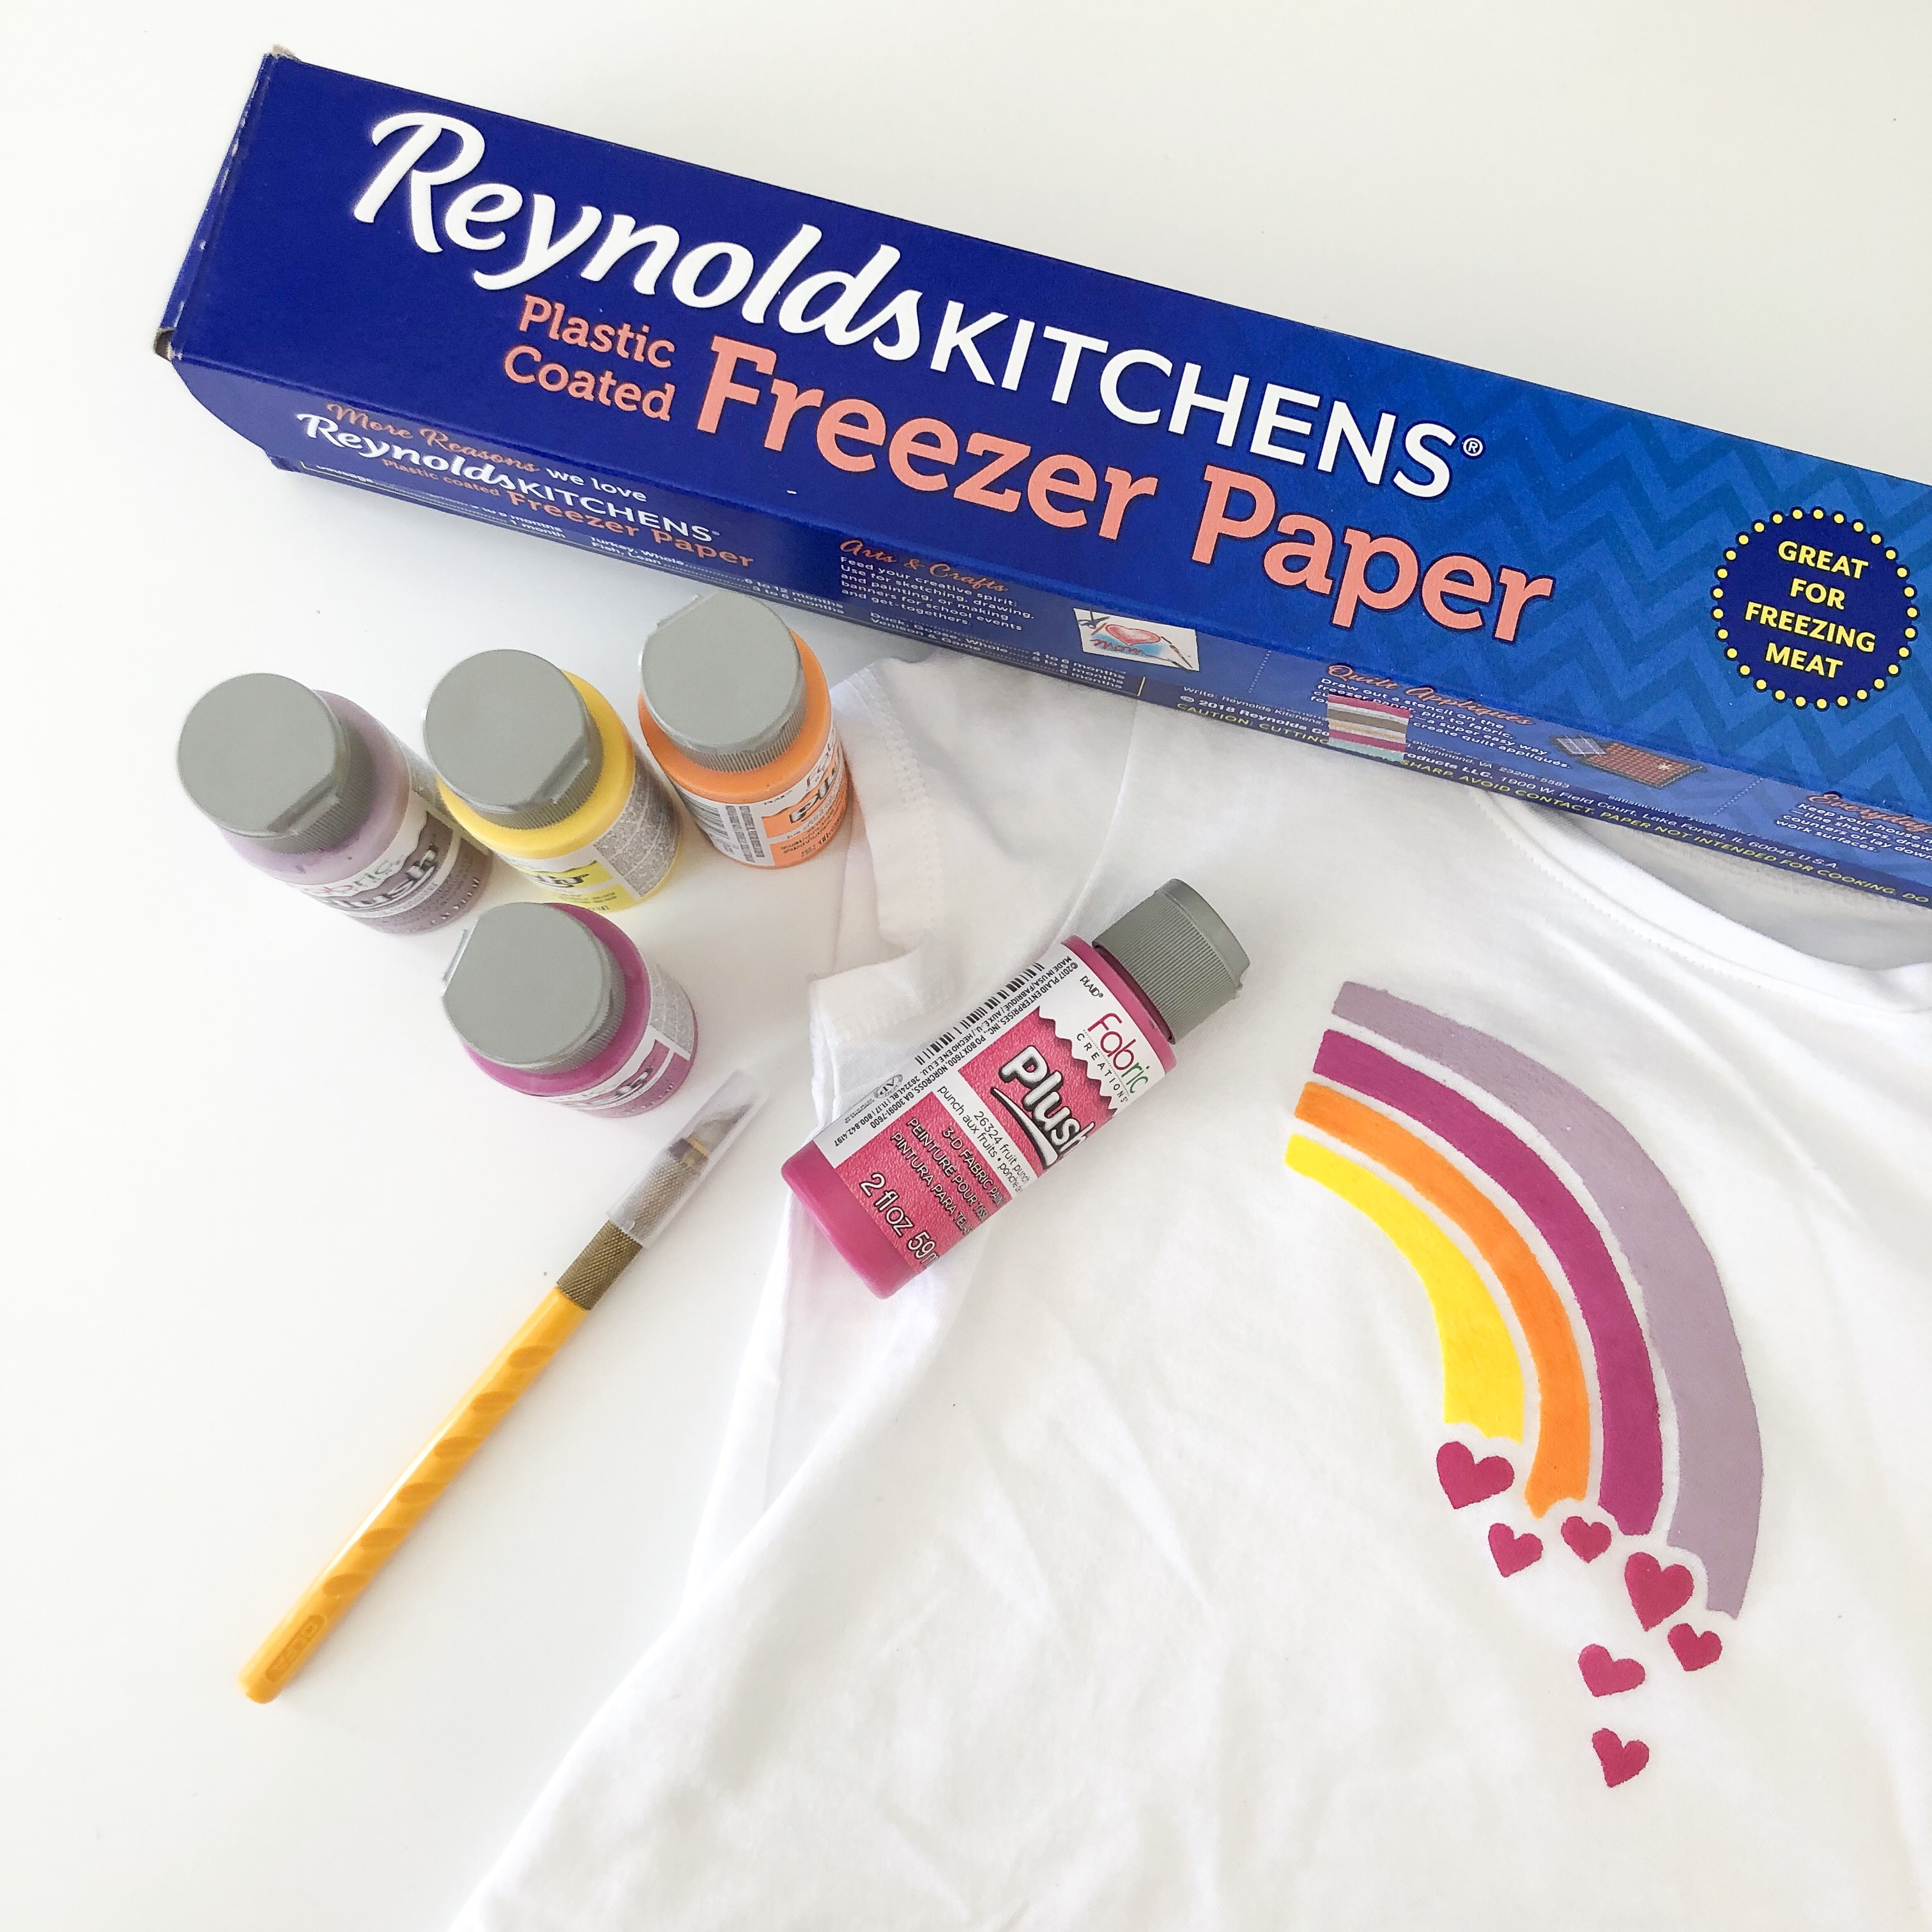
I recently discovered how to easily make my own graphic T-shirt with this simple technique. Don’t worry, it doesn’t involve one of those fancy and expensive cutting machines. It’s actually an old school method that works pretty well, and the possibilities are endless! Want to know how it’s done?
With freezer paper! I know. You’re thinking “What…freezer paper? Like the stuff next to the plastic wrap?”. Yup, that’s it. Freezer paper has a plastic coating on one side that when ironed, will stick to fabric creating a stencil. It’s also translucent so you can print and trace a design, to cut and stencil onto your t-shirt.
Now if you live in Canada, like I do, you may not find freezer paper at your local grocery store. I’m not sure why it’s hard to find here, but it is. I went to 6 different stores and never found it. I know some Home Hardware locations carry it, as well as specialty quilt shops, but I ended up ordering a large roll off Amazon to save me from driving around looking.
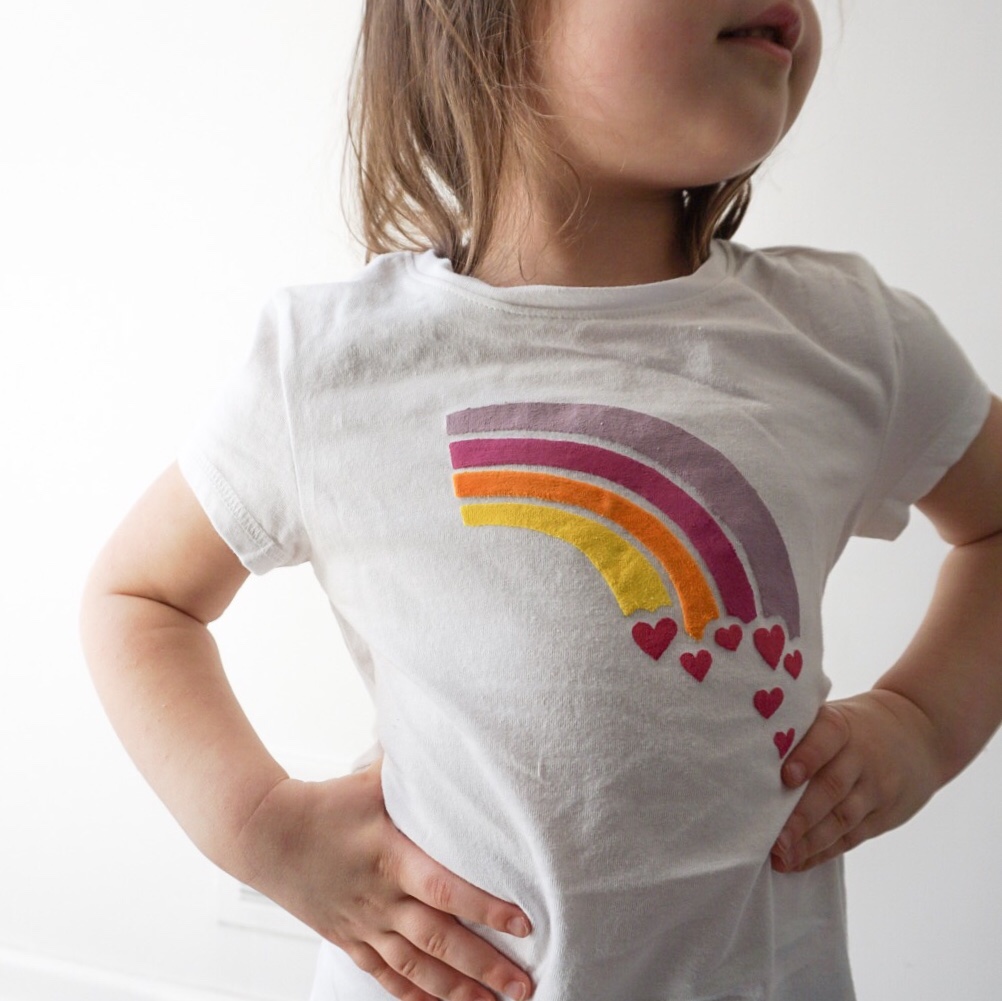
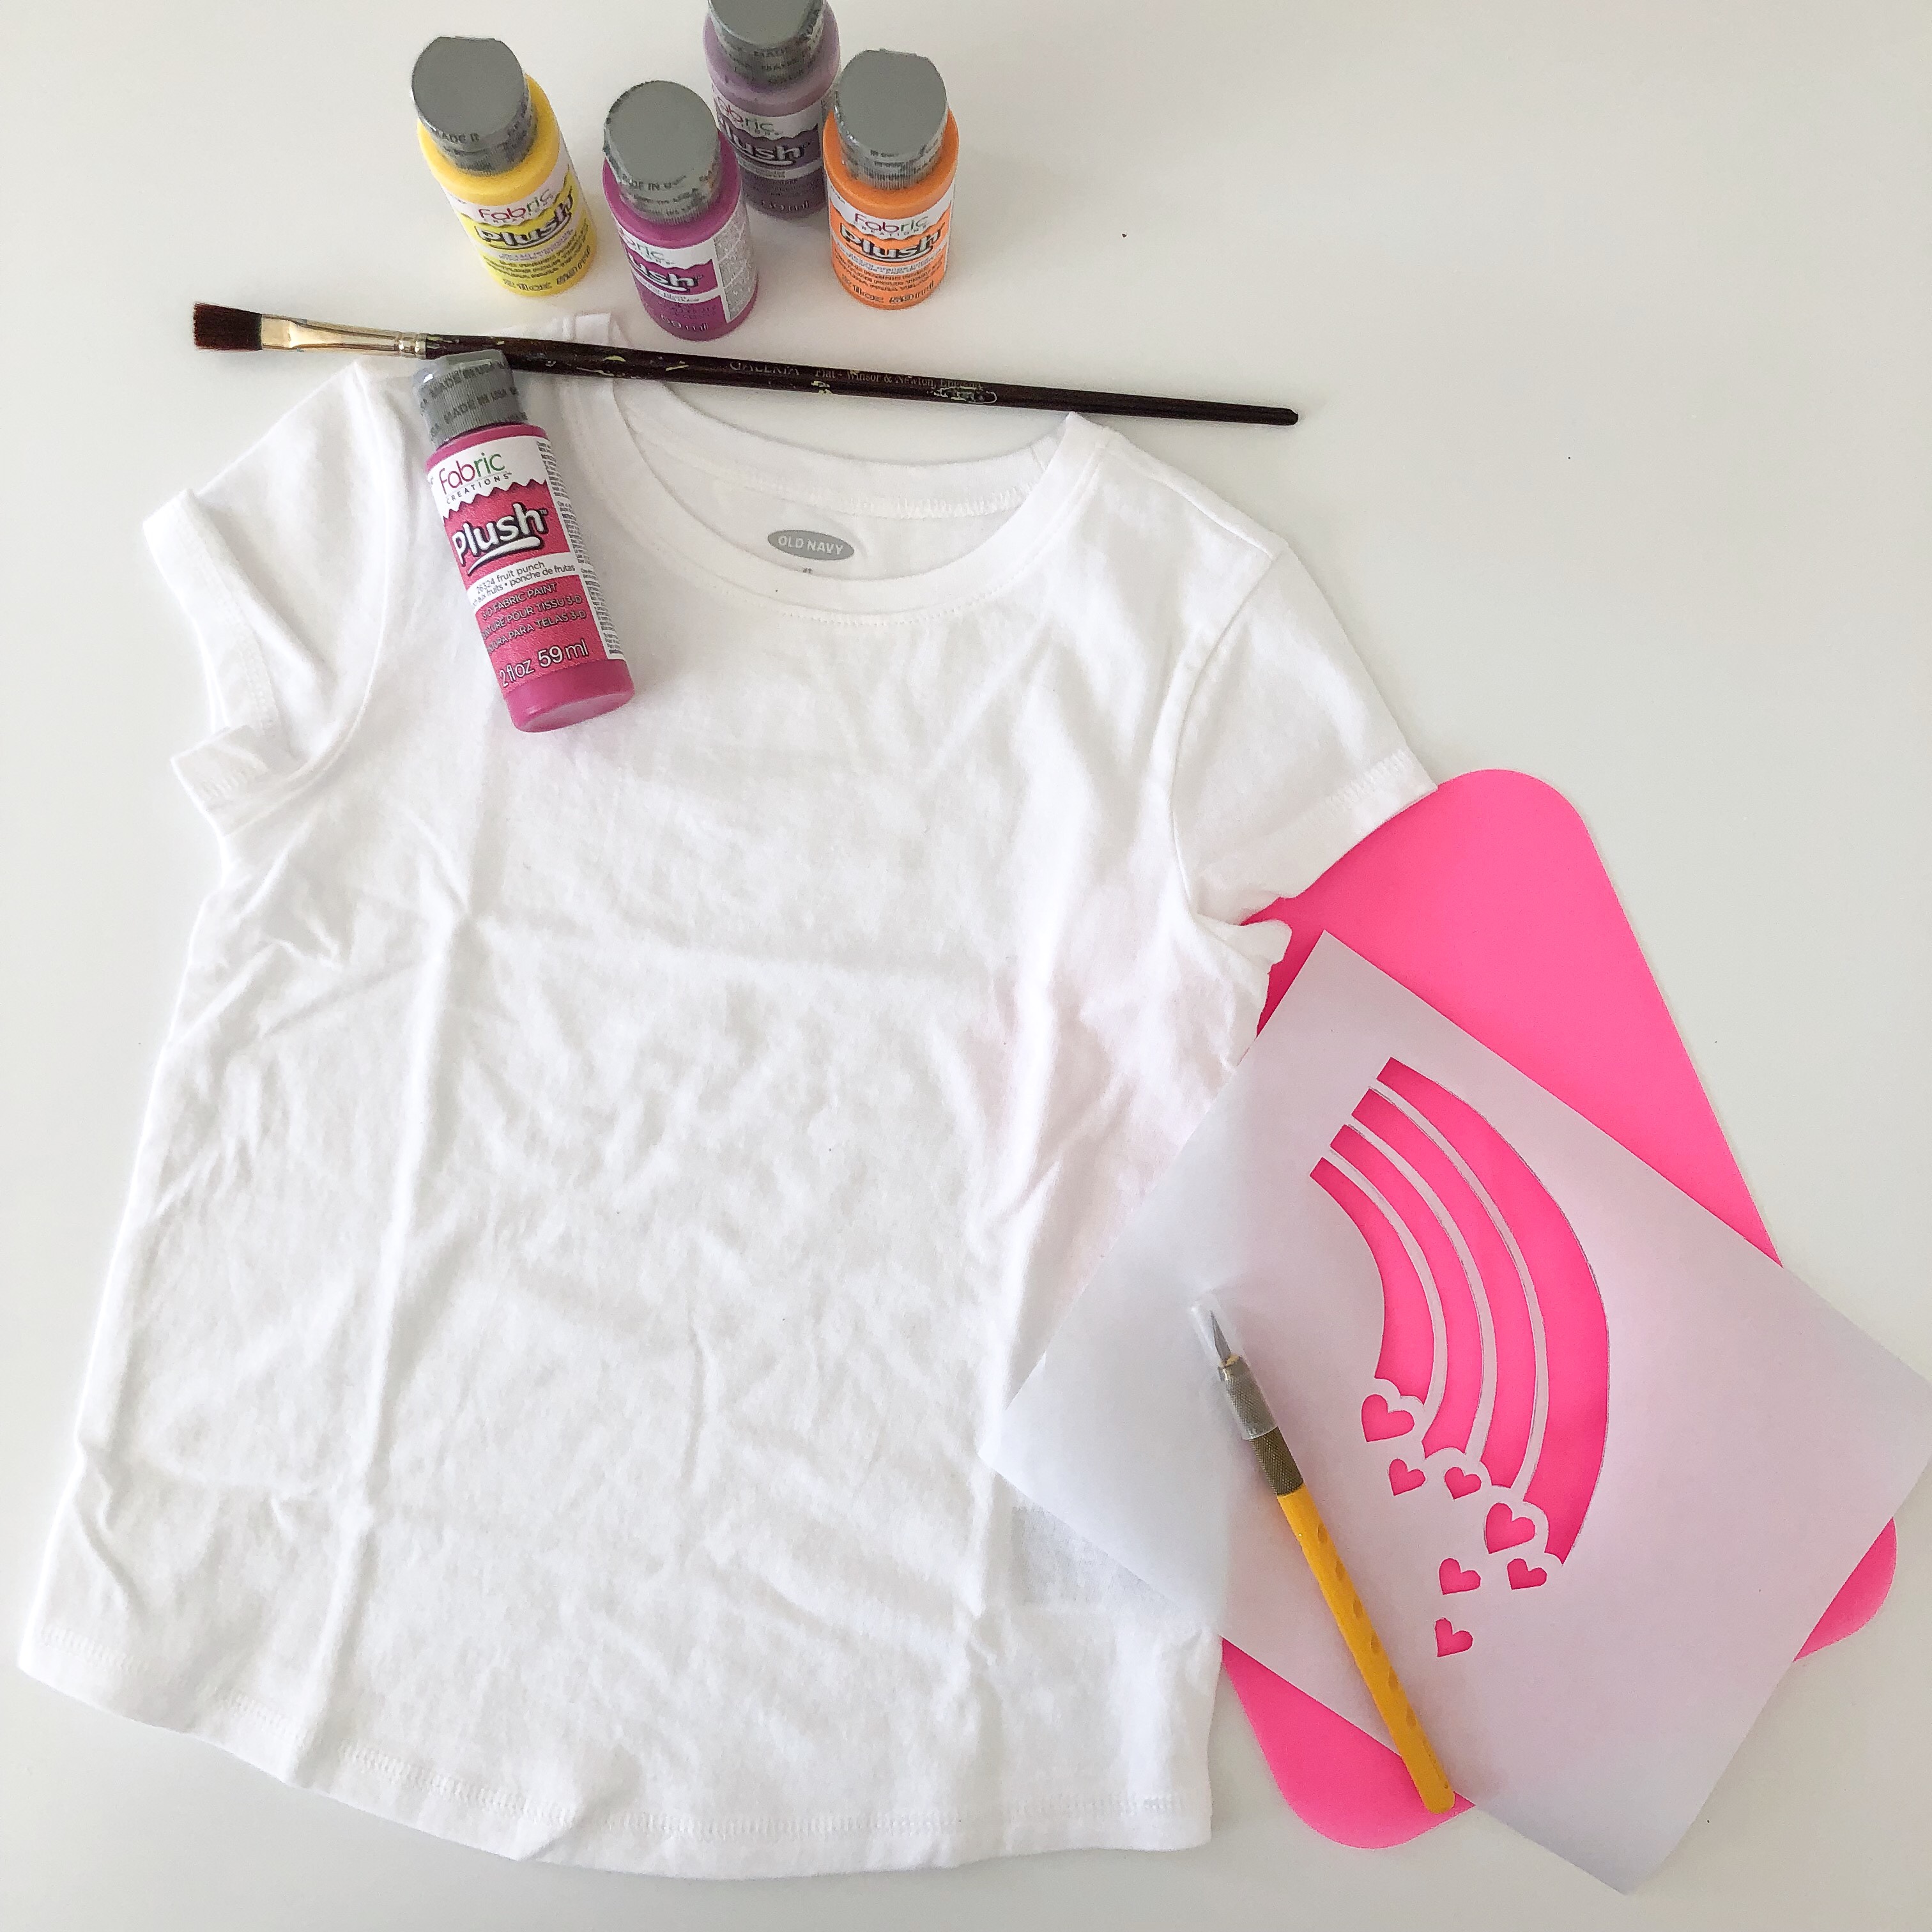
The process for making this stenciled tee is actually pretty simple. First, you have to make your design. If you aren’t great at drawing, you can print out an image, trace it onto the freezer paper and cut it out. I would definitely recommend this method if you are planning on doing any text. I drew out a rainbow with hearts freehand, then cut it out using a craft knife.
Once your design has been cut out, you need to iron the paper, plastic side down, to your t-shirt. Check to make sure the stencil is well adhered so that nothing shifts and the paint doesn’t bleed. Next, slide a piece of cardboard into the shirt so that it stays flat while painting.
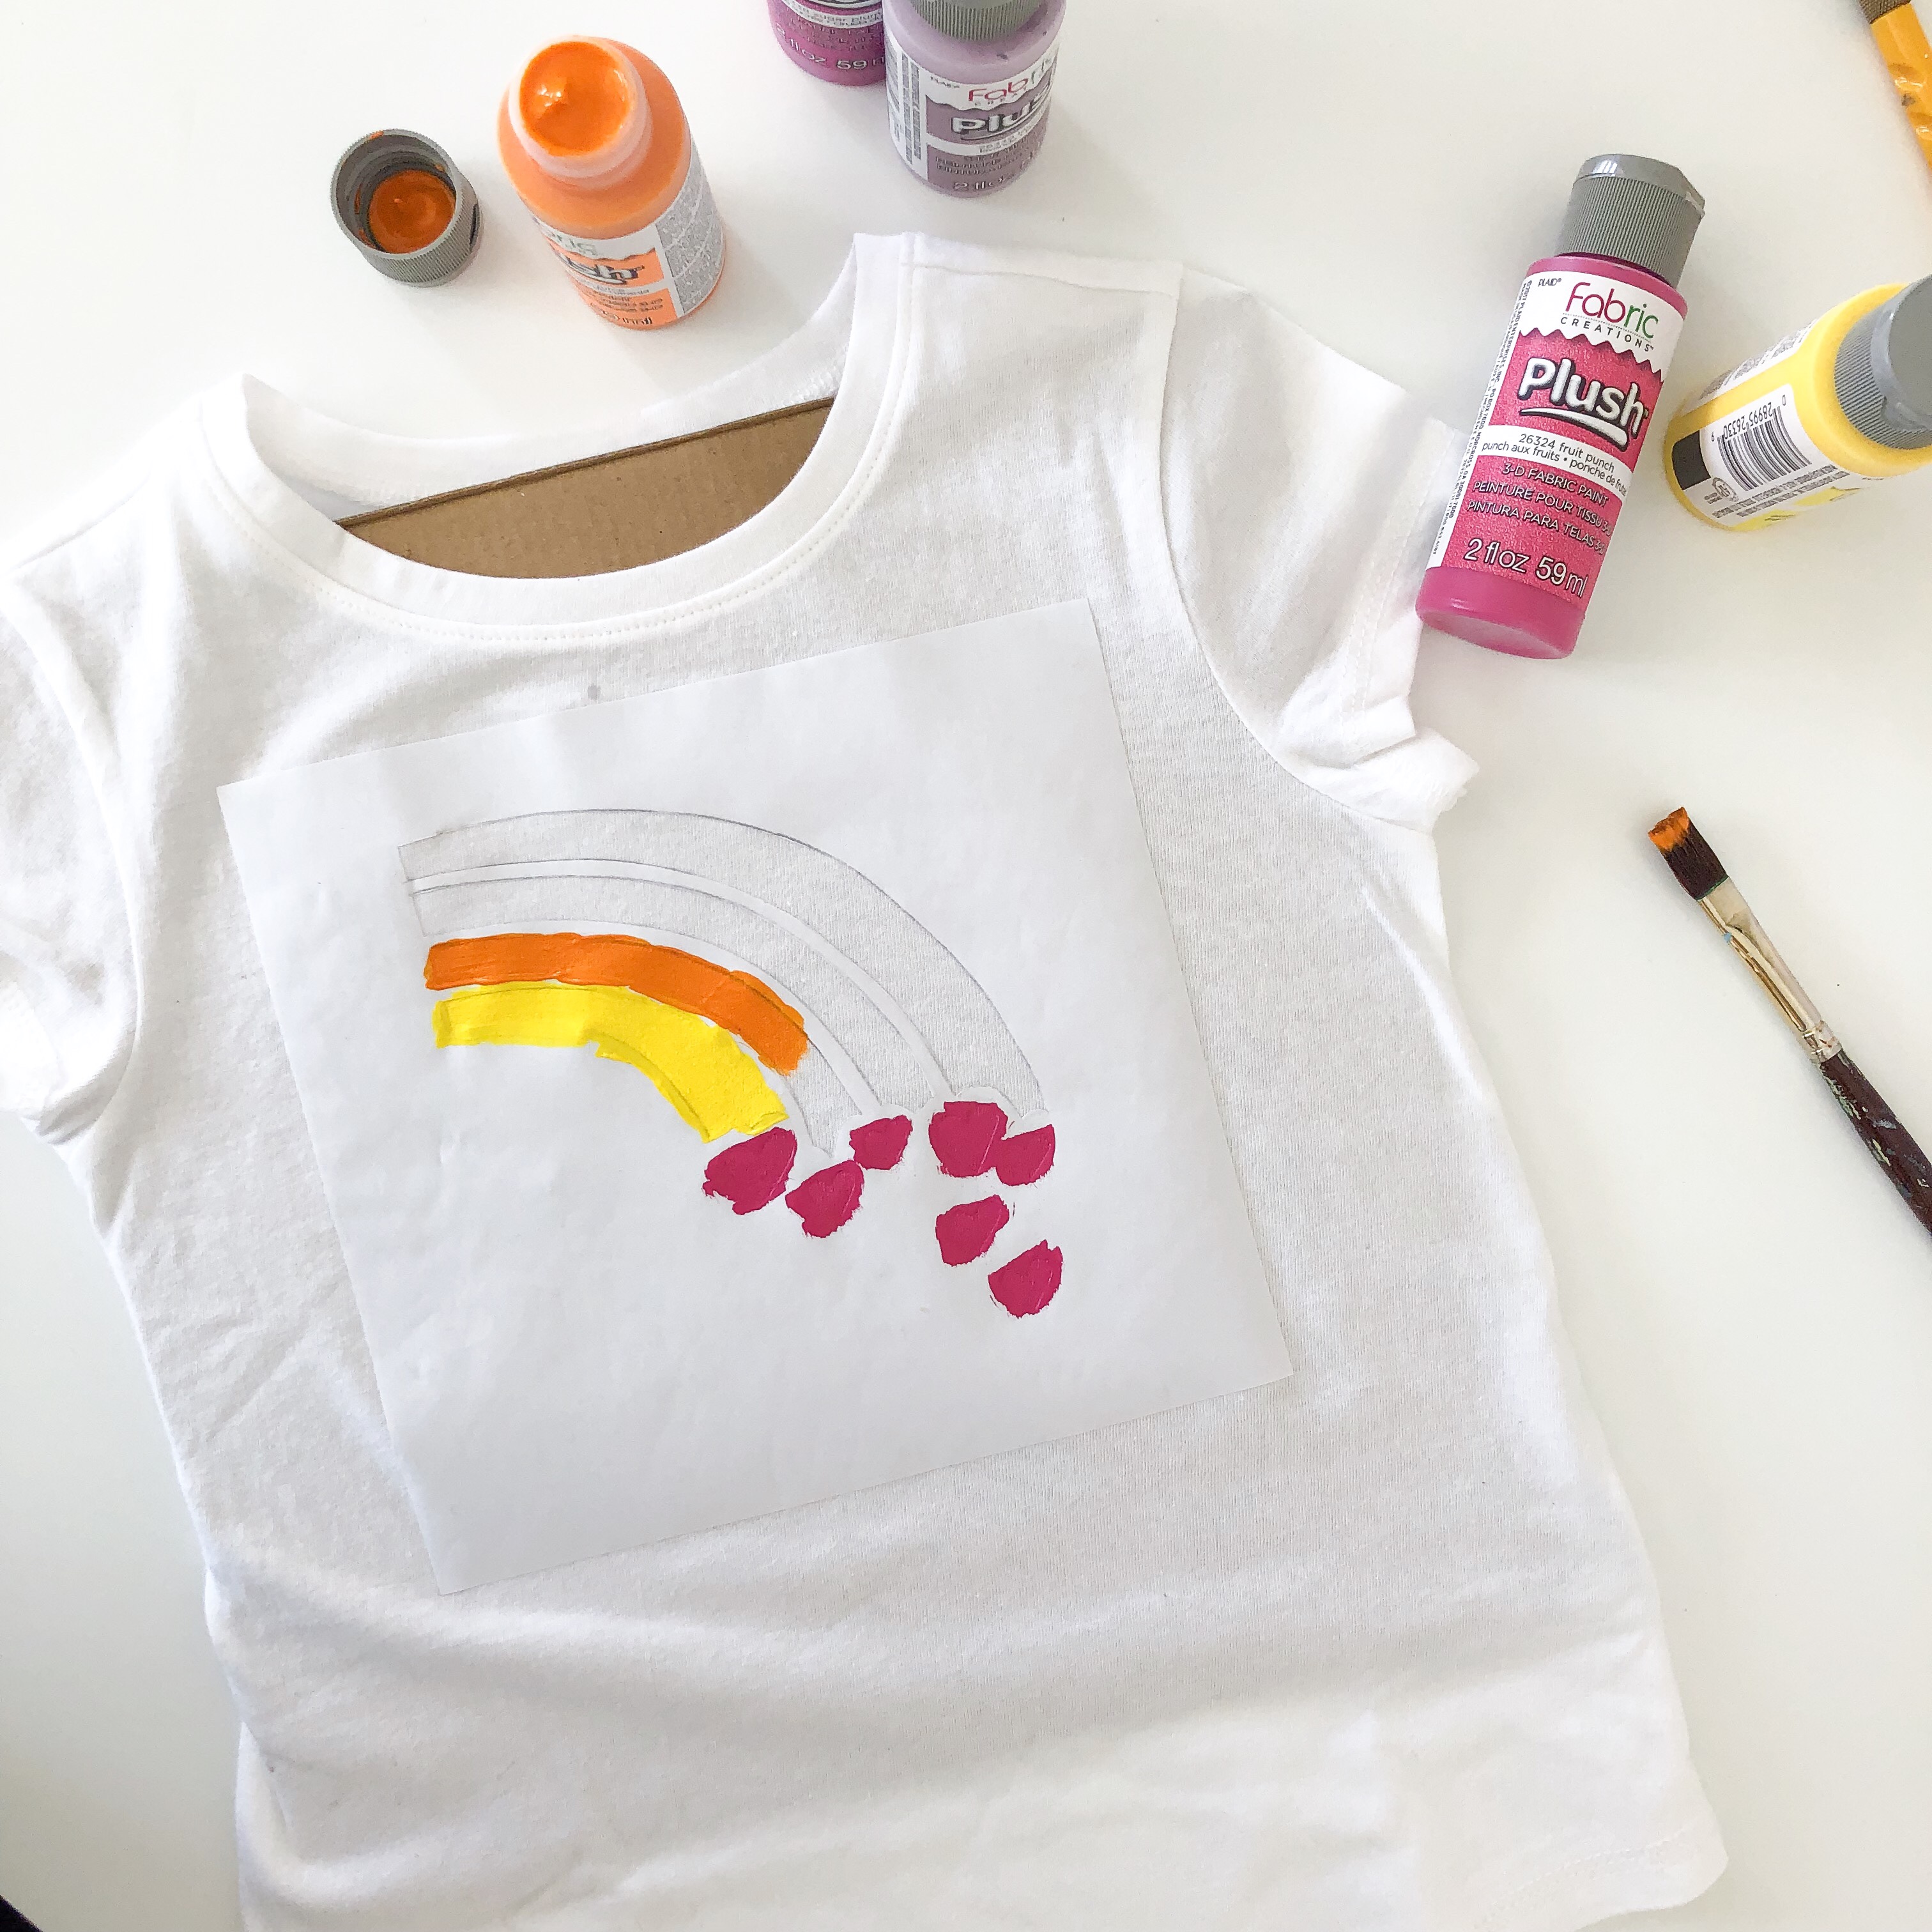
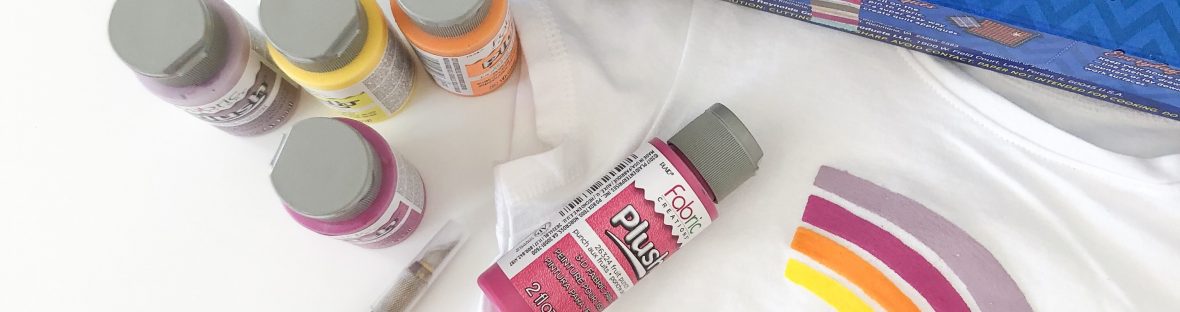
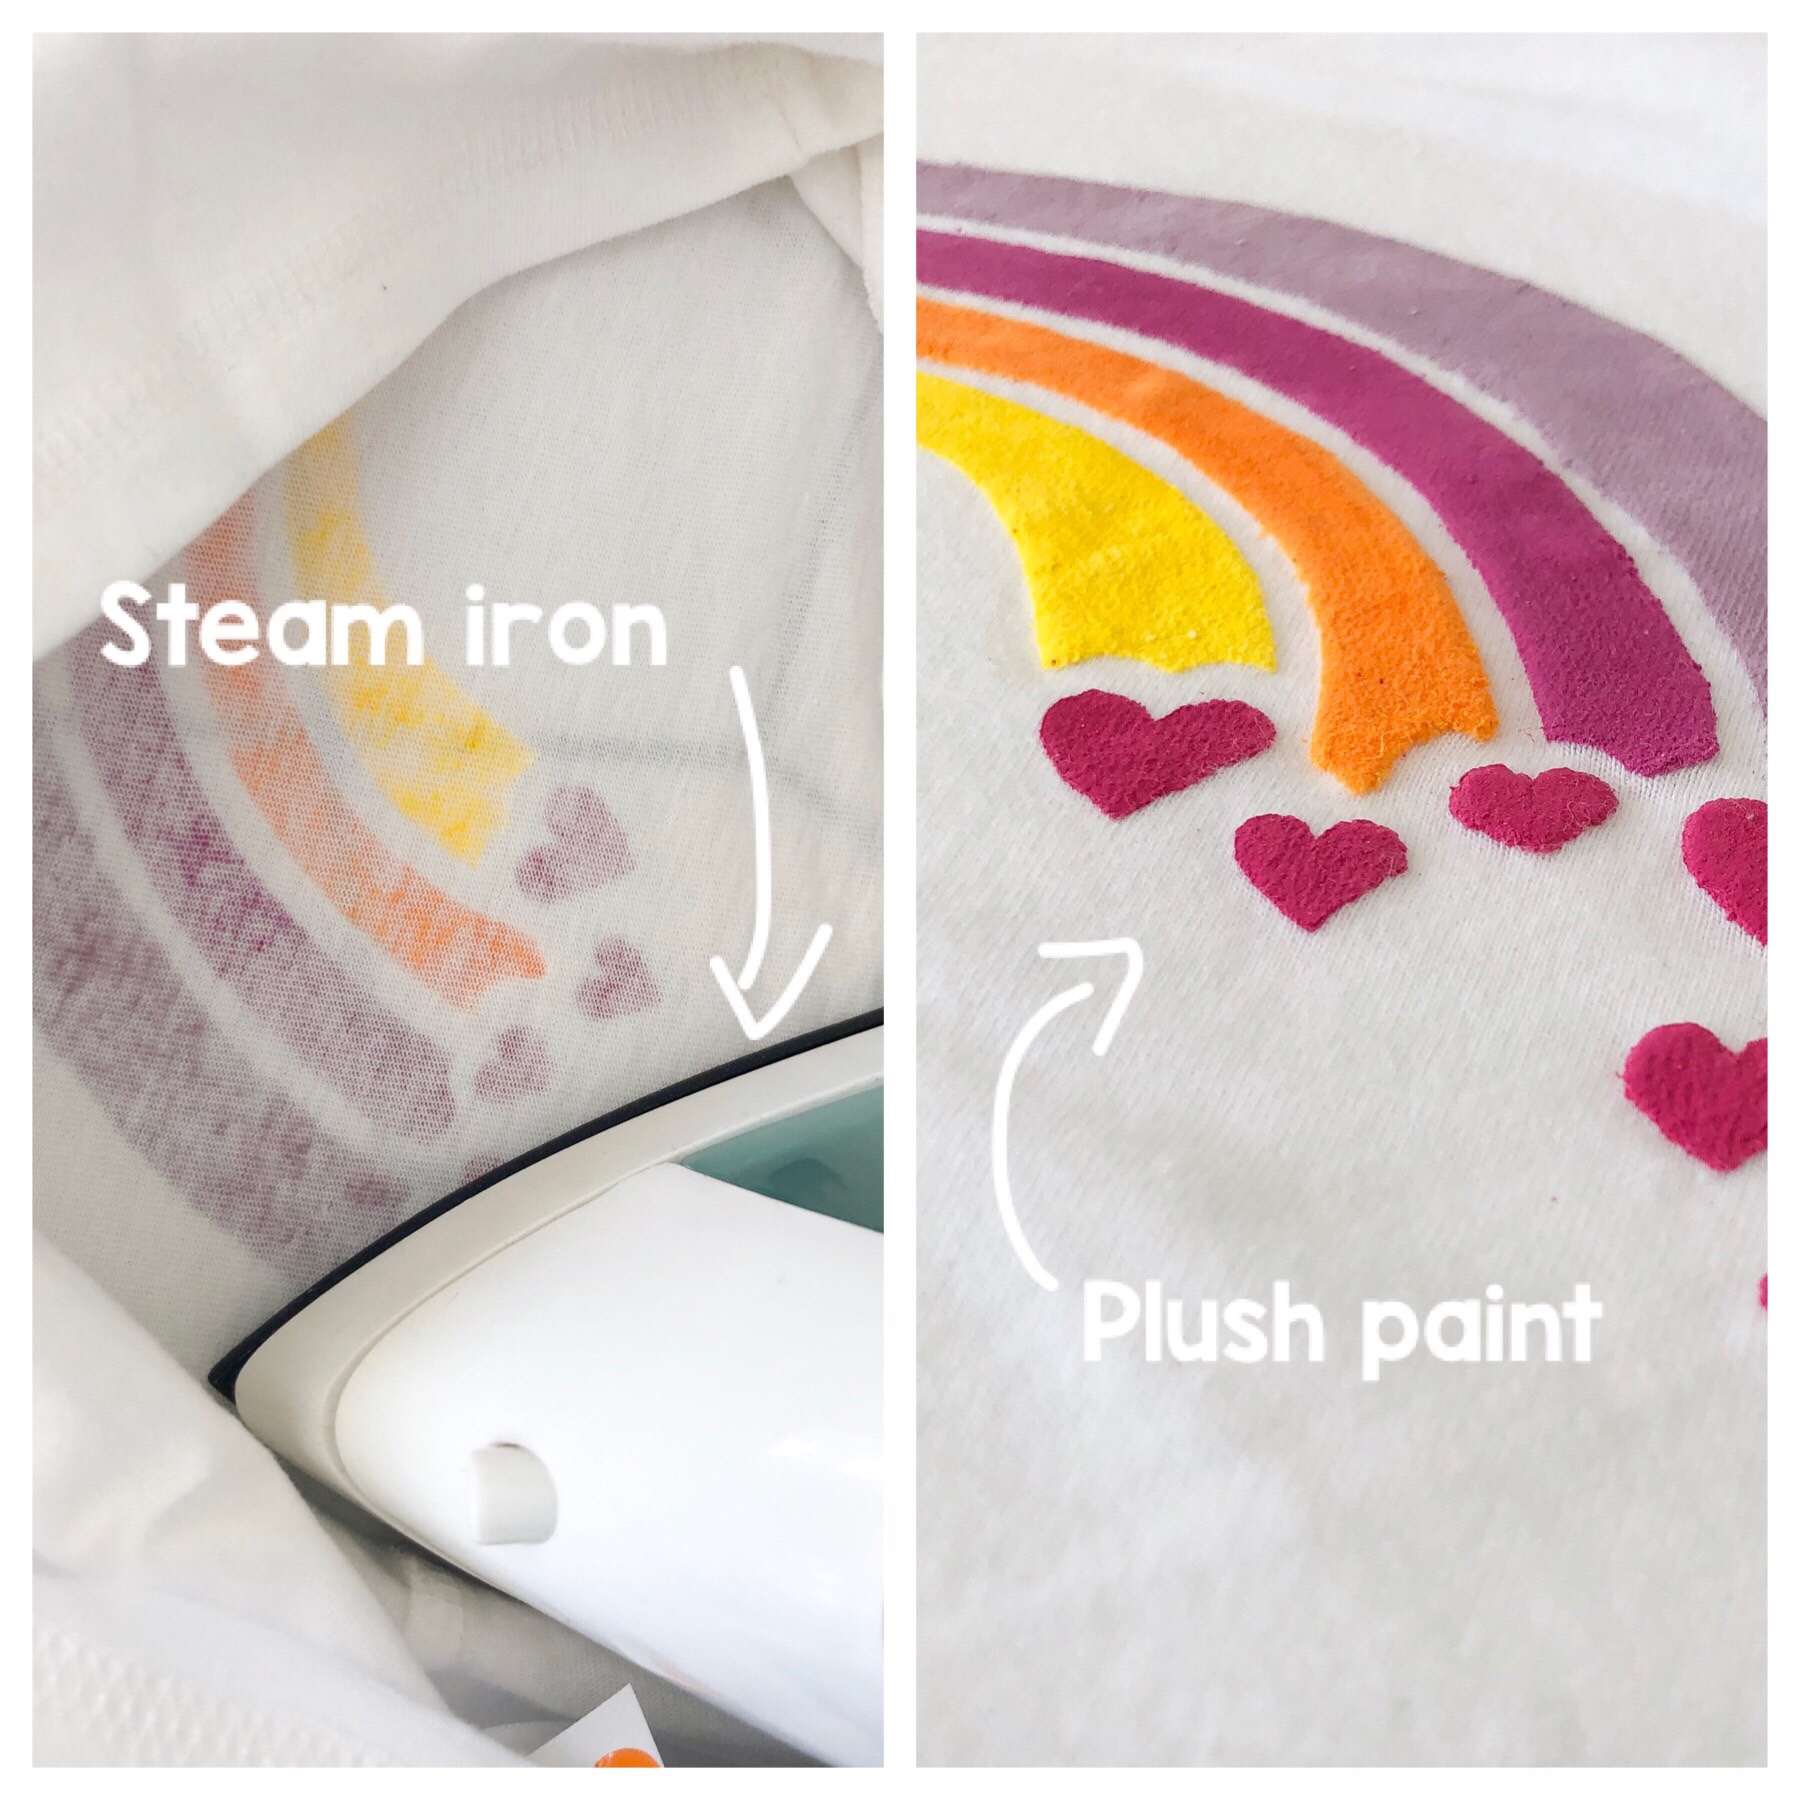
Use a paintbrush and paint in your stencil using whatever colours you like! Make sure you use fabric paint and follow the instructions on the bottle. I used this nifty Plush paint by Fabric Creations in the colours Fruit Punch, Sugar Plum, Lavender, Lemonade, and Orange Juice. Before the paint dries, peel off the stencil. This ensures crisp edges. If the stencil is very large, you may want to get someone to help you hold the fabric down while you gently peel the stencil away.
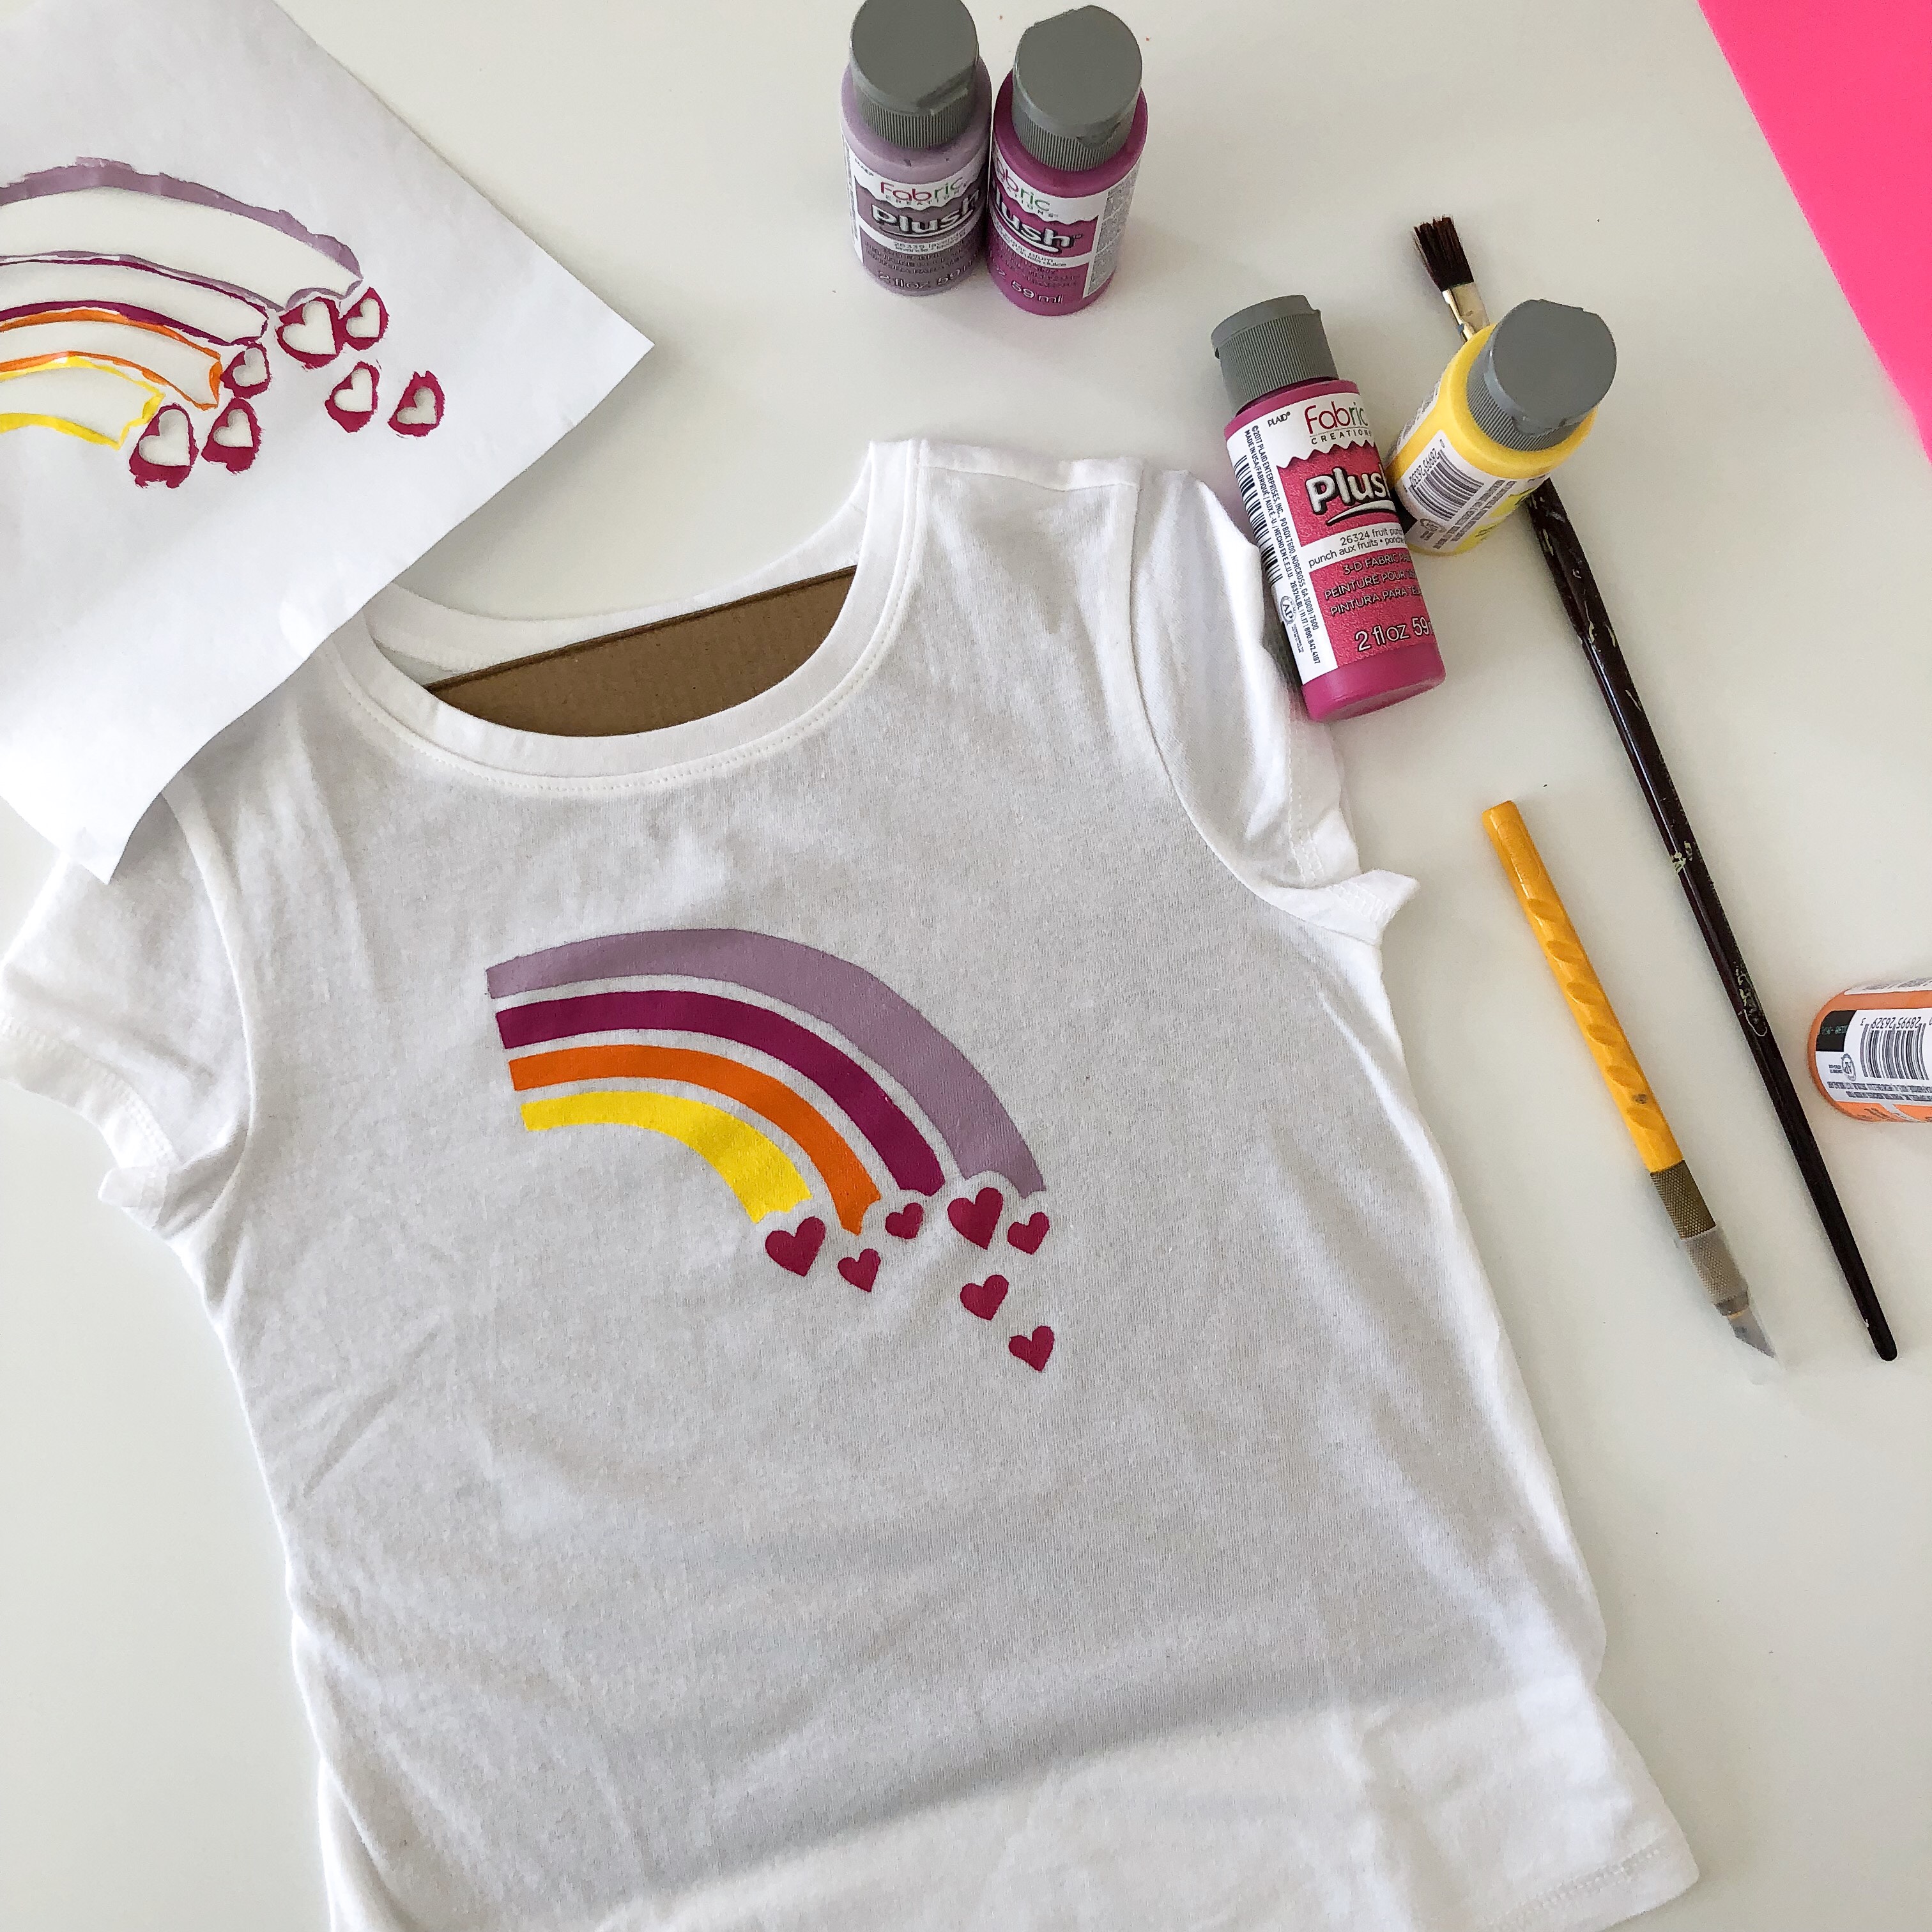
Allow the paint to dry according to the instructions on the bottle. If you are using Plush paint, there’s one extra step you need to make the paint puffy, which is ironing. Once the paint has dried for 24 hours, iron the underside using the steam setting to activate the paint, and watch as it becomes plush!
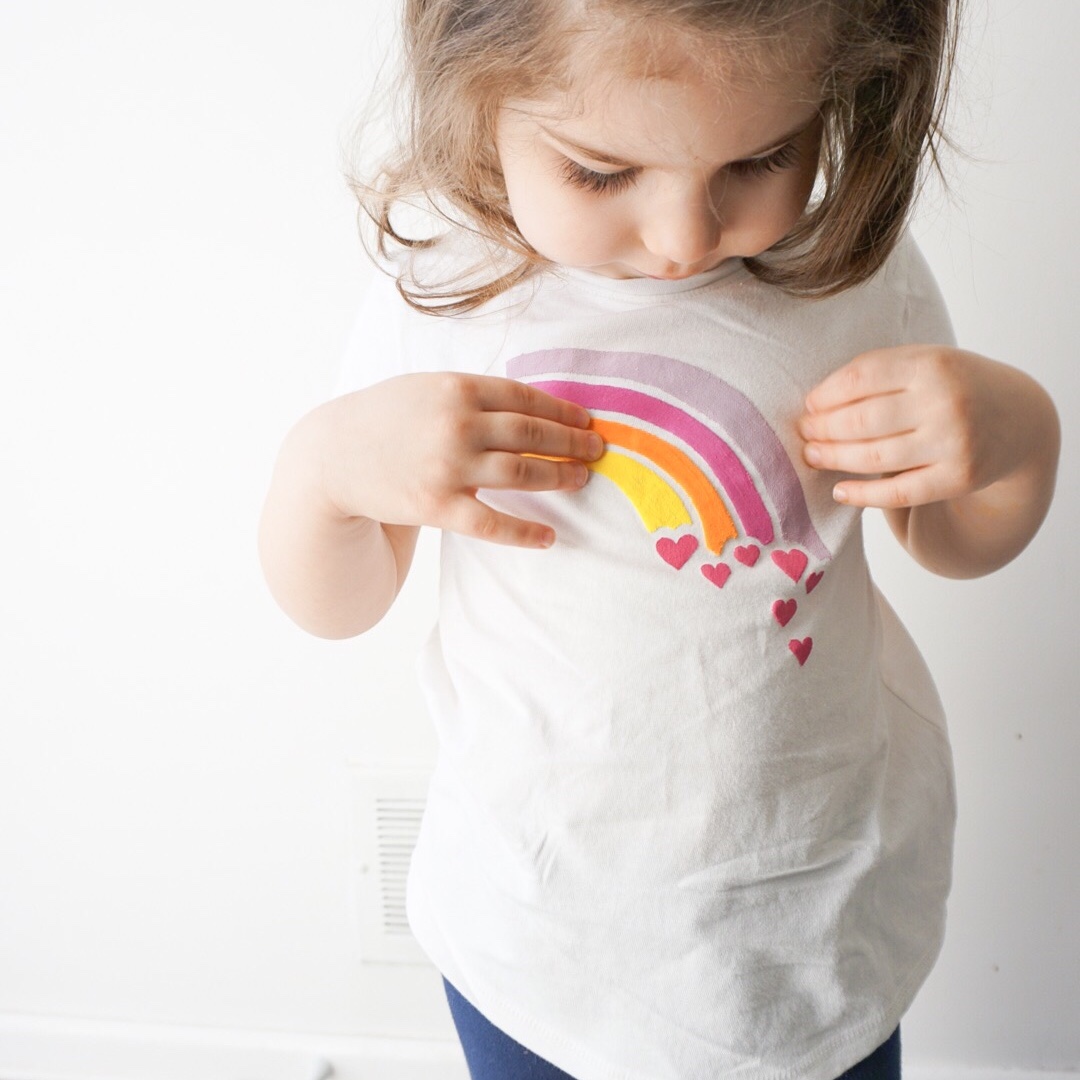
I was so impressed with how easy and effective freezer paper was for stenciling. And this method works on any fabric, so you can customize aprons, bags, pillows, sweatshirts, pretty much anything! I think I’ll be making matching shirts next for the girls and myself.
Follow me on Instagram and share your creations with me by using the tag #makeitlaura.