I recently bought some beeswax bars on Amazon so that I could refinish a Montessori-style wooden baby rattle. Because the rattle is natural wood I knew it needed a protective coating, but wanted something baby safe. Applying the beeswax on its own was a little tricky, so I did some googling. I discovered you can easily make your own wood protector using beeswax and mineral oil. Since I had both in the house, I quickly whipped up a batch for myself.
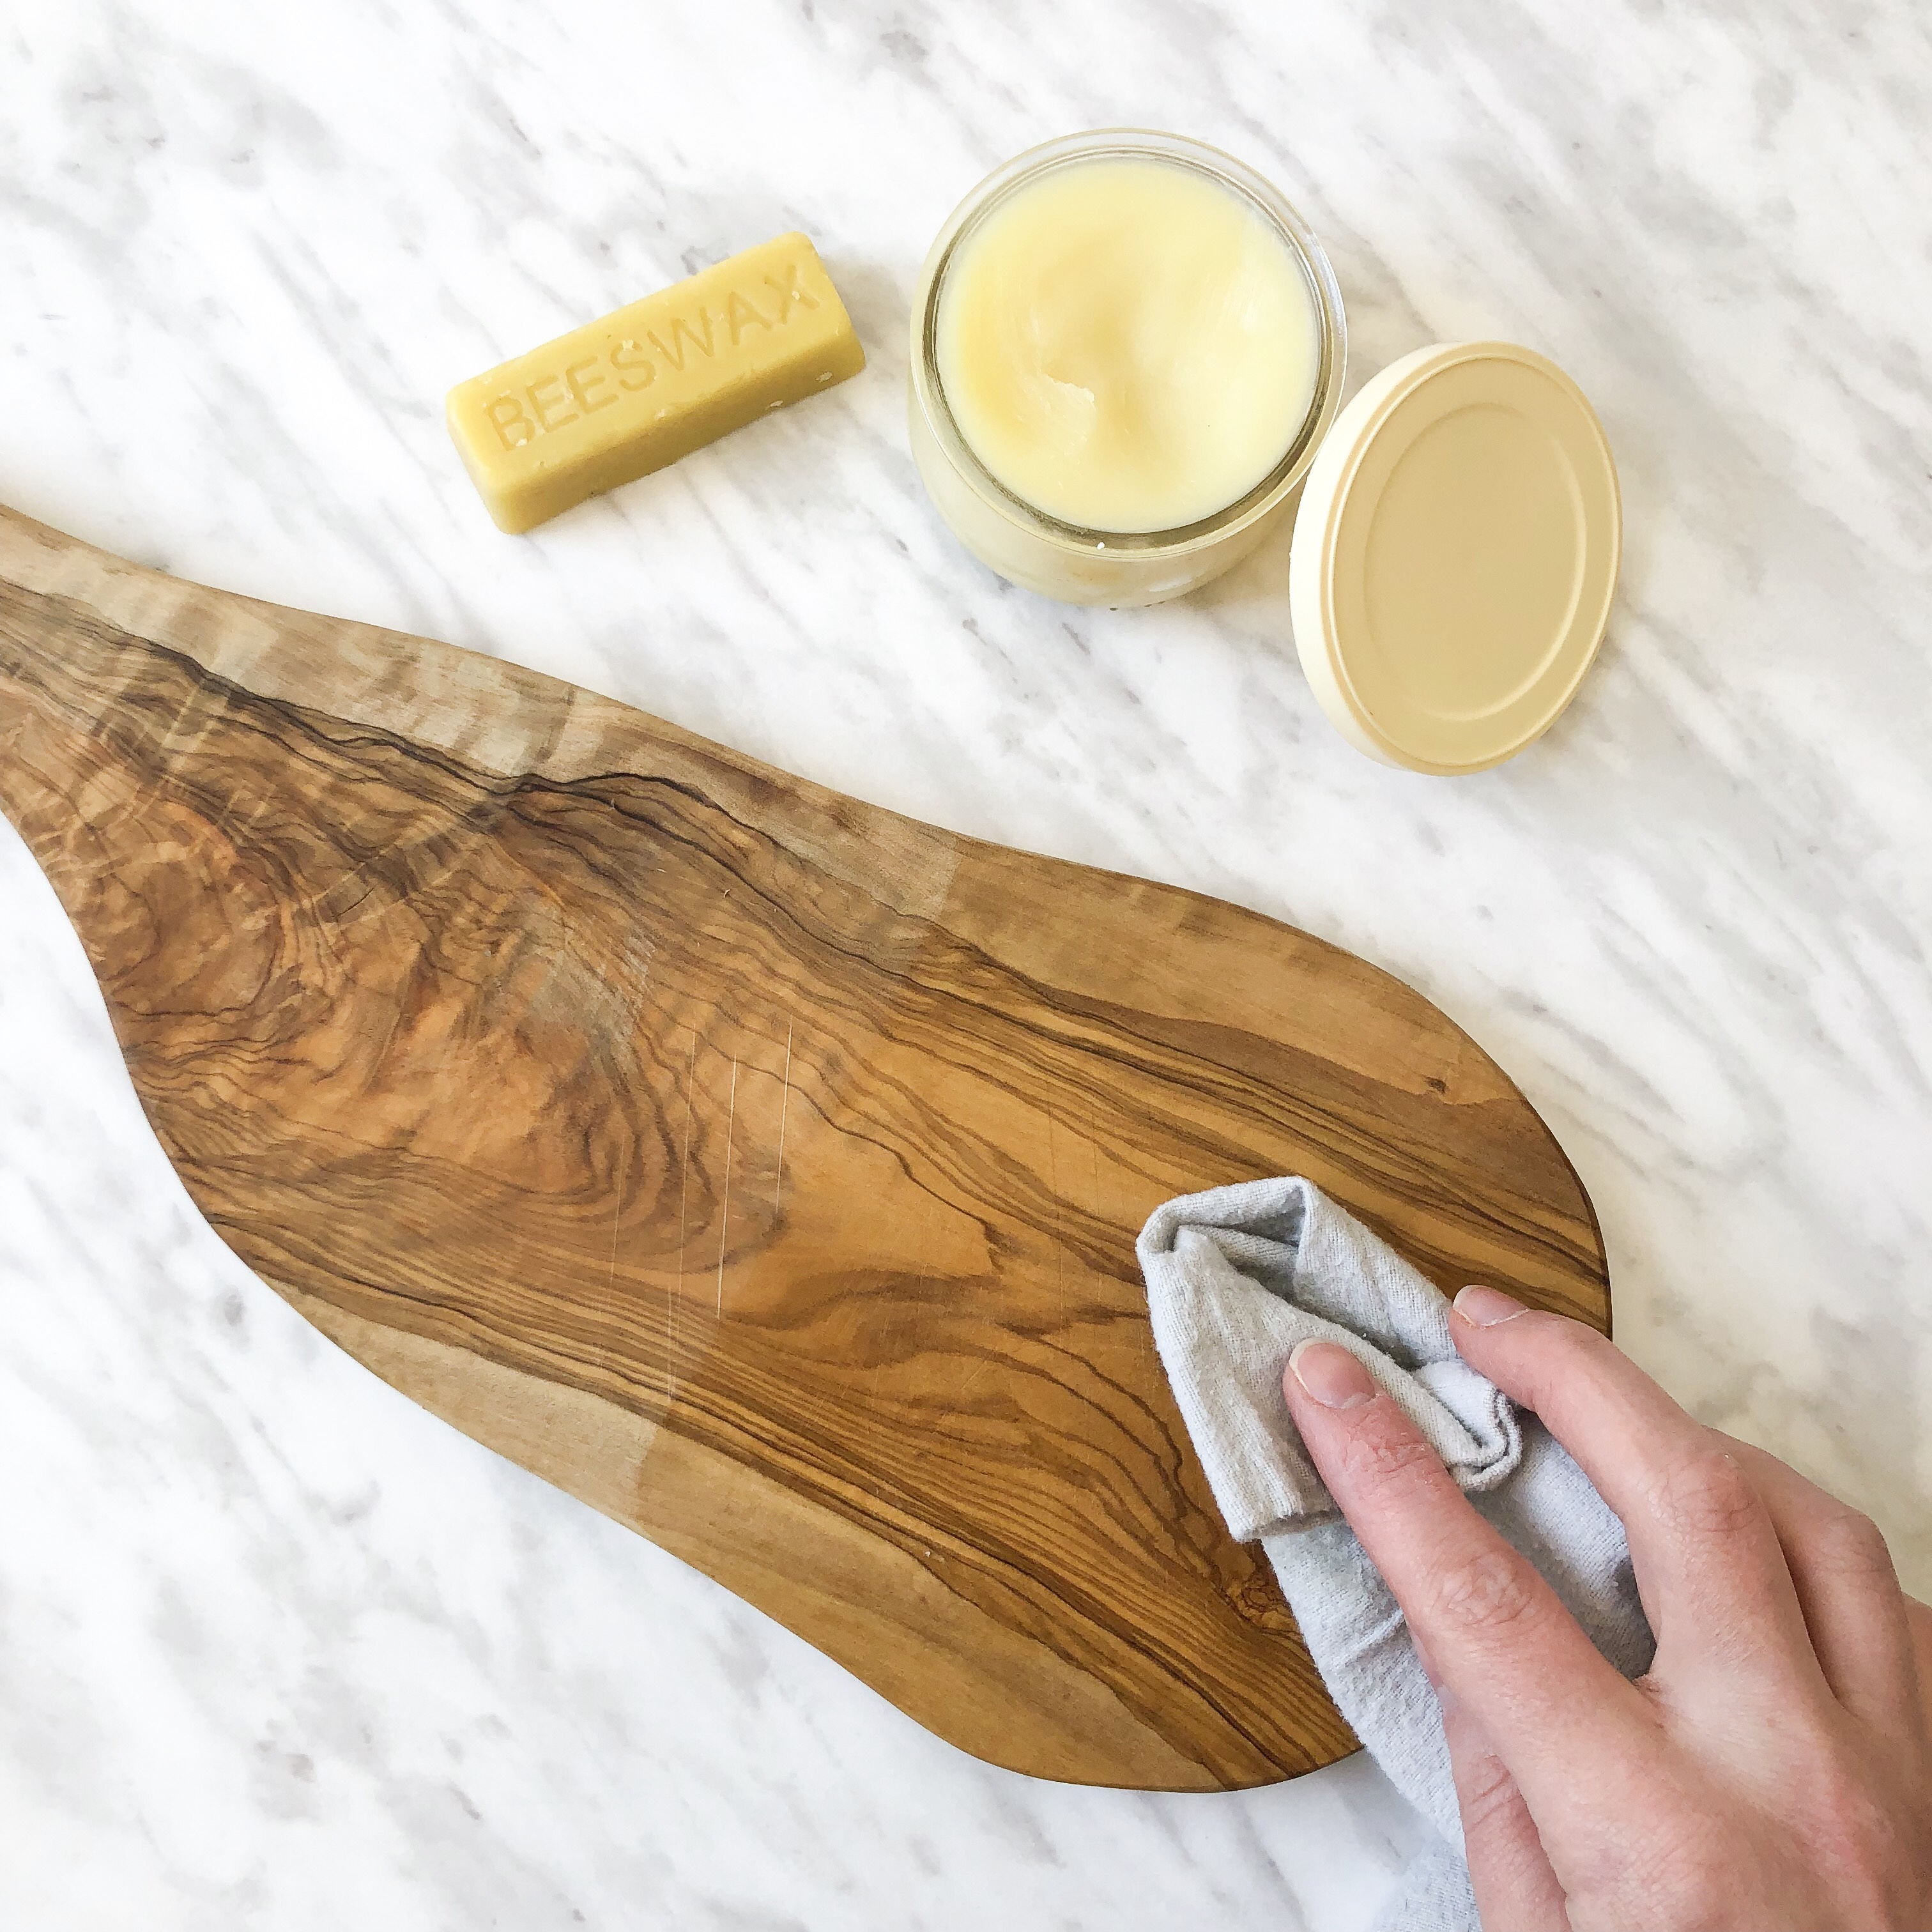
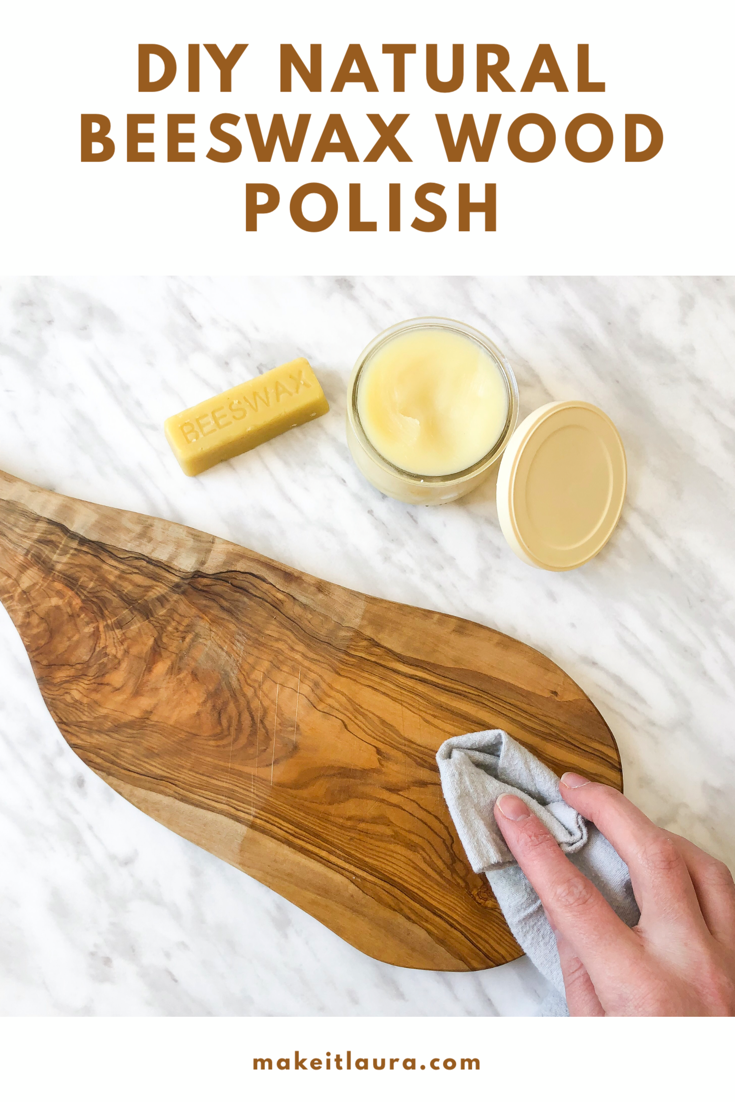
This is a olive wood mini cheese board that was in desperate need of hydration and protection.
This DIY was extremely easy and took maybe 15 minutes to complete. The finished wood protector is a soft paste that can be applied easily. Not only does it keep wood hydrated, but it also provides a slightly waterproof coating.
My cutting board is probably 10 years old and now it looks amazing.
The best part is it’s completely food safe, easy to apply, and can be used on any unfinished wood. This protector would make a great housewarming gift, along with a beautiful wooden cutting board. Here’s how to make your own.
You will need:
– 1oz bar pure beeswax
– 1/2 cup mineral oil
– glass jar with lid for storage
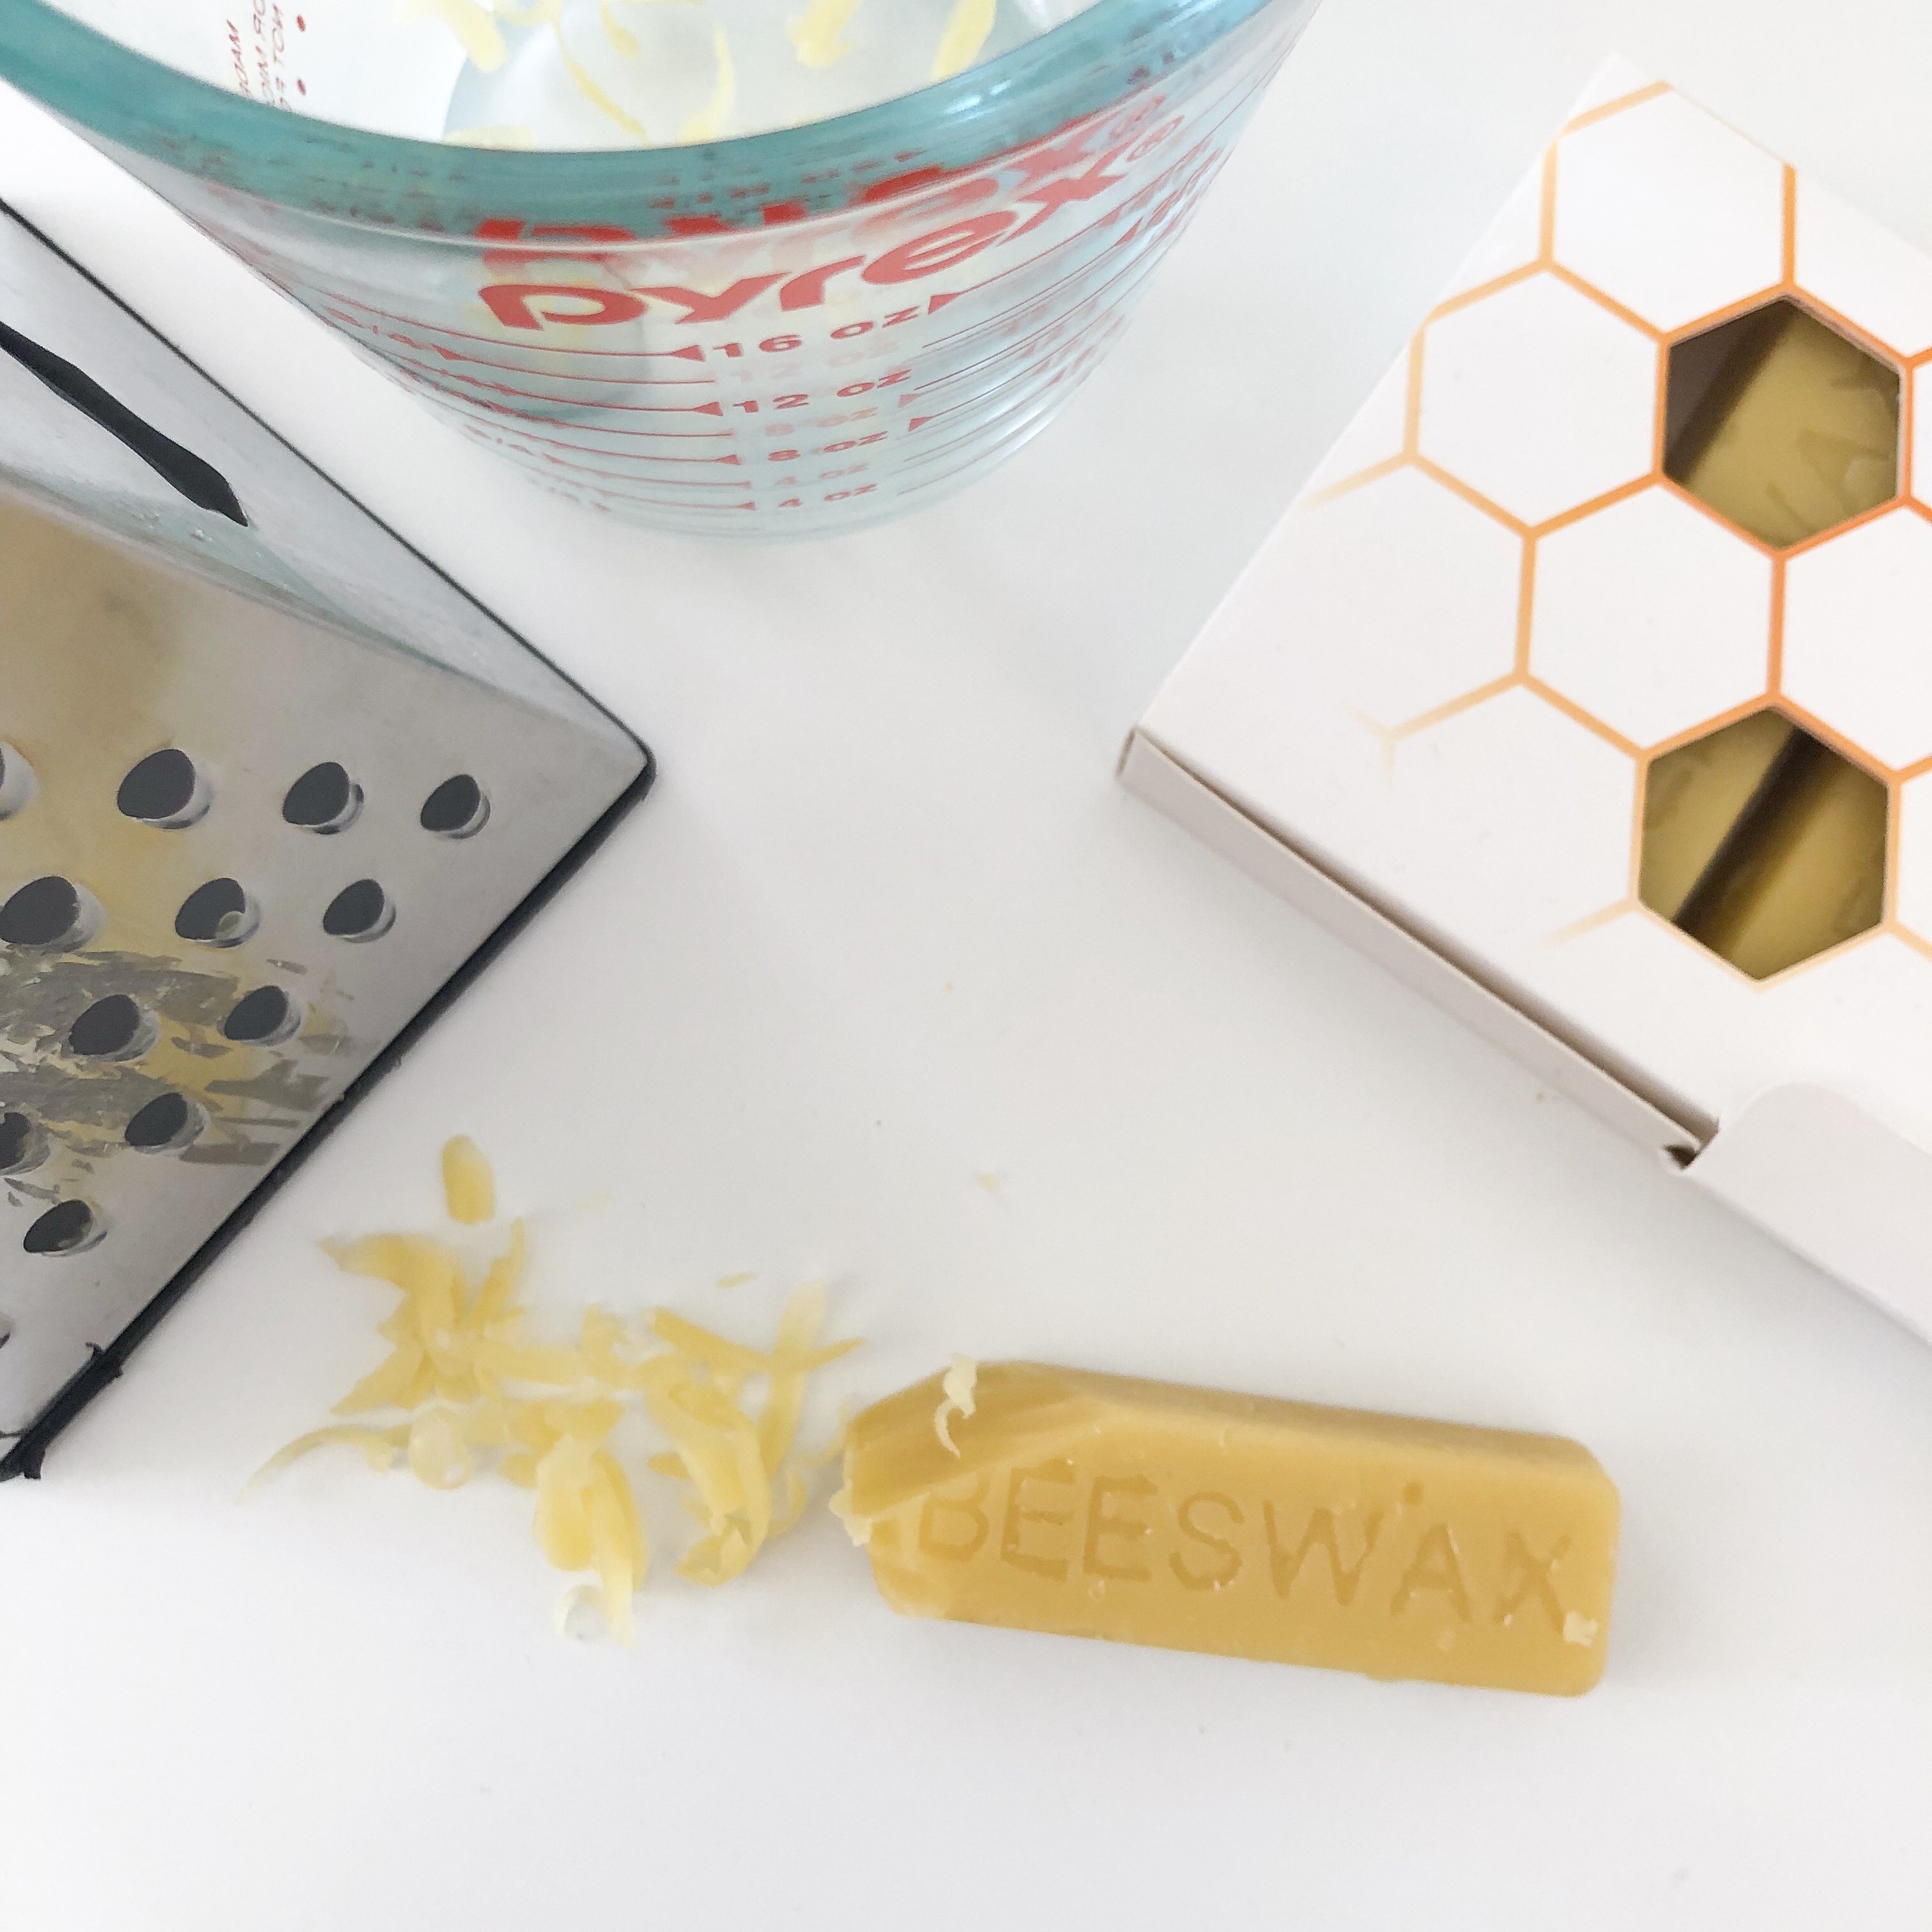
Start by chopping, or shaving the beeswax bar into small pieces. I found grating it with my cheese grater worked best. Add the beeswax to a small saucepan, along with 1/2 cup of mineral oil. Gently stir the mixture on the stove until the beeswax is completely melted. Pour the mixture into a clean glass jar and allow it to cool. You will know its ready to use once its a pale opaque yellow colour. Using a clean cloth, apply small amounts of wood protector onto any item of unfinished wood. Reapply as needed.

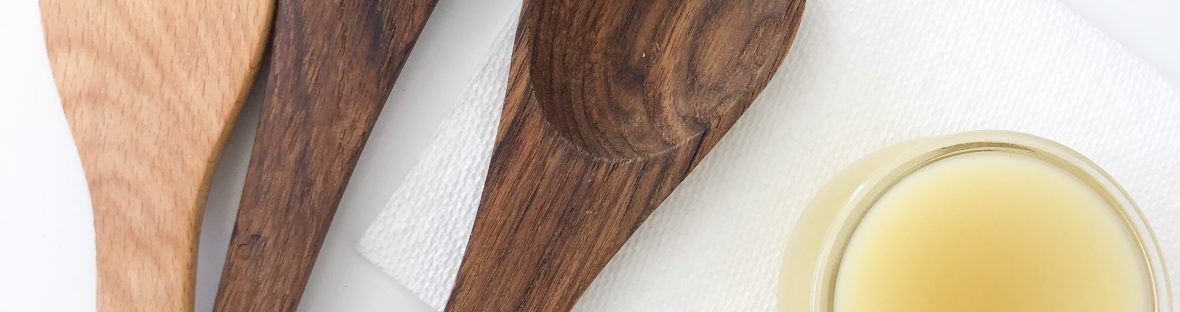
This protector worked beautifully on my teak salad set.
I used this protector on all of my wooden kitchen utensils, wooden bowls, and cutting boards. I had no idea how badly my bamboo cutting board needed this. It has a whole new life now! I’m so excited to try out other DIY projects with beeswax. There may be a post about homemade lipbalm in the near future.

Want more? Follow me on Instagram, or Pinterest and subscribe to my newsletter to stay up to date on all my DIY protects, crafts, and recipes.