I’ve been gifted tickets to Disney on Ice – 100 Years of Magic this year! I’ve never been to any ice shows, but knowing it’s Disney I’m sure it will be amazing. I wanted to make my daughter a cute outfit for the event and a friend of mine suggested mouse ears. I bought some plain headbands earlier in the year and knew I could easily make mouse ears with some pompoms, ribbon, and whatever else I had in my stash.
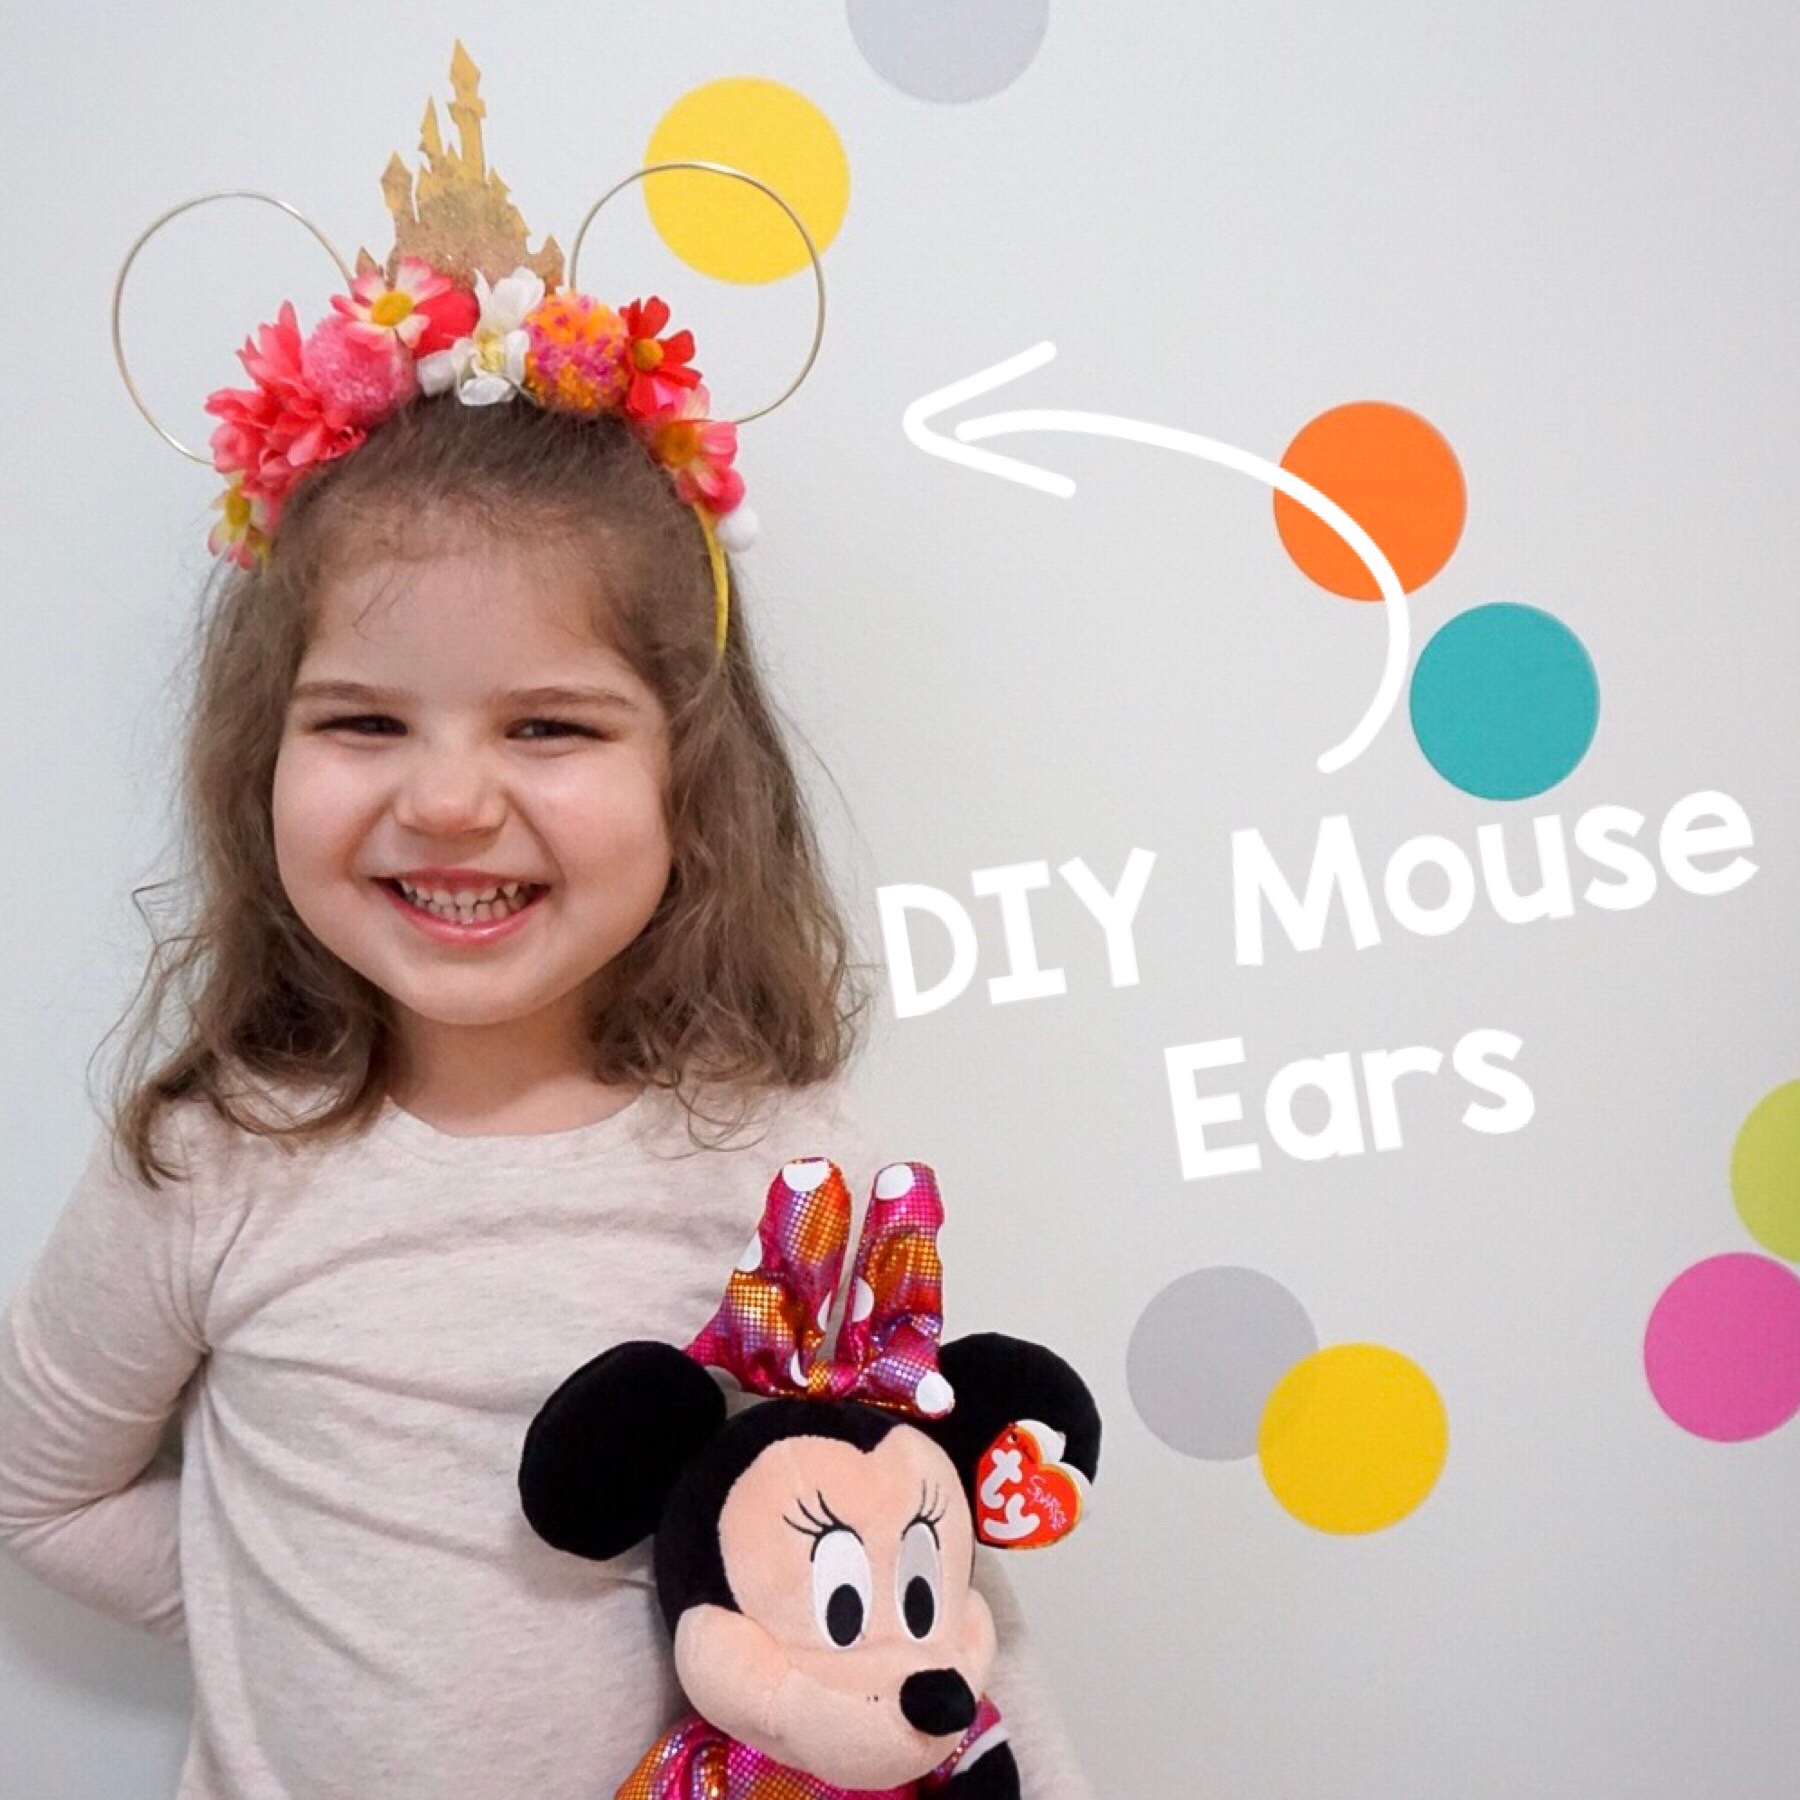
Here’s how it turned out and how you can make your own. All you need is:
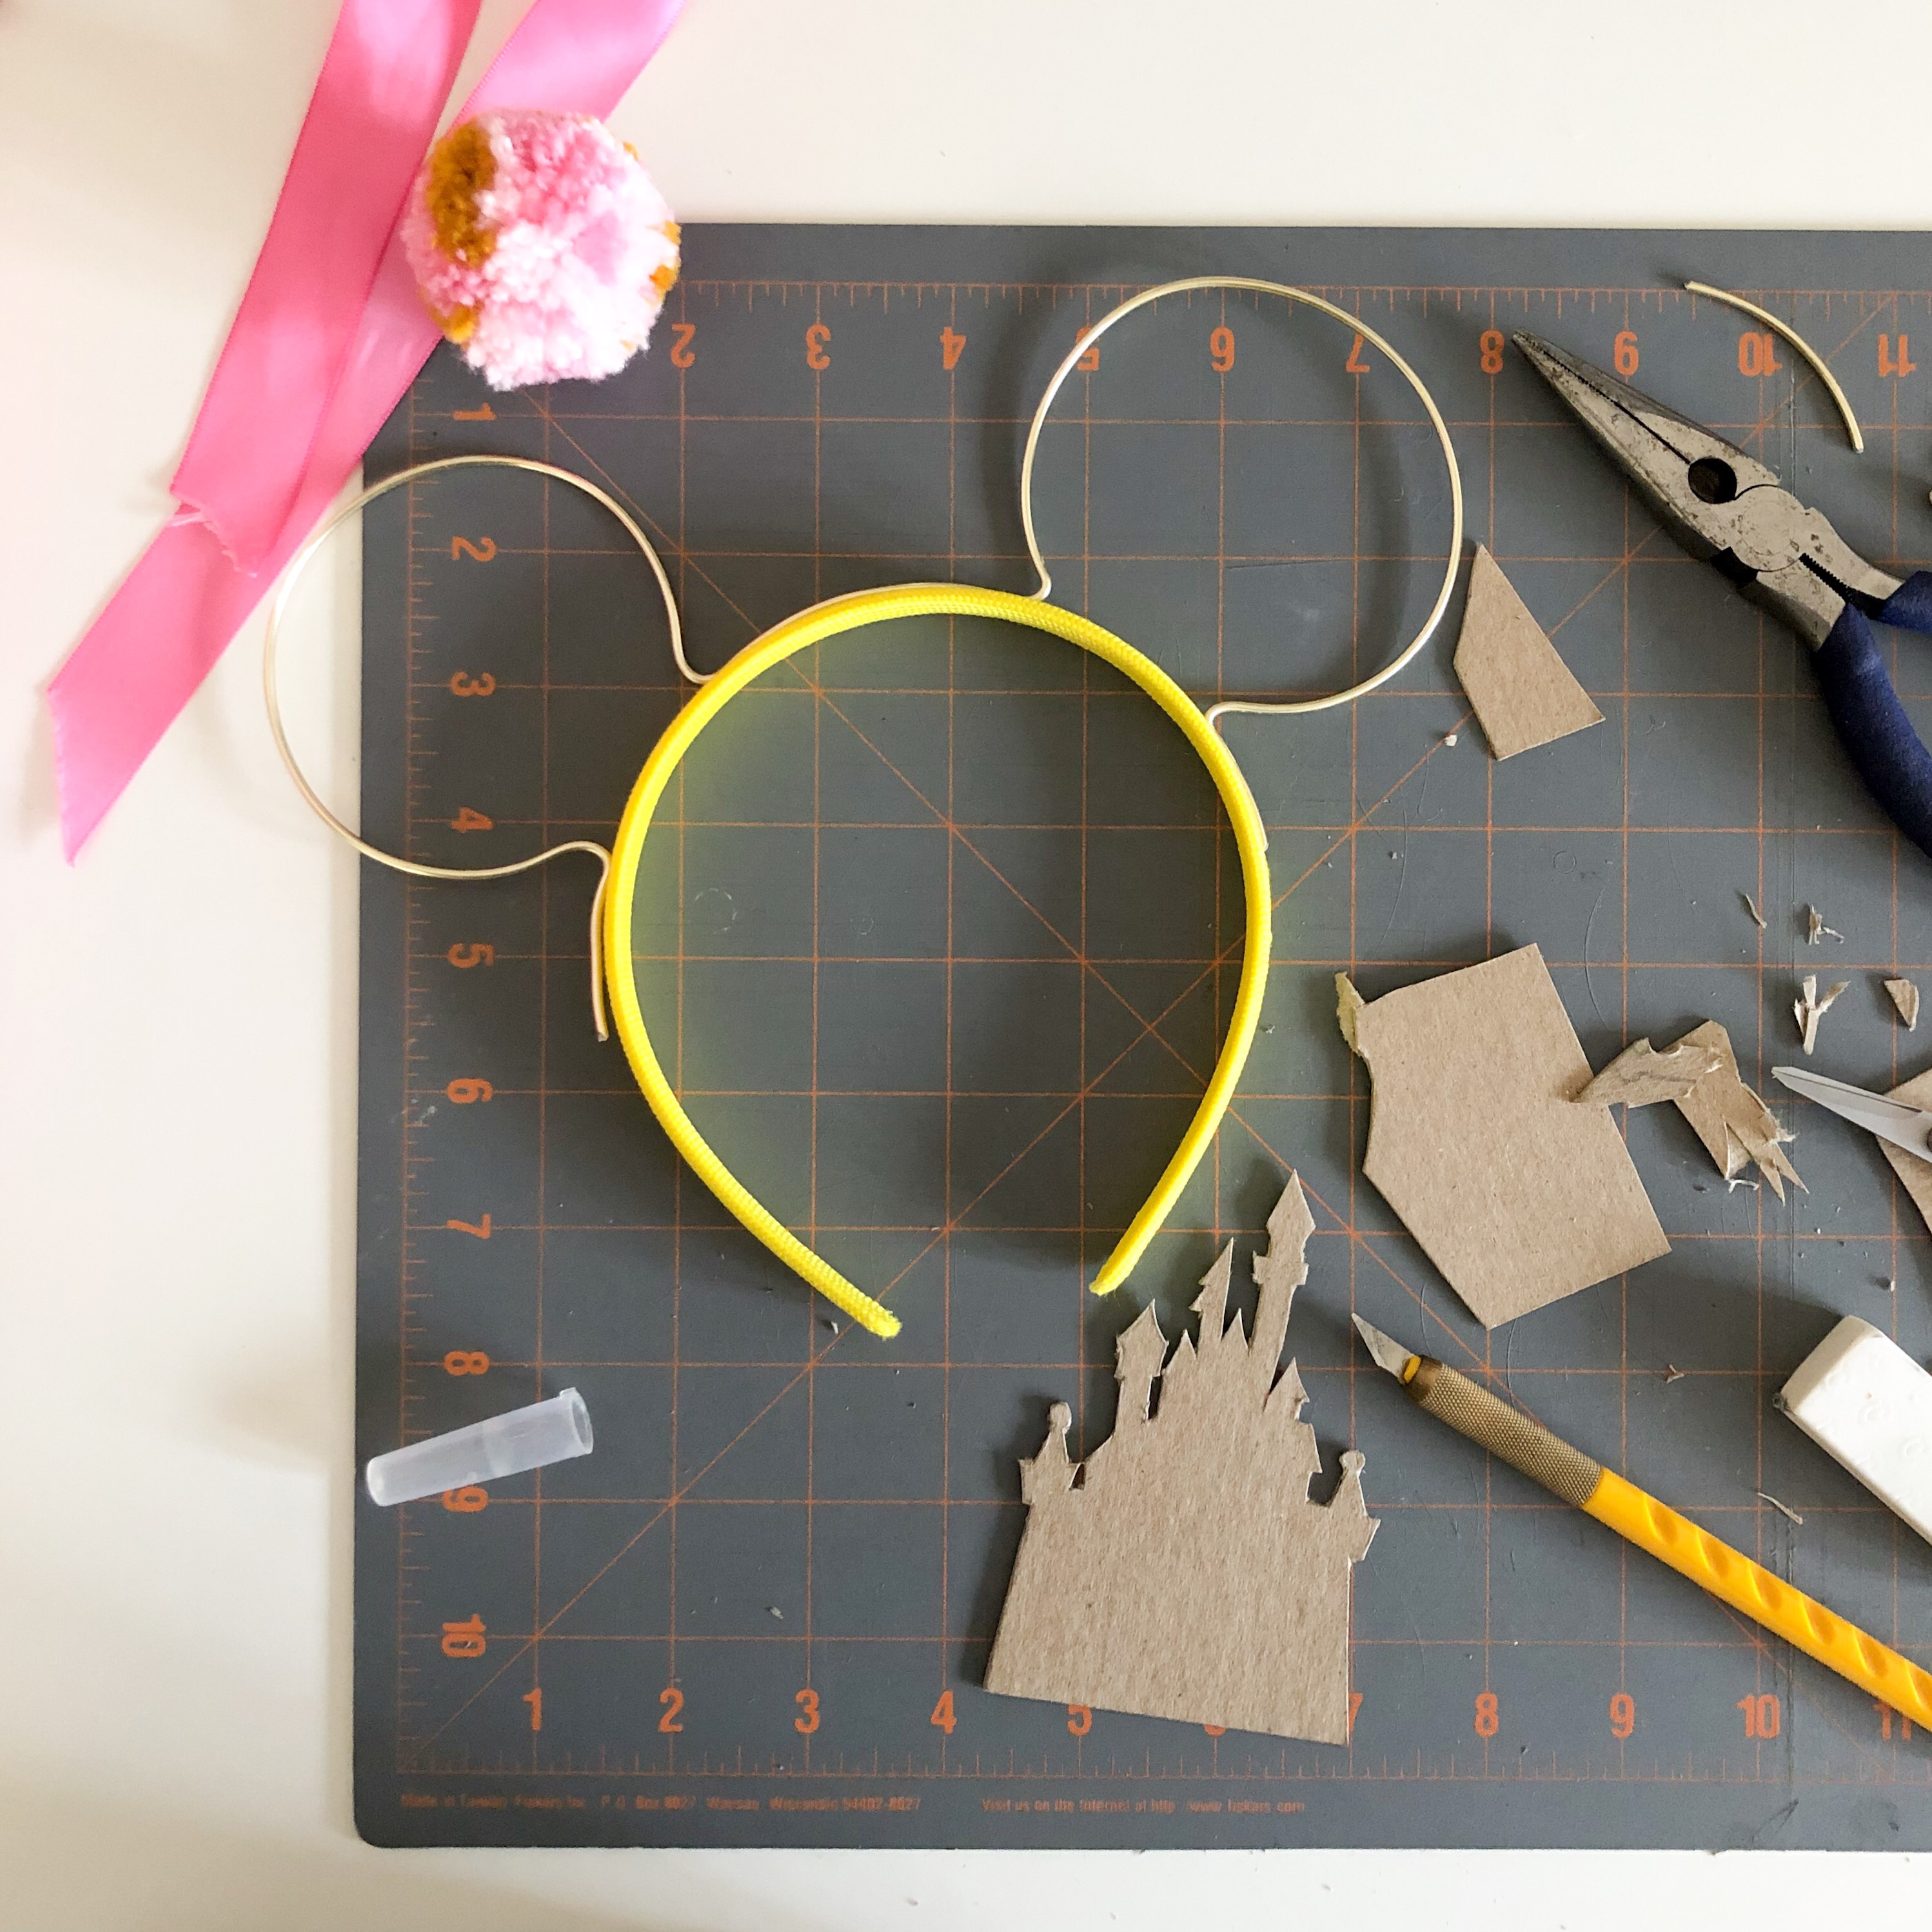
– brass wire
– a plain headband
– pompoms, silk flowers, ribbon
– hot glue
– optional castle: cardboard, paper, glitter, and tacky glue
Start by bending wire into an ear shape. Wire comes in a coil, so you don’t have to bend it too much. I used a pair of pointy pliers and bent the wire in 4 spots to form 2 ears. I purchased this wire years ago in the jewelry section at Michael’s and the packaging is long gone. I think the gauge is probably between 16 to 12, but I’m guessing. I originally considered covering the wire in fabric, but I liked how the plain wire looked, so I kept it bare.
Overworking the wire causes ripples and kinks. I found the less I bent the wire, the better the ears looked.
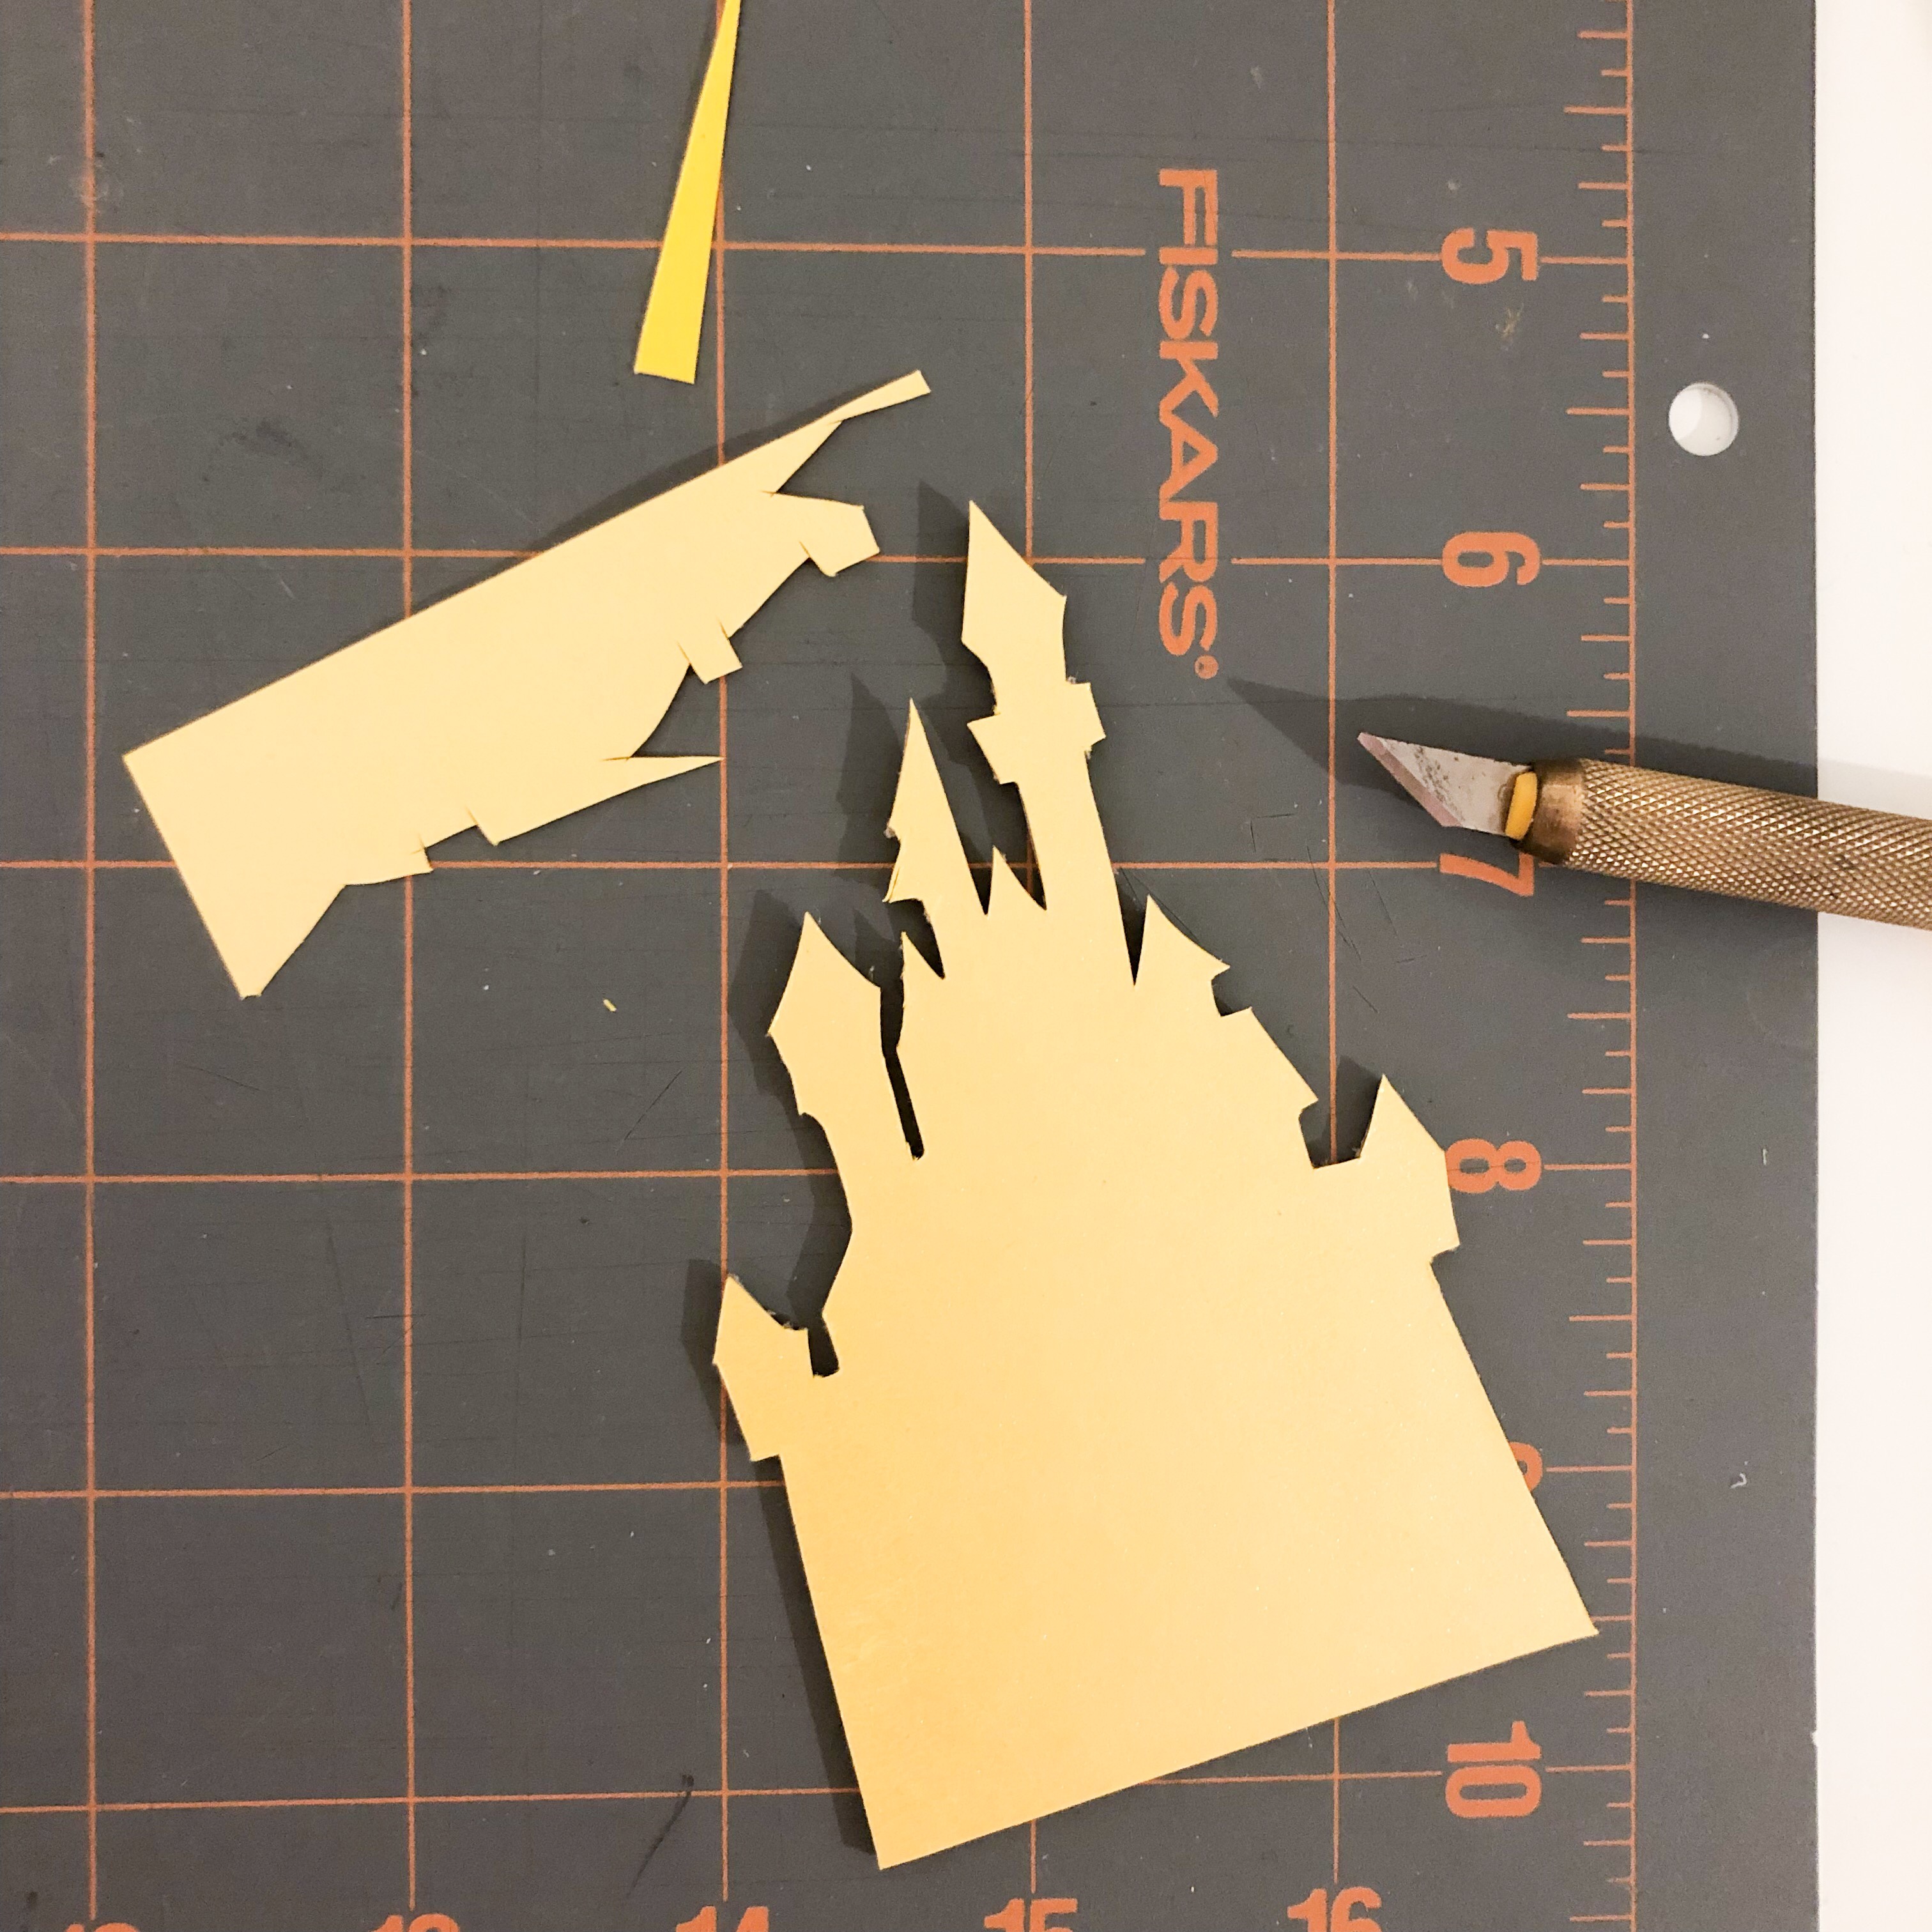
Next, cut out a castle shape from some dense cardboard to glue in between the ears. I drew out the shape first, cut it out with a craft knife, then covered it in some pretty iridescent yellow paper. I also glittered the front using a combination of pink and gold super fine glitter.
Lay out all the pieces and decide on the arrangement before gluing anything down. I used a few silk flowers, felt pompoms, and 2 yarn pompoms I had made for a different project. Once you’re happy with the arrangement you may want to take a picture to refer back to while gluing.
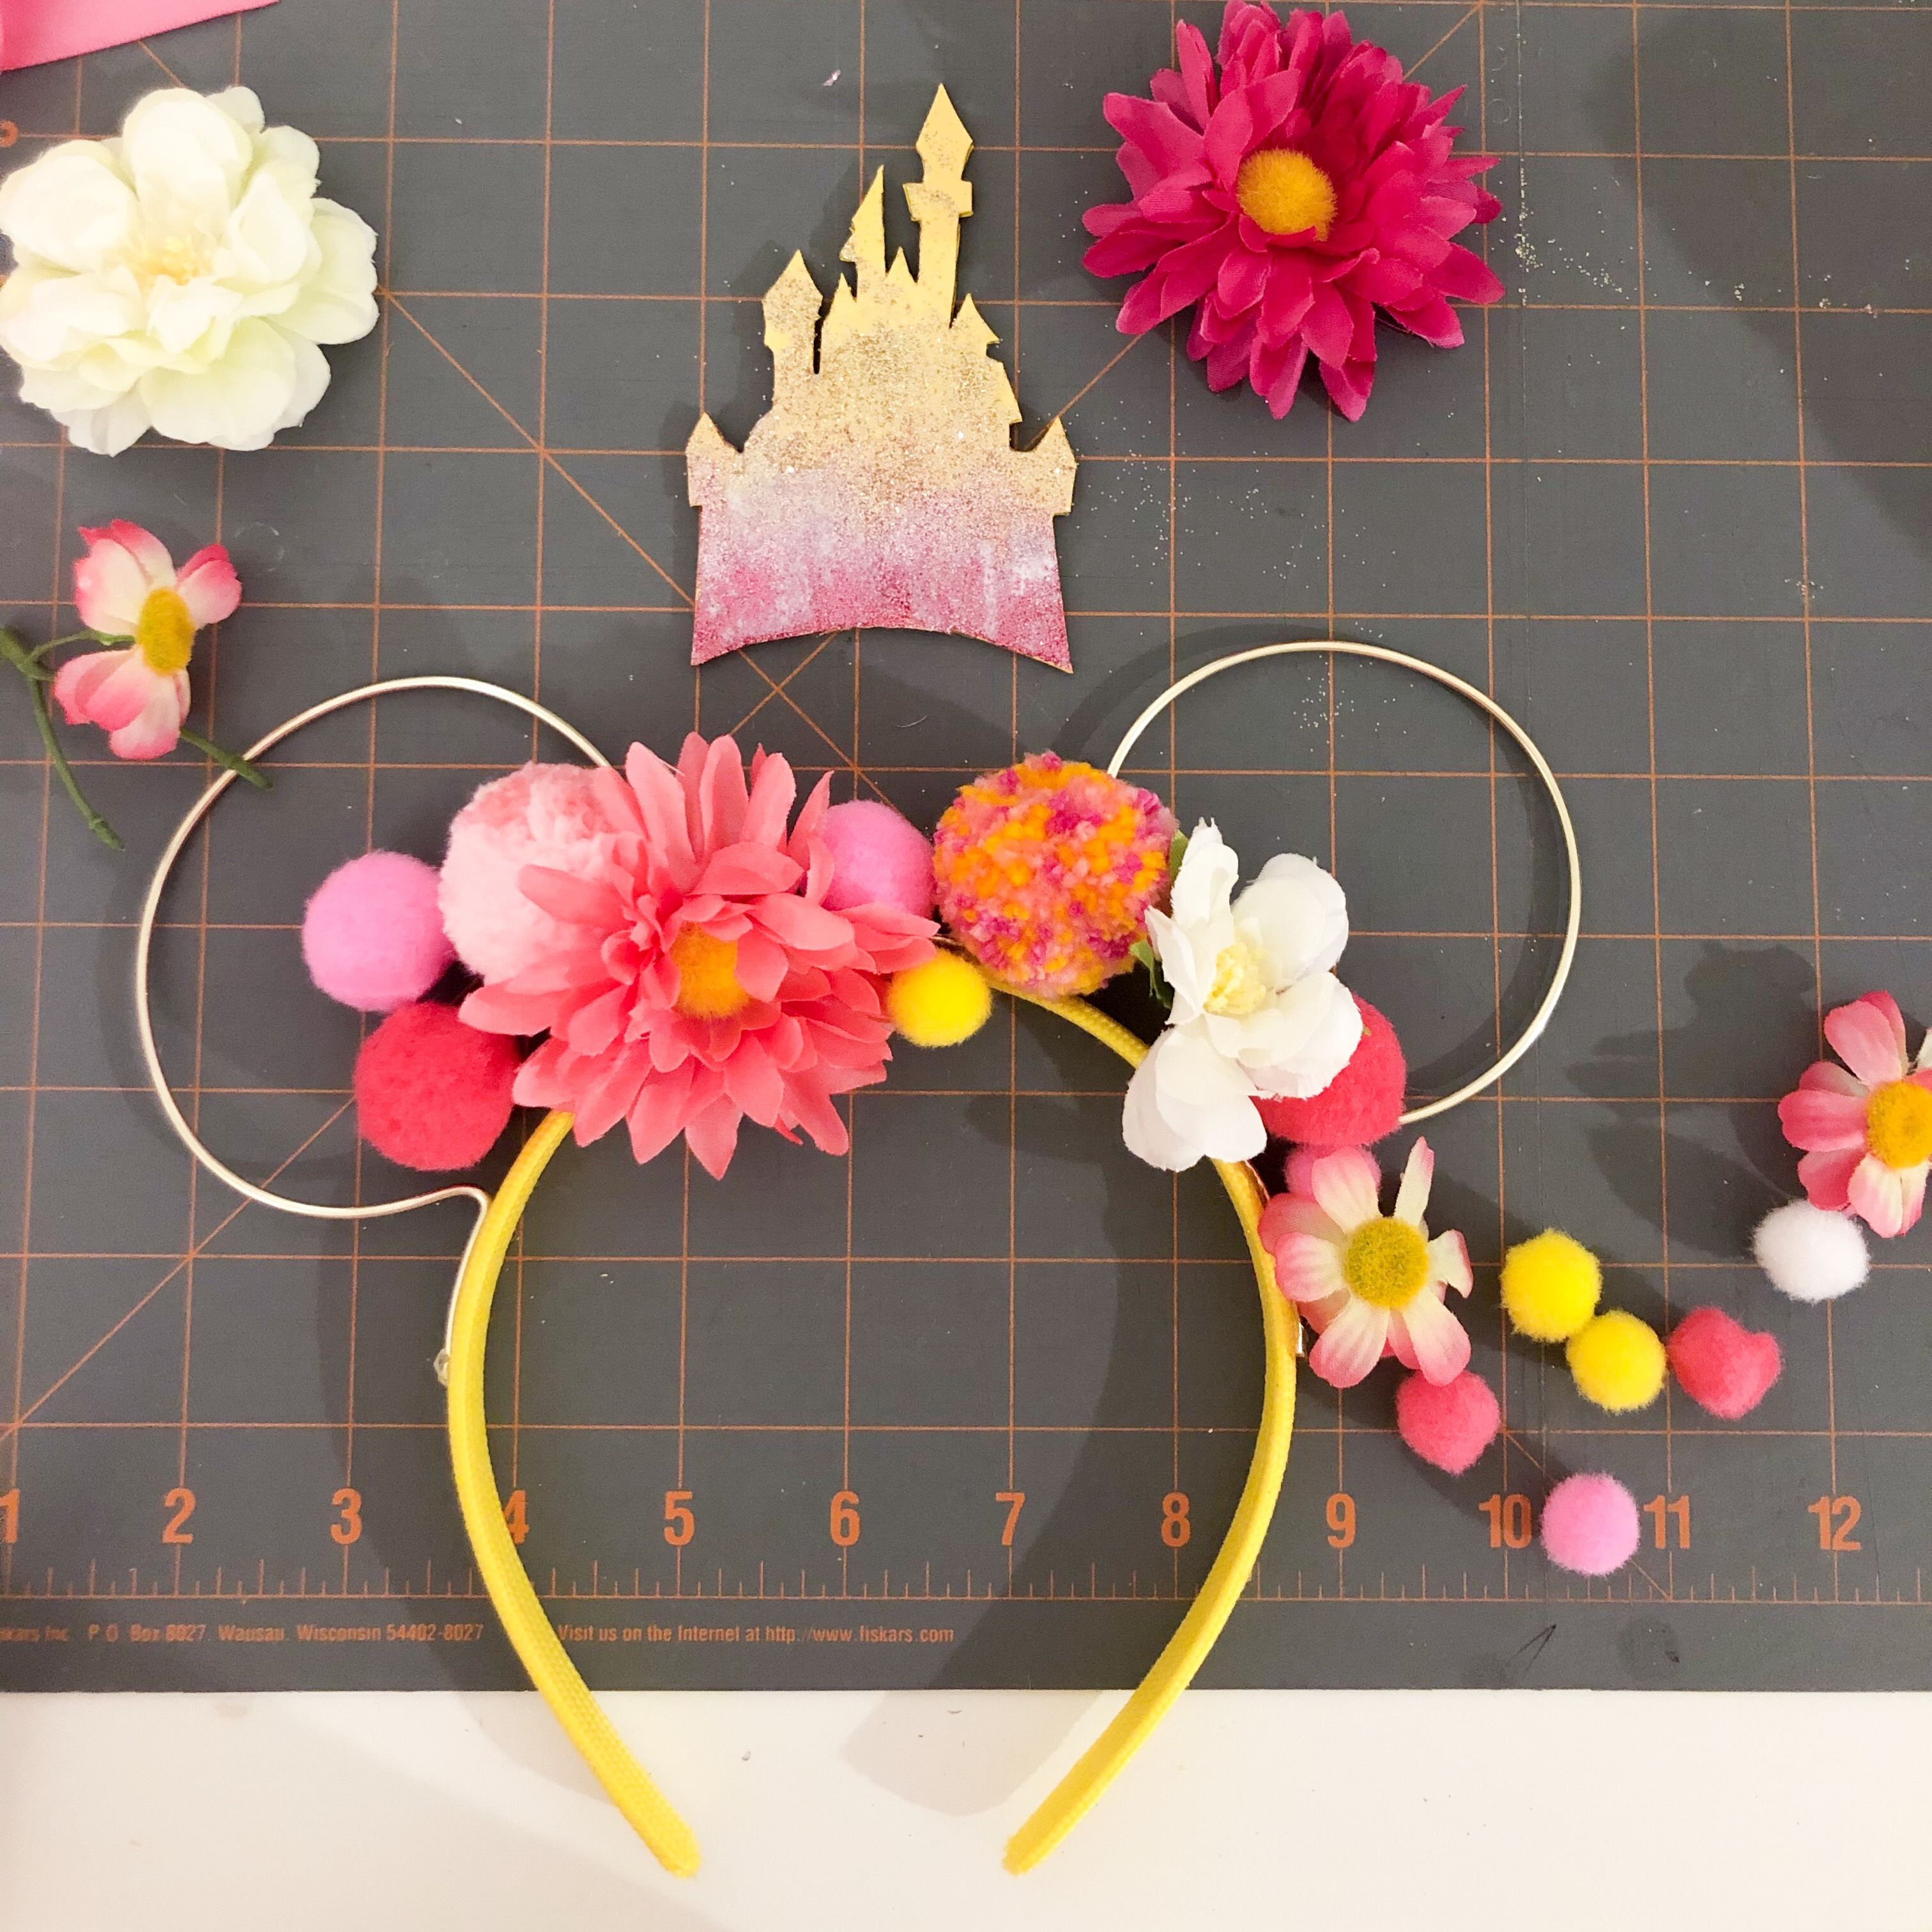
I played around with a few different combinations before I glued anything down.
The last step is gluing it all together! Hot glue is the best for this type of project because it’s strong and dries fast. Start by gluing the wire onto the headband. Glue the castle in between the ears, of using. Then glue on the pompoms and flowers in the arrangement laid out earlier.
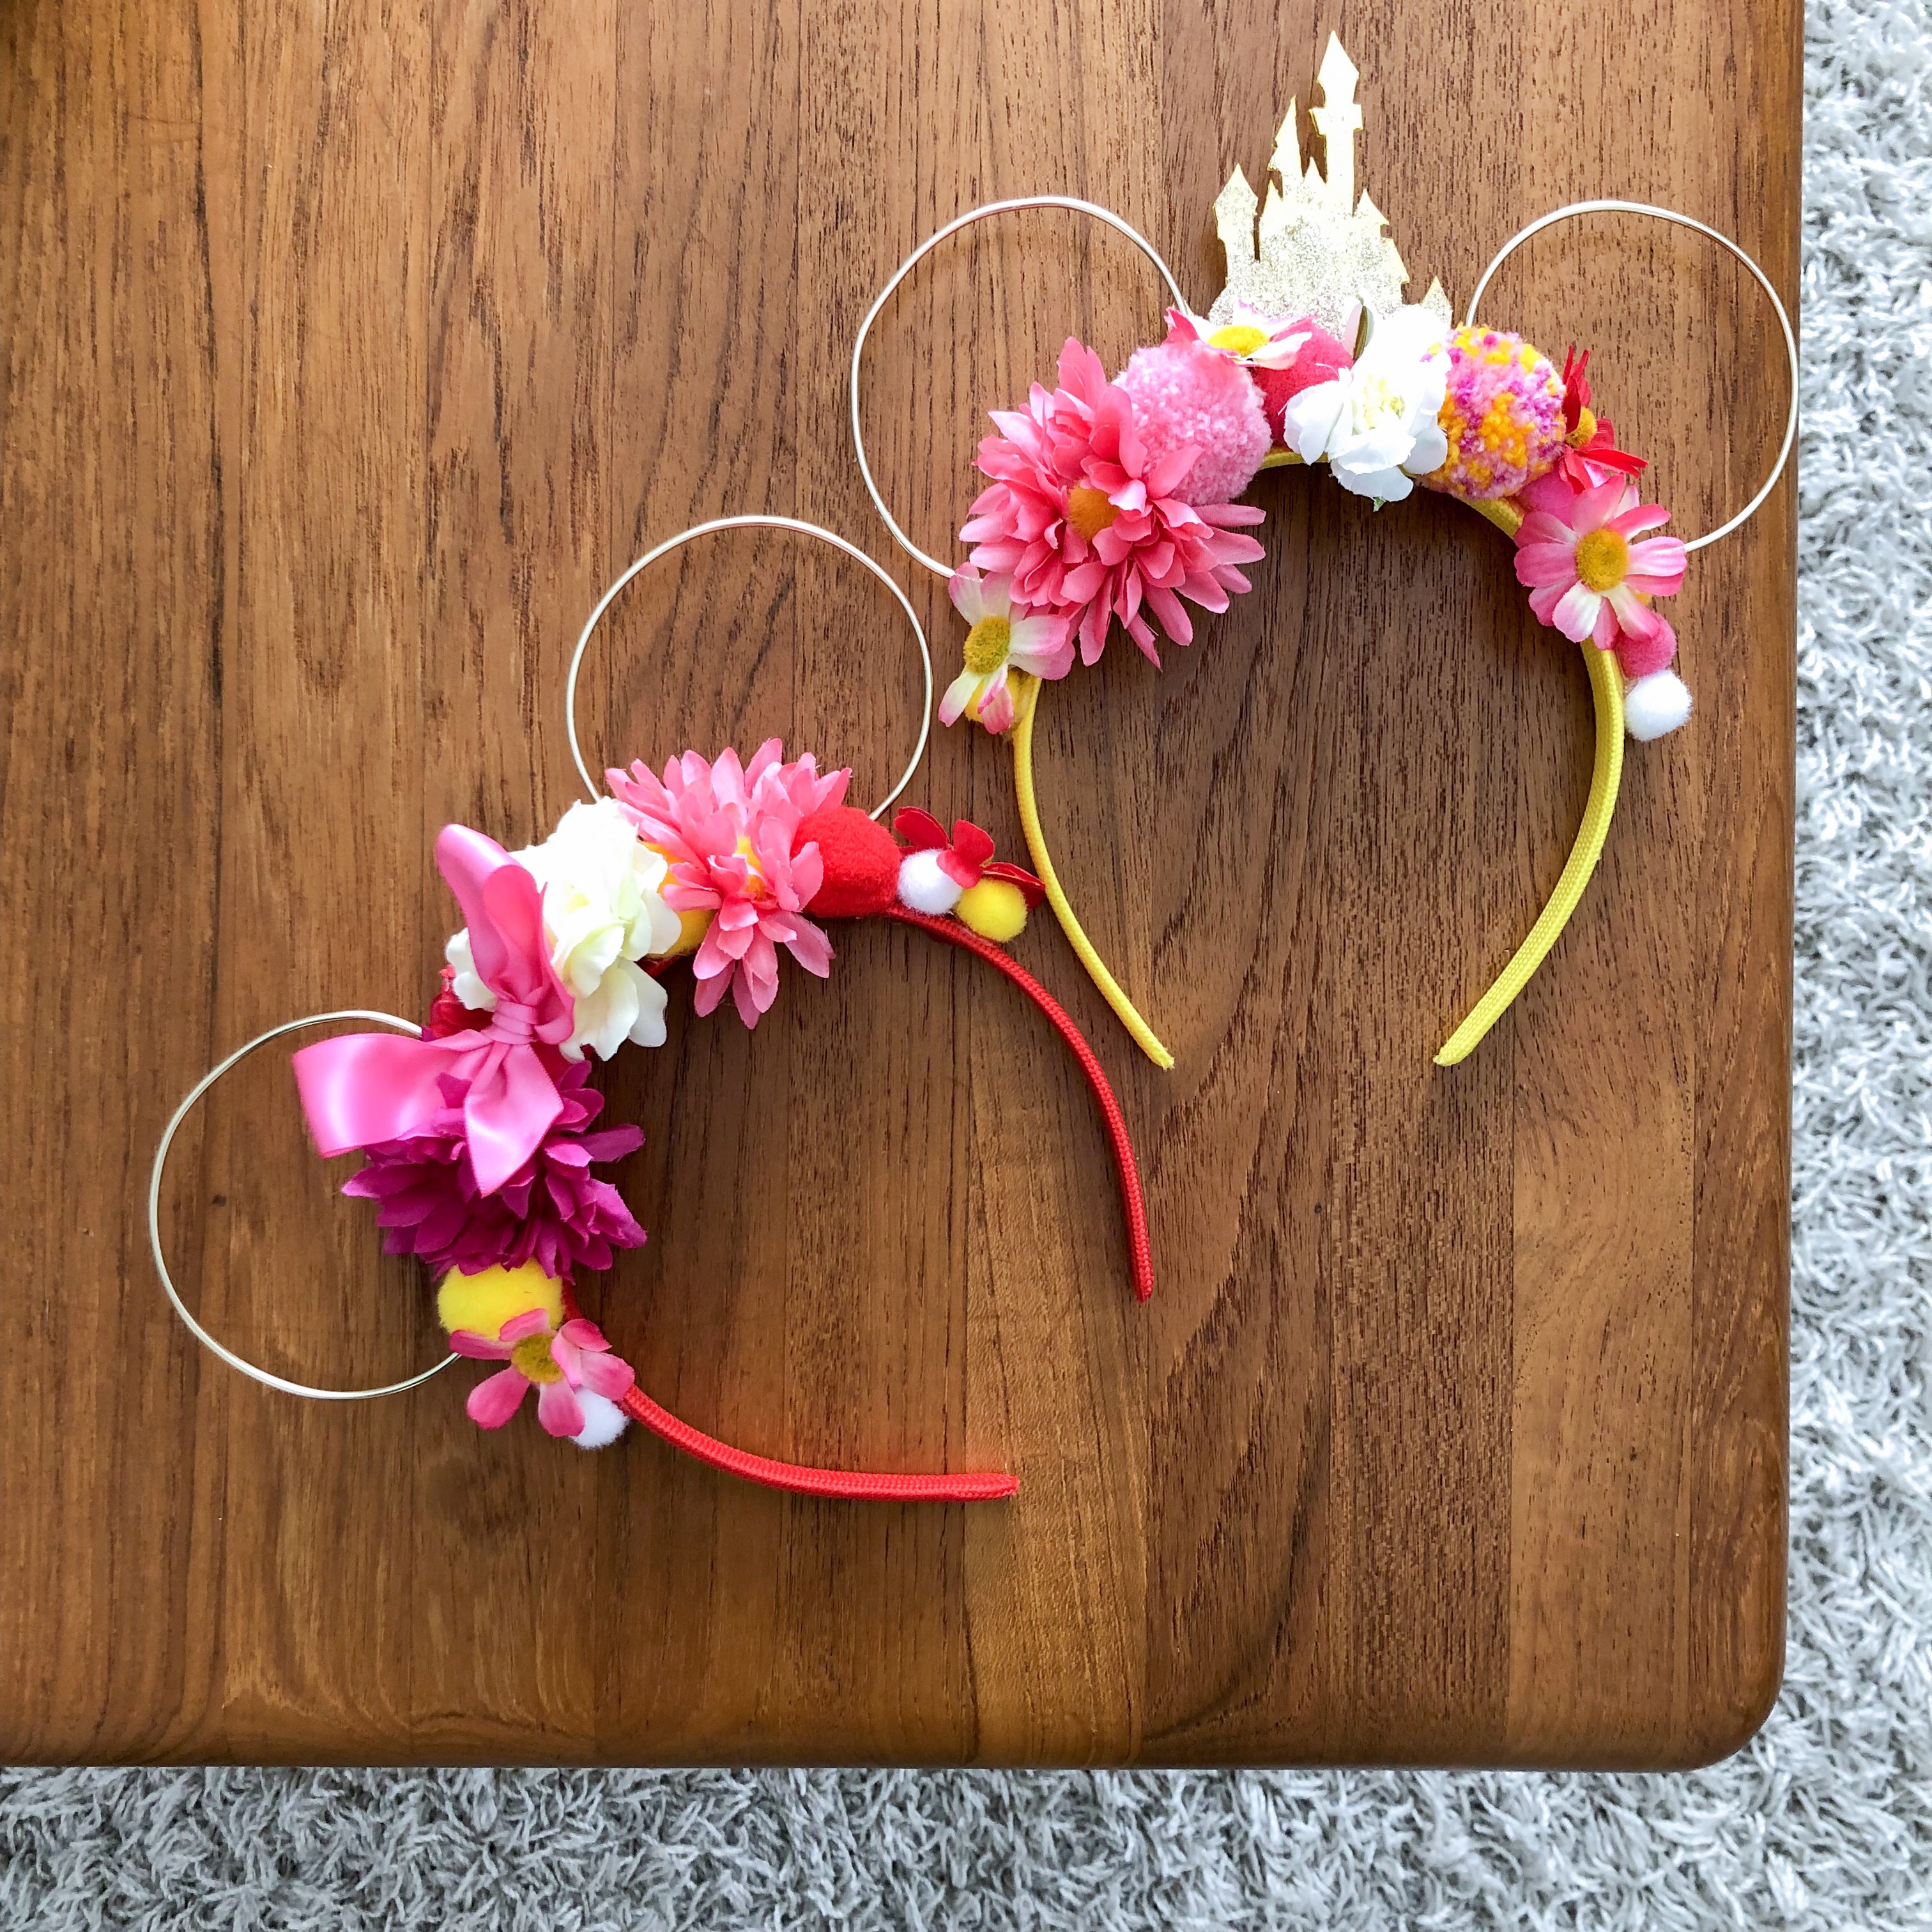
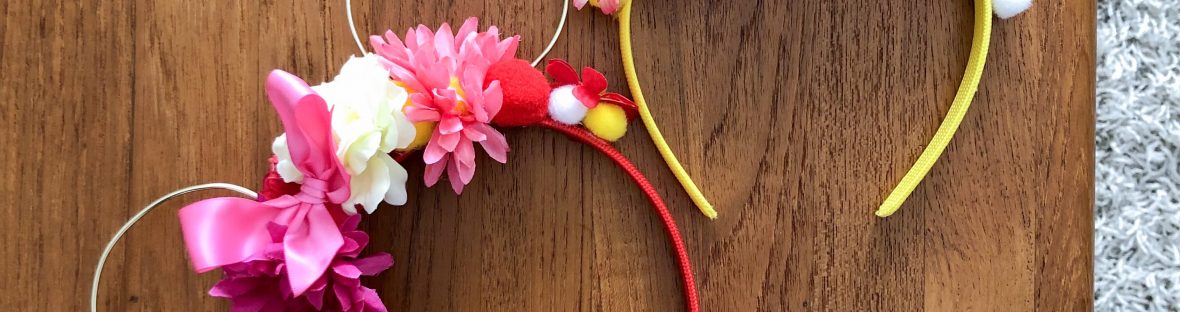
The second headband I kept more simple with flowers, pompoms, and a satin ribbon bow.
I’m super happy with how this headband turned out, and I even had enough supplies to make two! This whole project only took a few hours to make and was easy. Alternatively, the wire can be omitted to make a floral or pompom crown type headband.
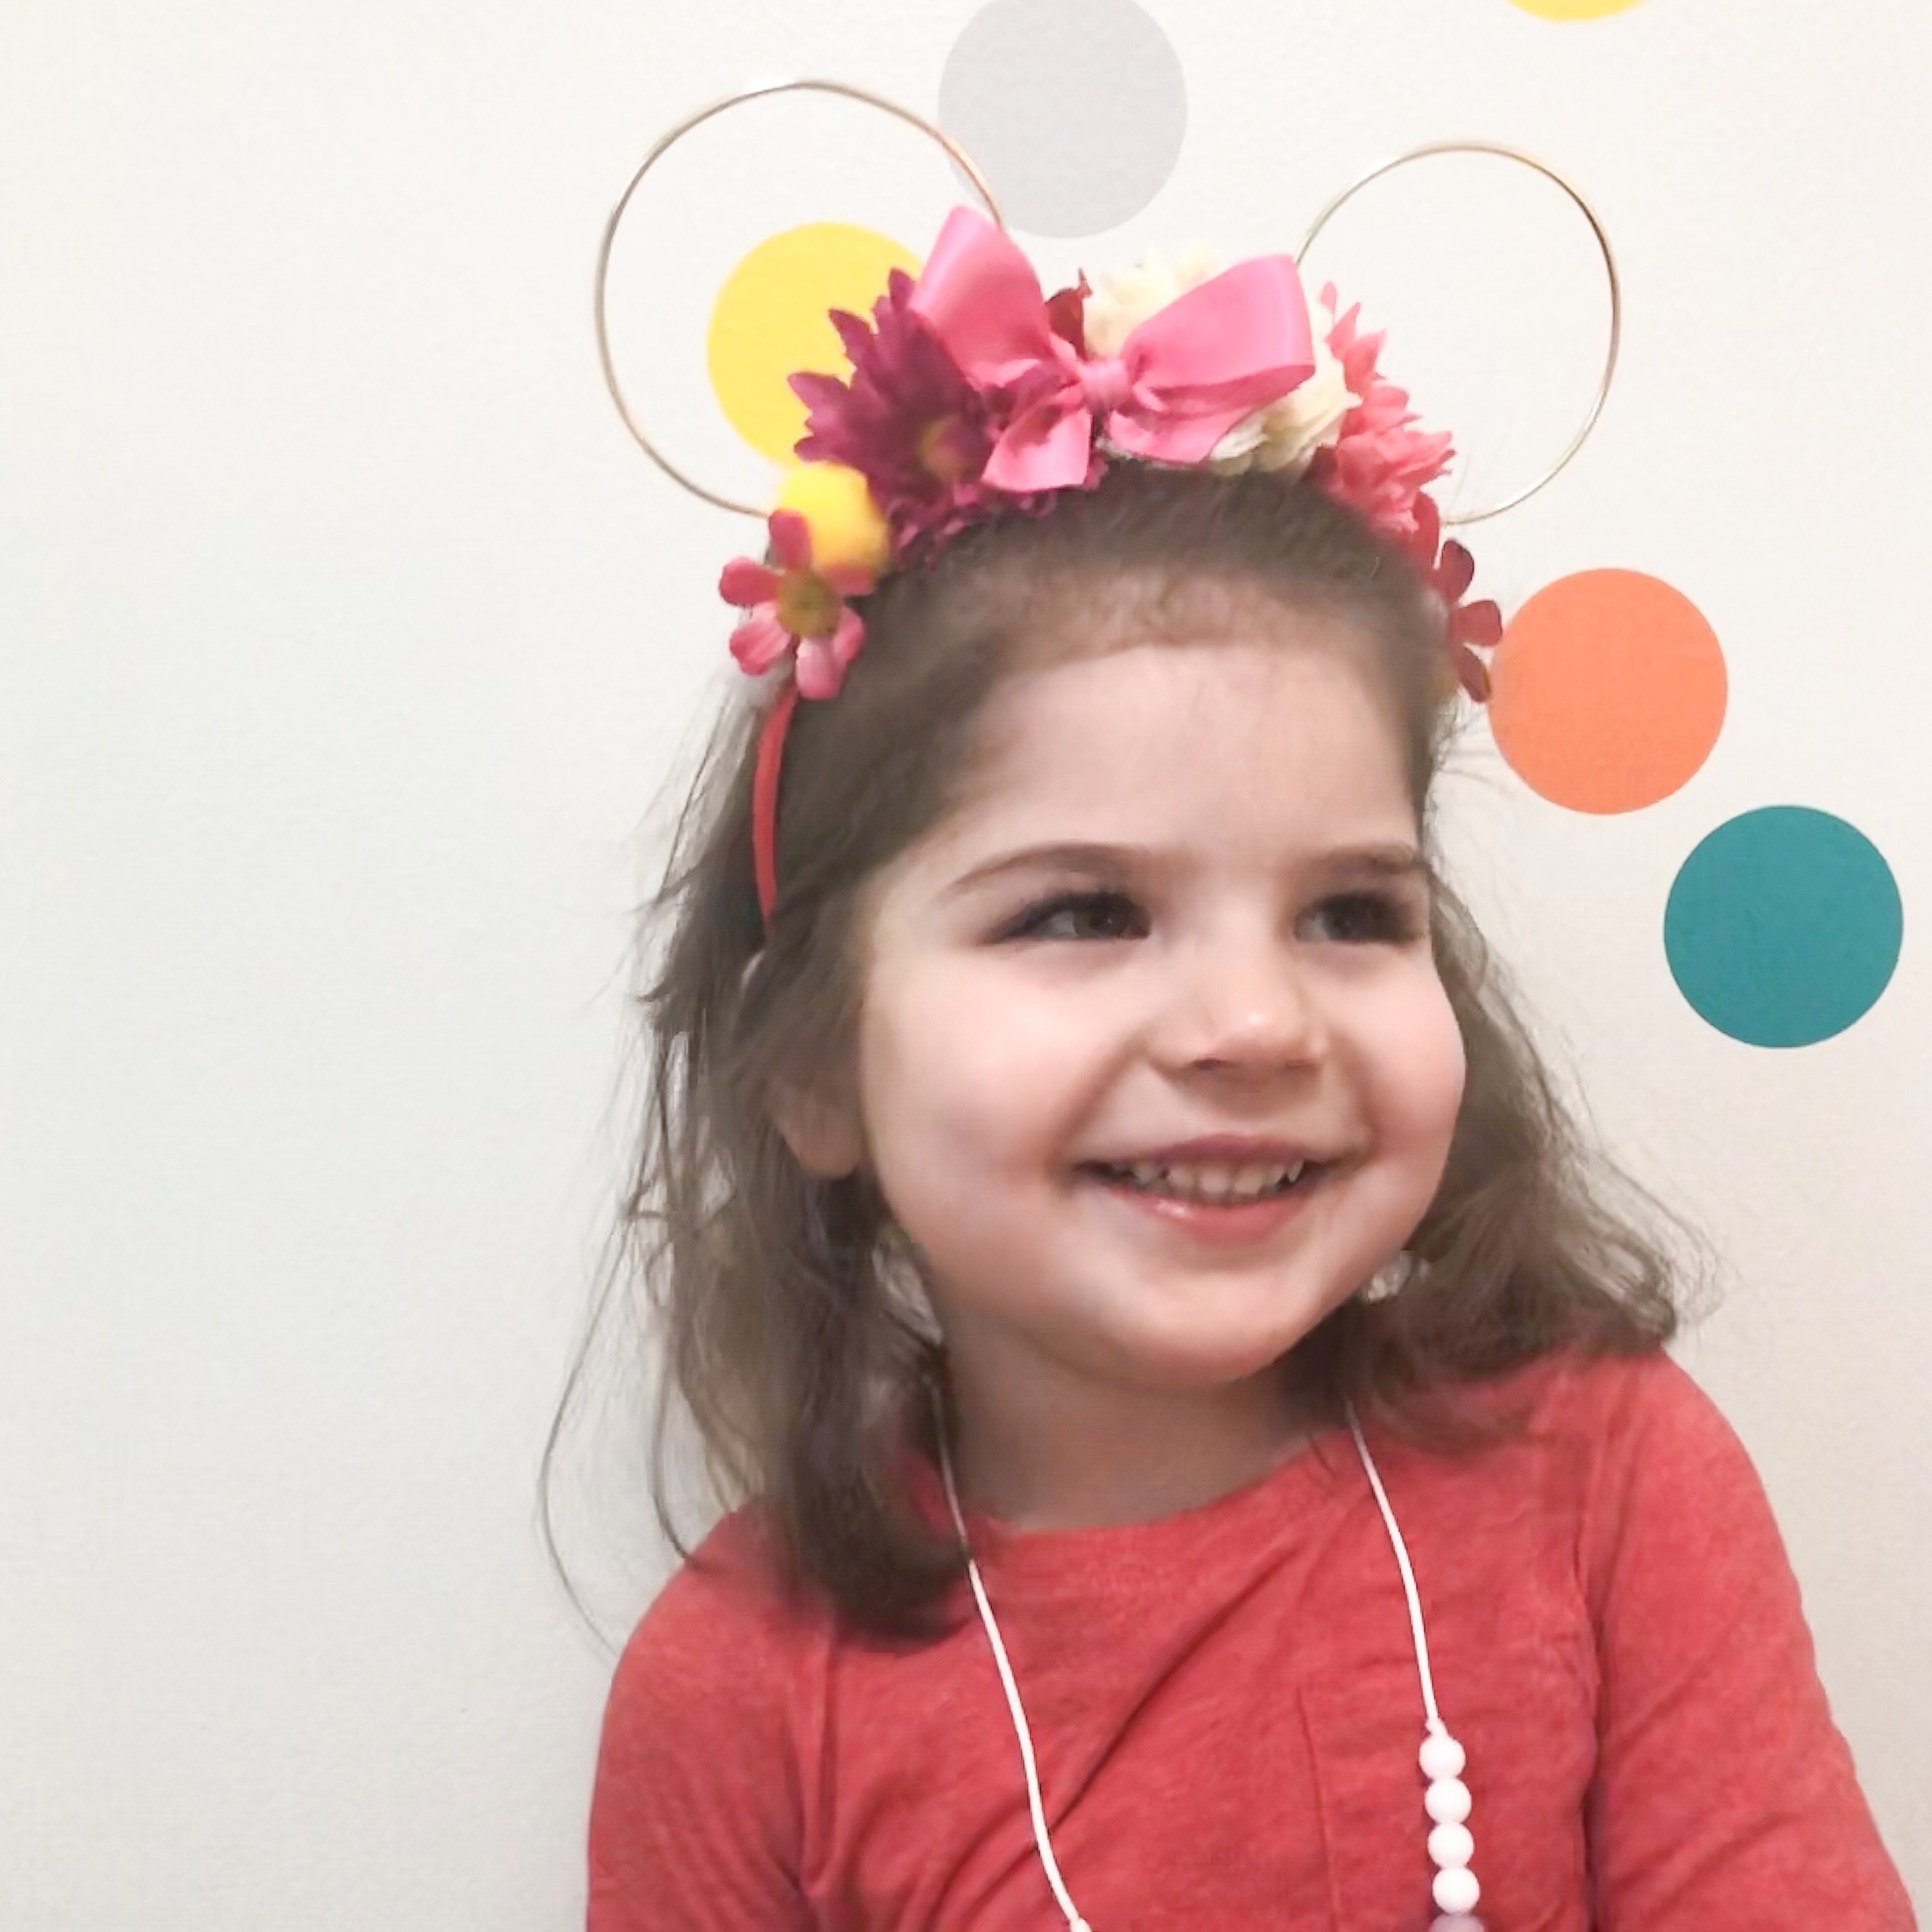
Really looking forward to going to the show with my daughter this week! Have you ever made a themed accessory, costume or outfit for an event? Message me on Instagram and tell me all about it.