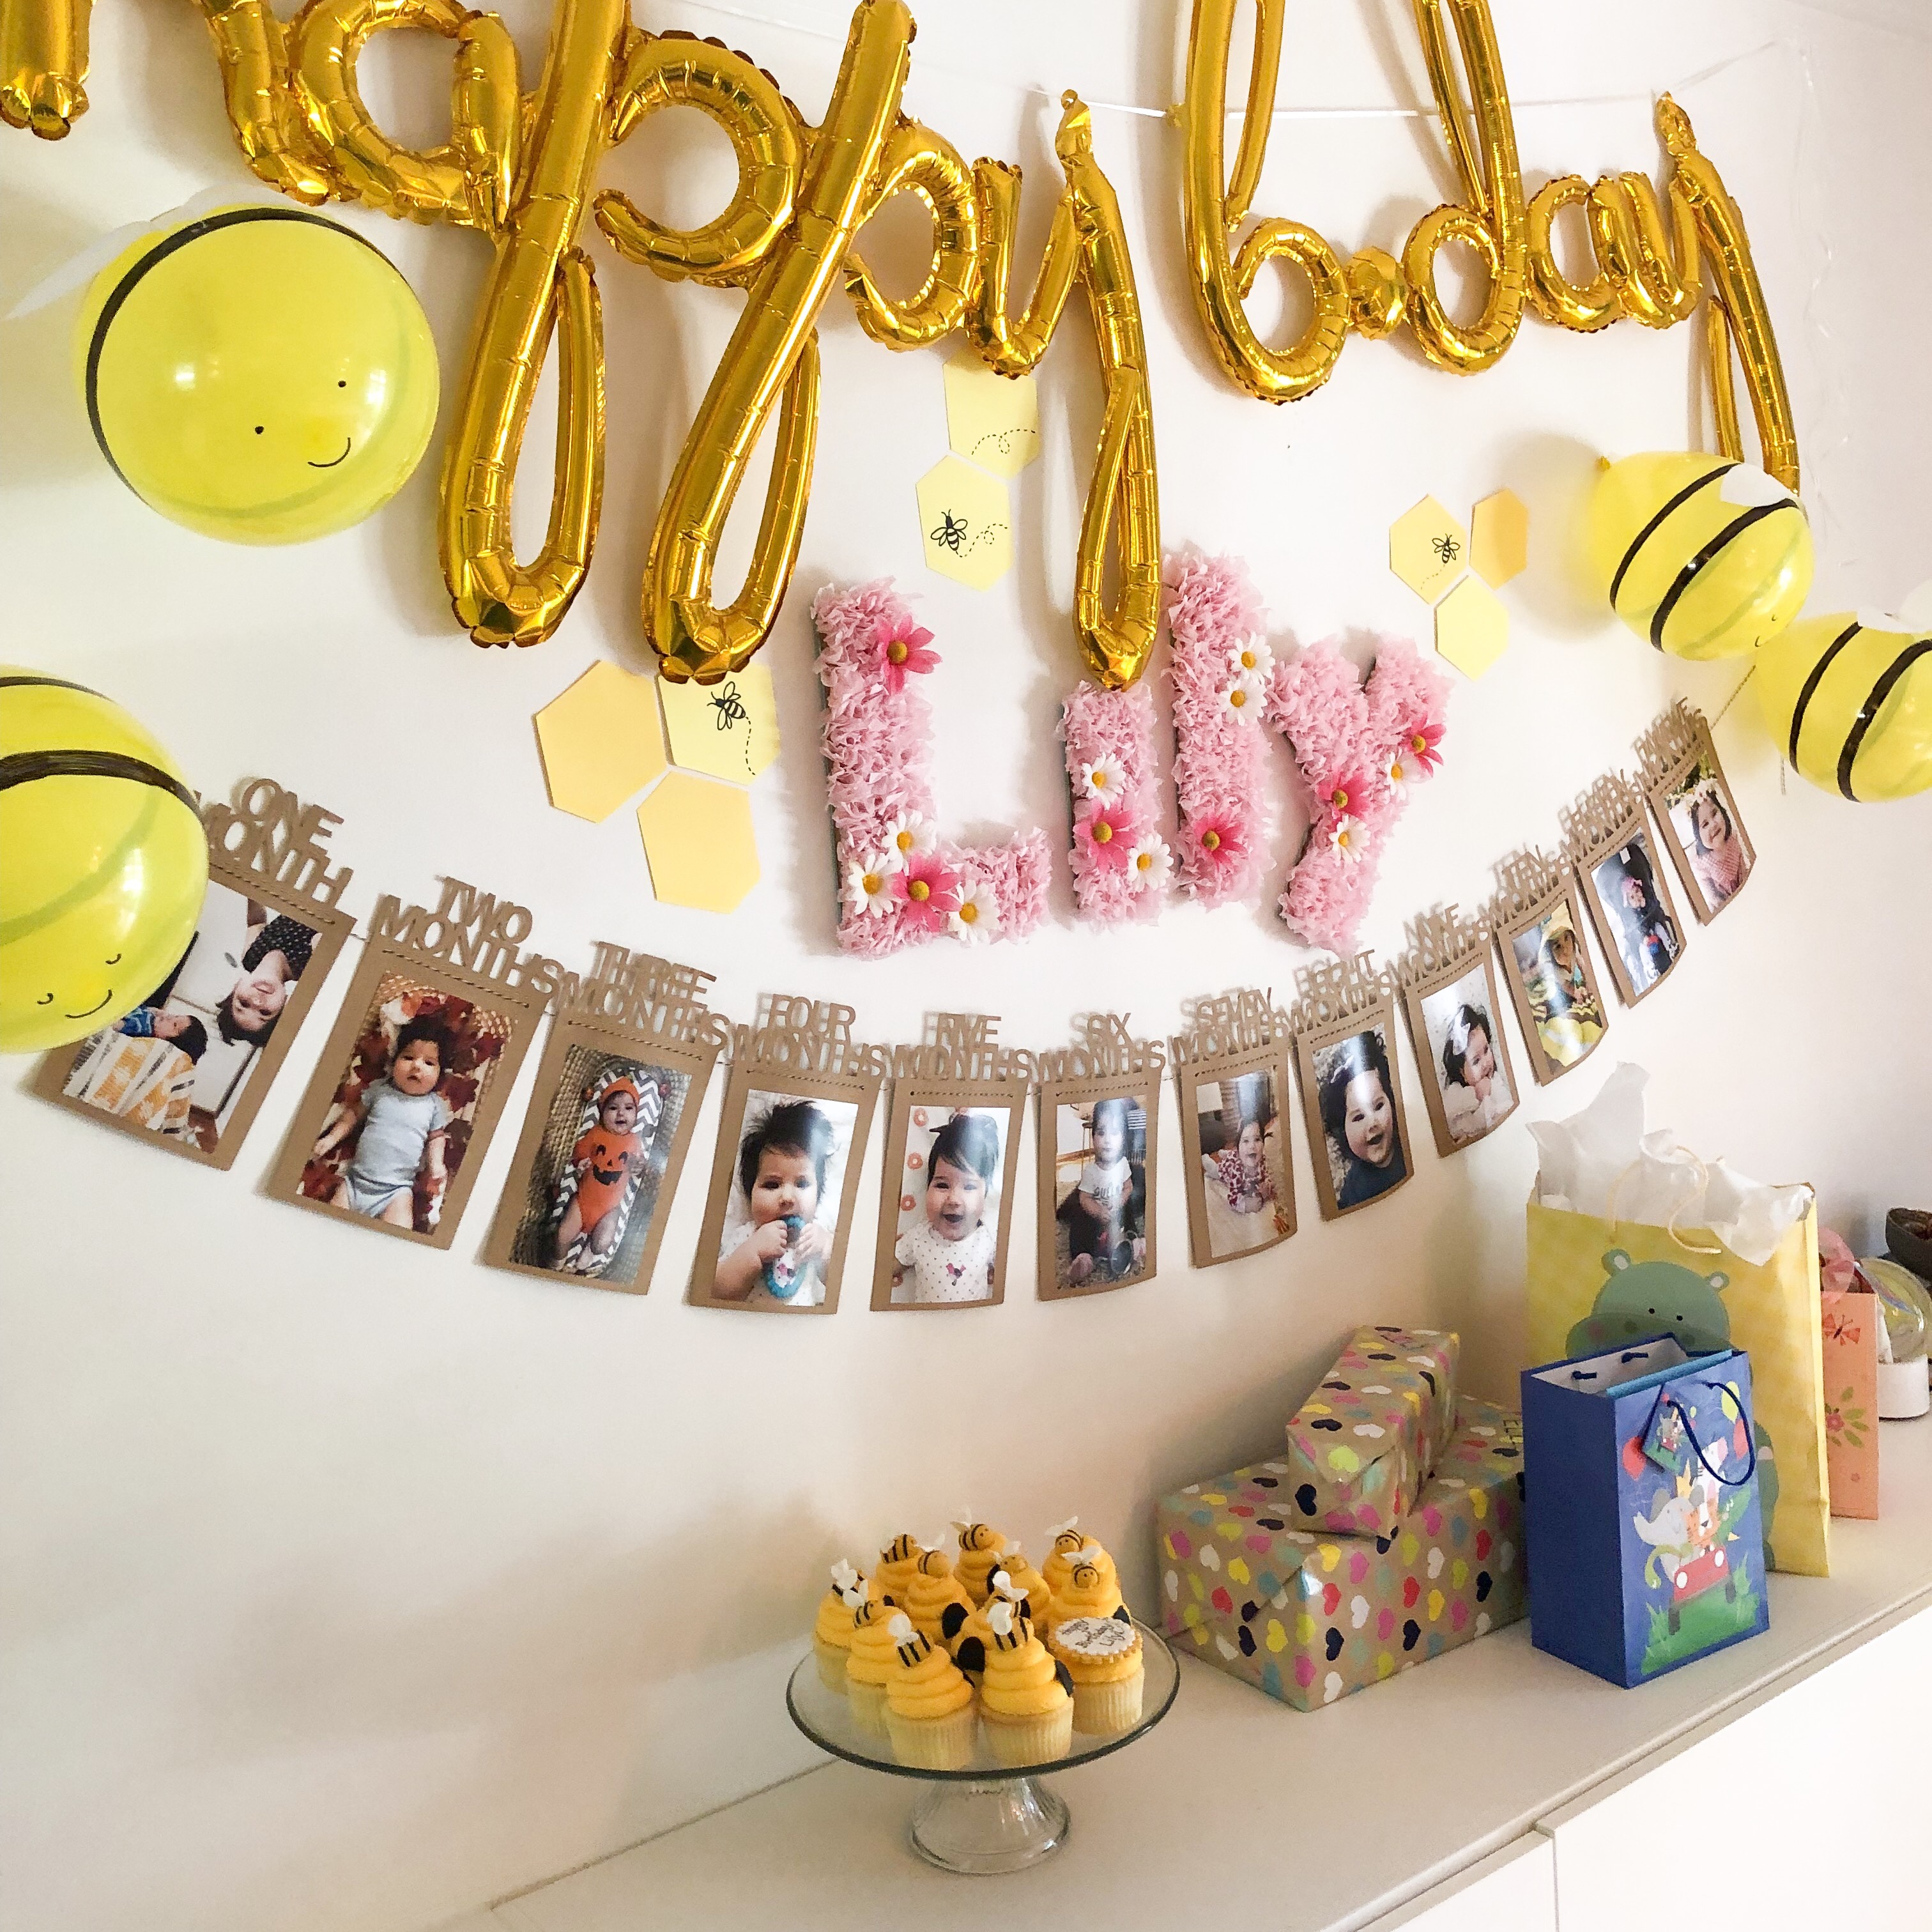
I quickly made these letters for my daughter’s first birthday party and plan on keeping them to decorate her bedroom. They are super easy to make and all from supplies purchased at the dollar store! Once finished they can be stuck to the wall or placed on a shelf.

Here’s what you need to create your own tissue paper letters:
– tissue paper
– glue stick
– cardboard
– scissors
– silk flowers (optional)
Start by cutting your letters out of cardboard. I used a large diaper box since we always have one or two laying around. I cut my first letter out freehand and then used it to trace the other letters to get the width consistent on all 4. You can also use a ruler to trace out all your letters first. Use a good pair of sharp scissors so your edges are clean and straight.
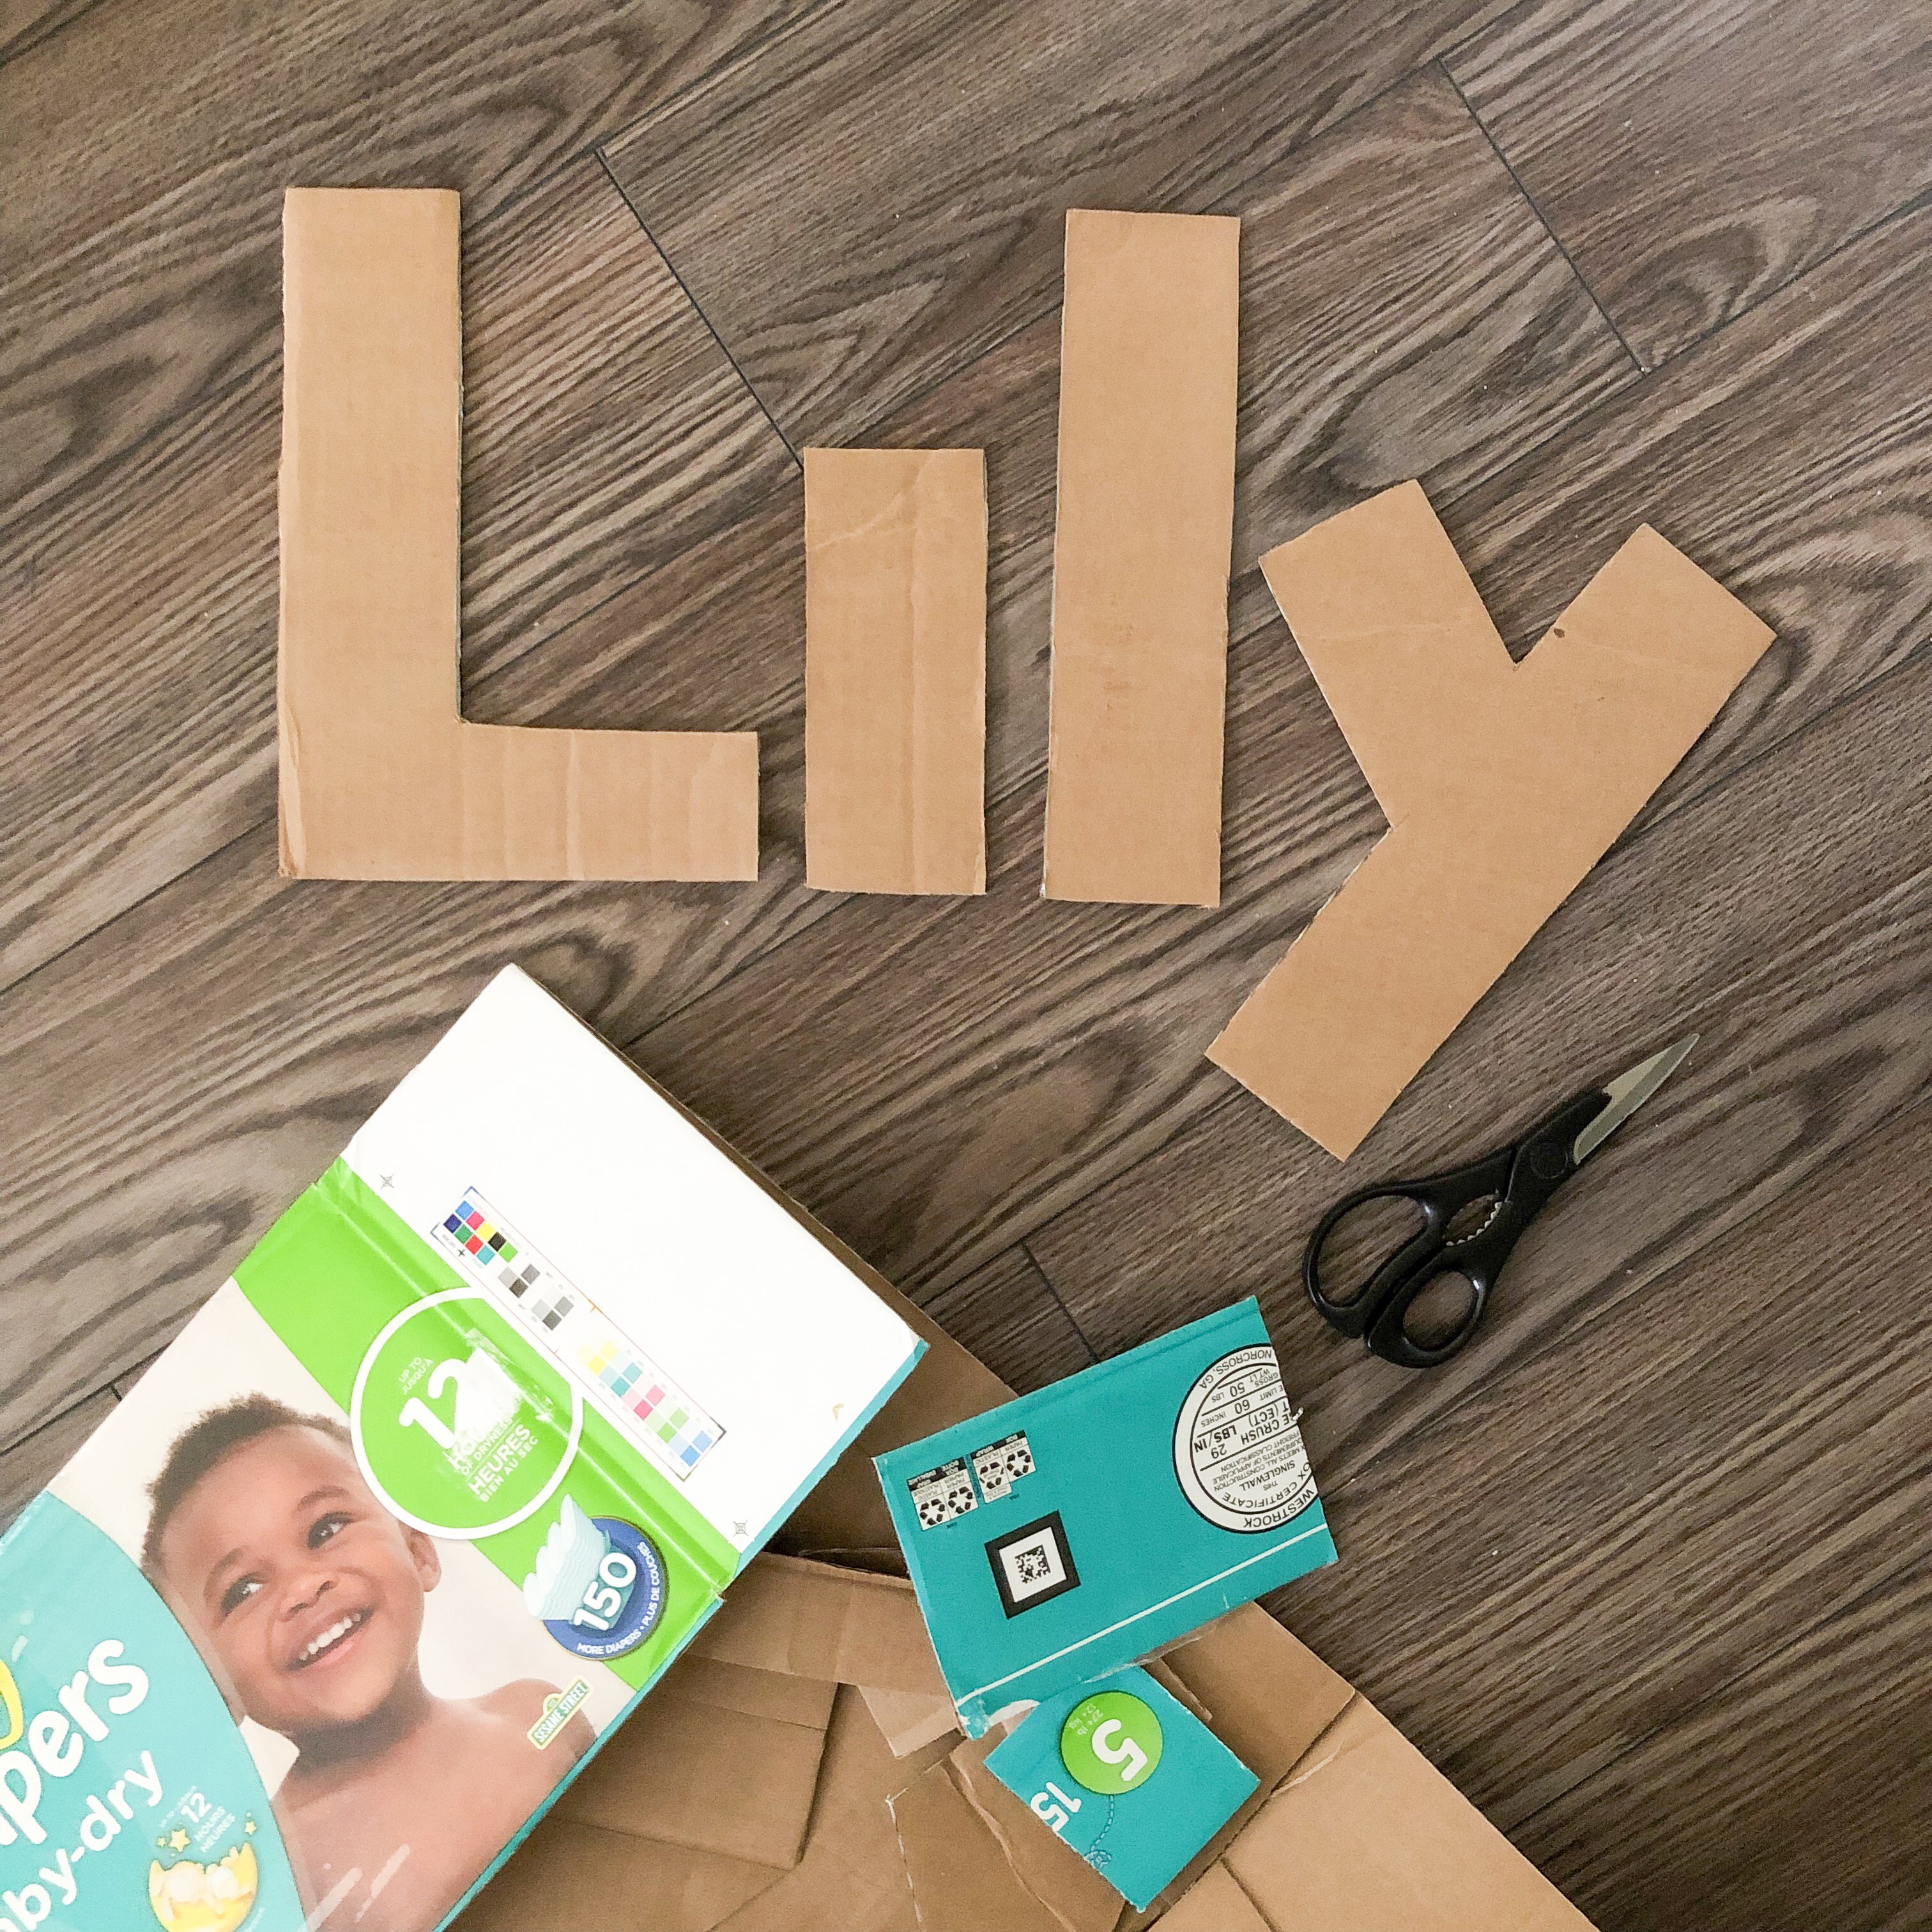
I cut these at my parents house with their kitchen scissors while Lily was napping.
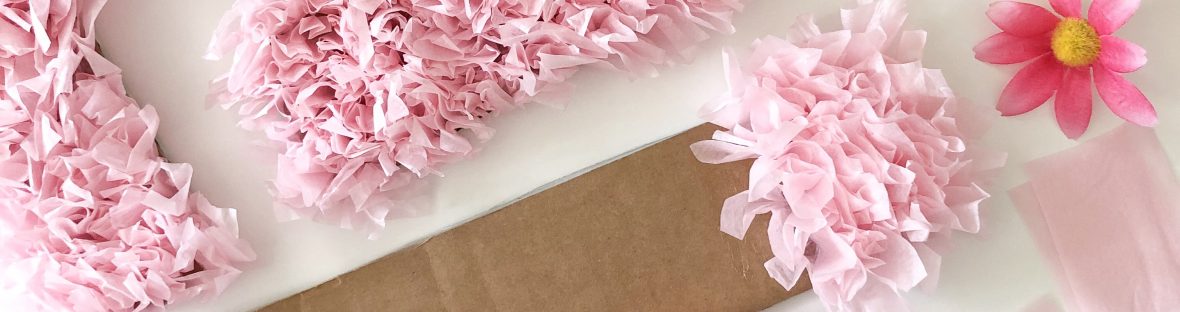
Next cut your tissue paper into approximately 2″ squares or rectangles. You really don’t have to worry about being precise here. Some of mine were square, some rectangular, but I tried to make them all a similar size.
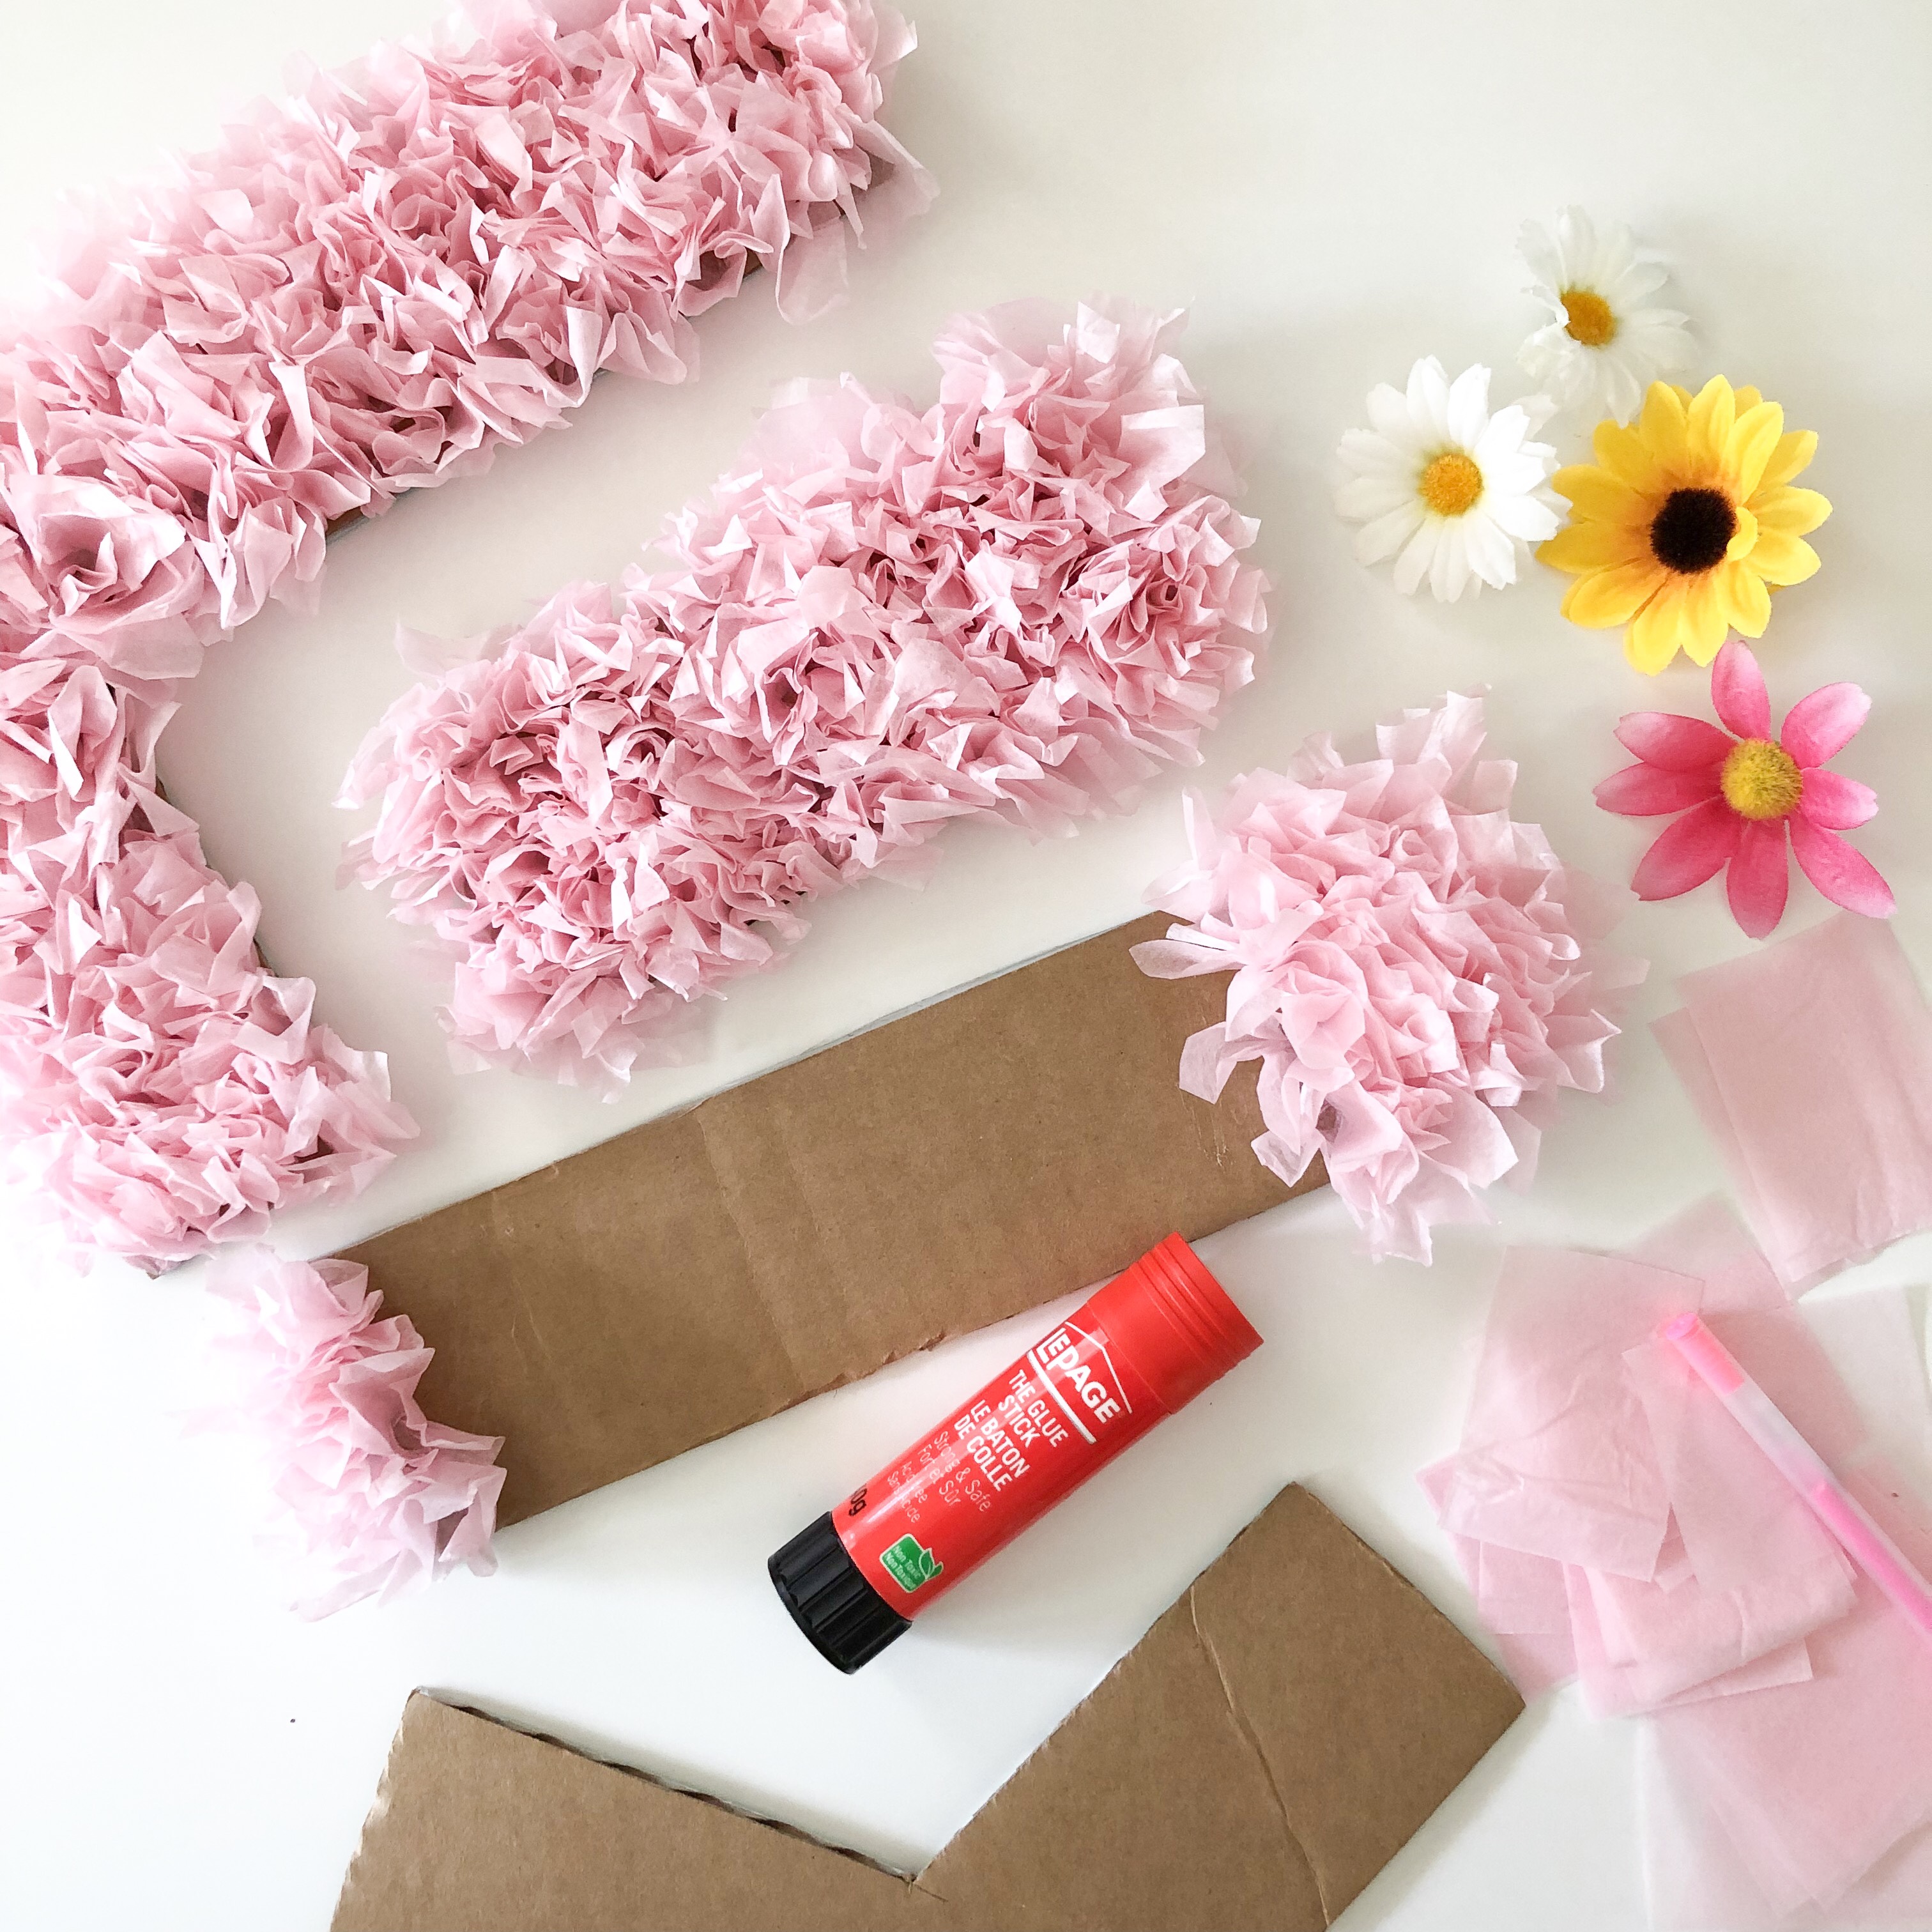
Generously coat the cardboard with glue. I covered 3″ sections at a time so the glue wouldn’t dry out. Take one piece of cut tissue paper and hold the blunt end of a pen or pencil in the center. Fold the tissue paper ends upwards, like you are wrapping the end of the pen. While holding the paper, press the pen end into the glue and release. You will be left with a tuft of tissue paper stuck to the cardboard. Repeat the process, pressing the tissue side-by-side covering the entire cardboard letter.
Once dry, I glued a few silk flowers on top et voilà! Since the letters are extremely light, I hung them on the wall using painters tape. These were a great addition to the feature wall I created for Lily’s Floral First Bee-Day party and have now found a home decorating her bedroom wall.
Want more easy DIY projects? Follow me on Pinterest and Instagram to see all my projects and inspiration.