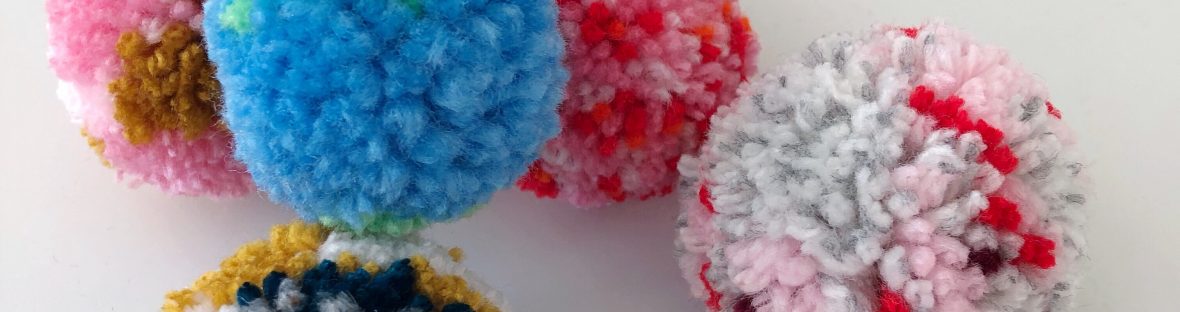
I don’t know what it is, but pompoms make me so happy. Maybe it’s because they are cute, fuzzy, and can be any colour imaginable. I often find myself making pompoms with no project in mind, but just to give my hands something to do.
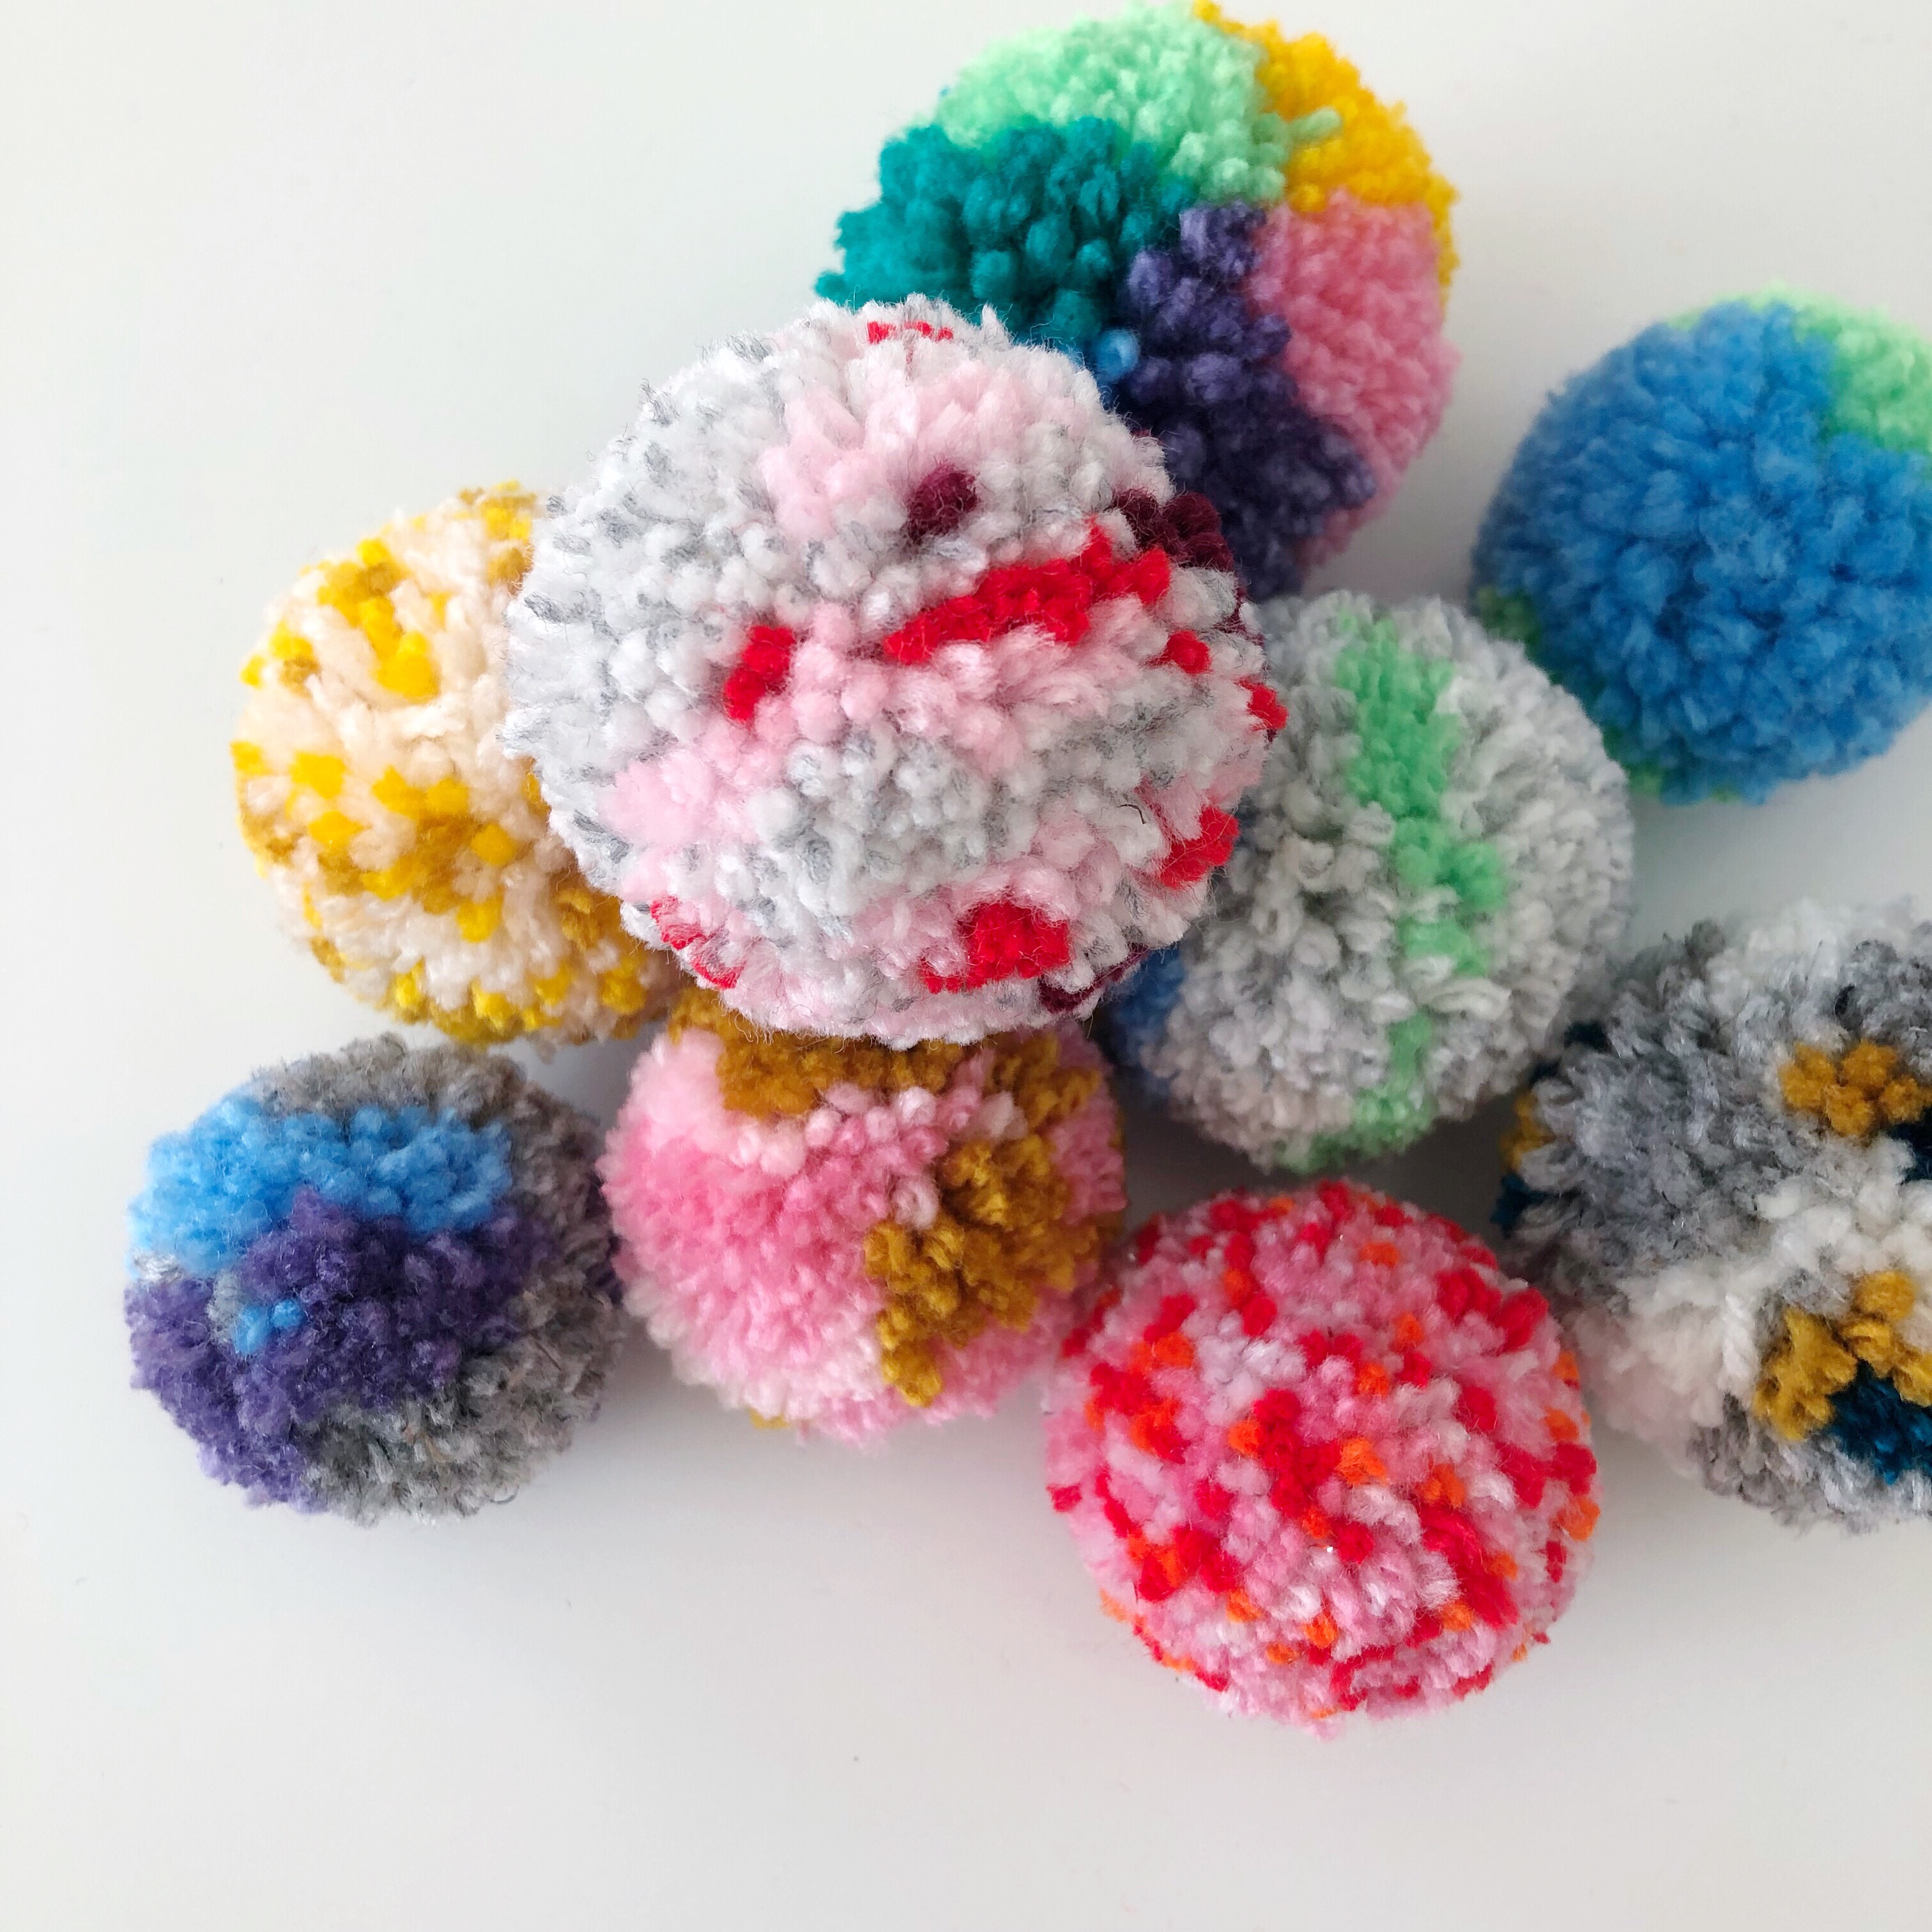
Don’t you wish you could stick these everywhere?
Making a beautiful pompom is pretty easy and doesn’t mean you need to buy fancy pompom makers. I’ve tried a lot of different methods and discovered there’s really only 2 important steps to making a great pompom: how tightly you tie it, and how much you trim.
Here are all of my tips, tricks, and methods to making an awesome pompom.
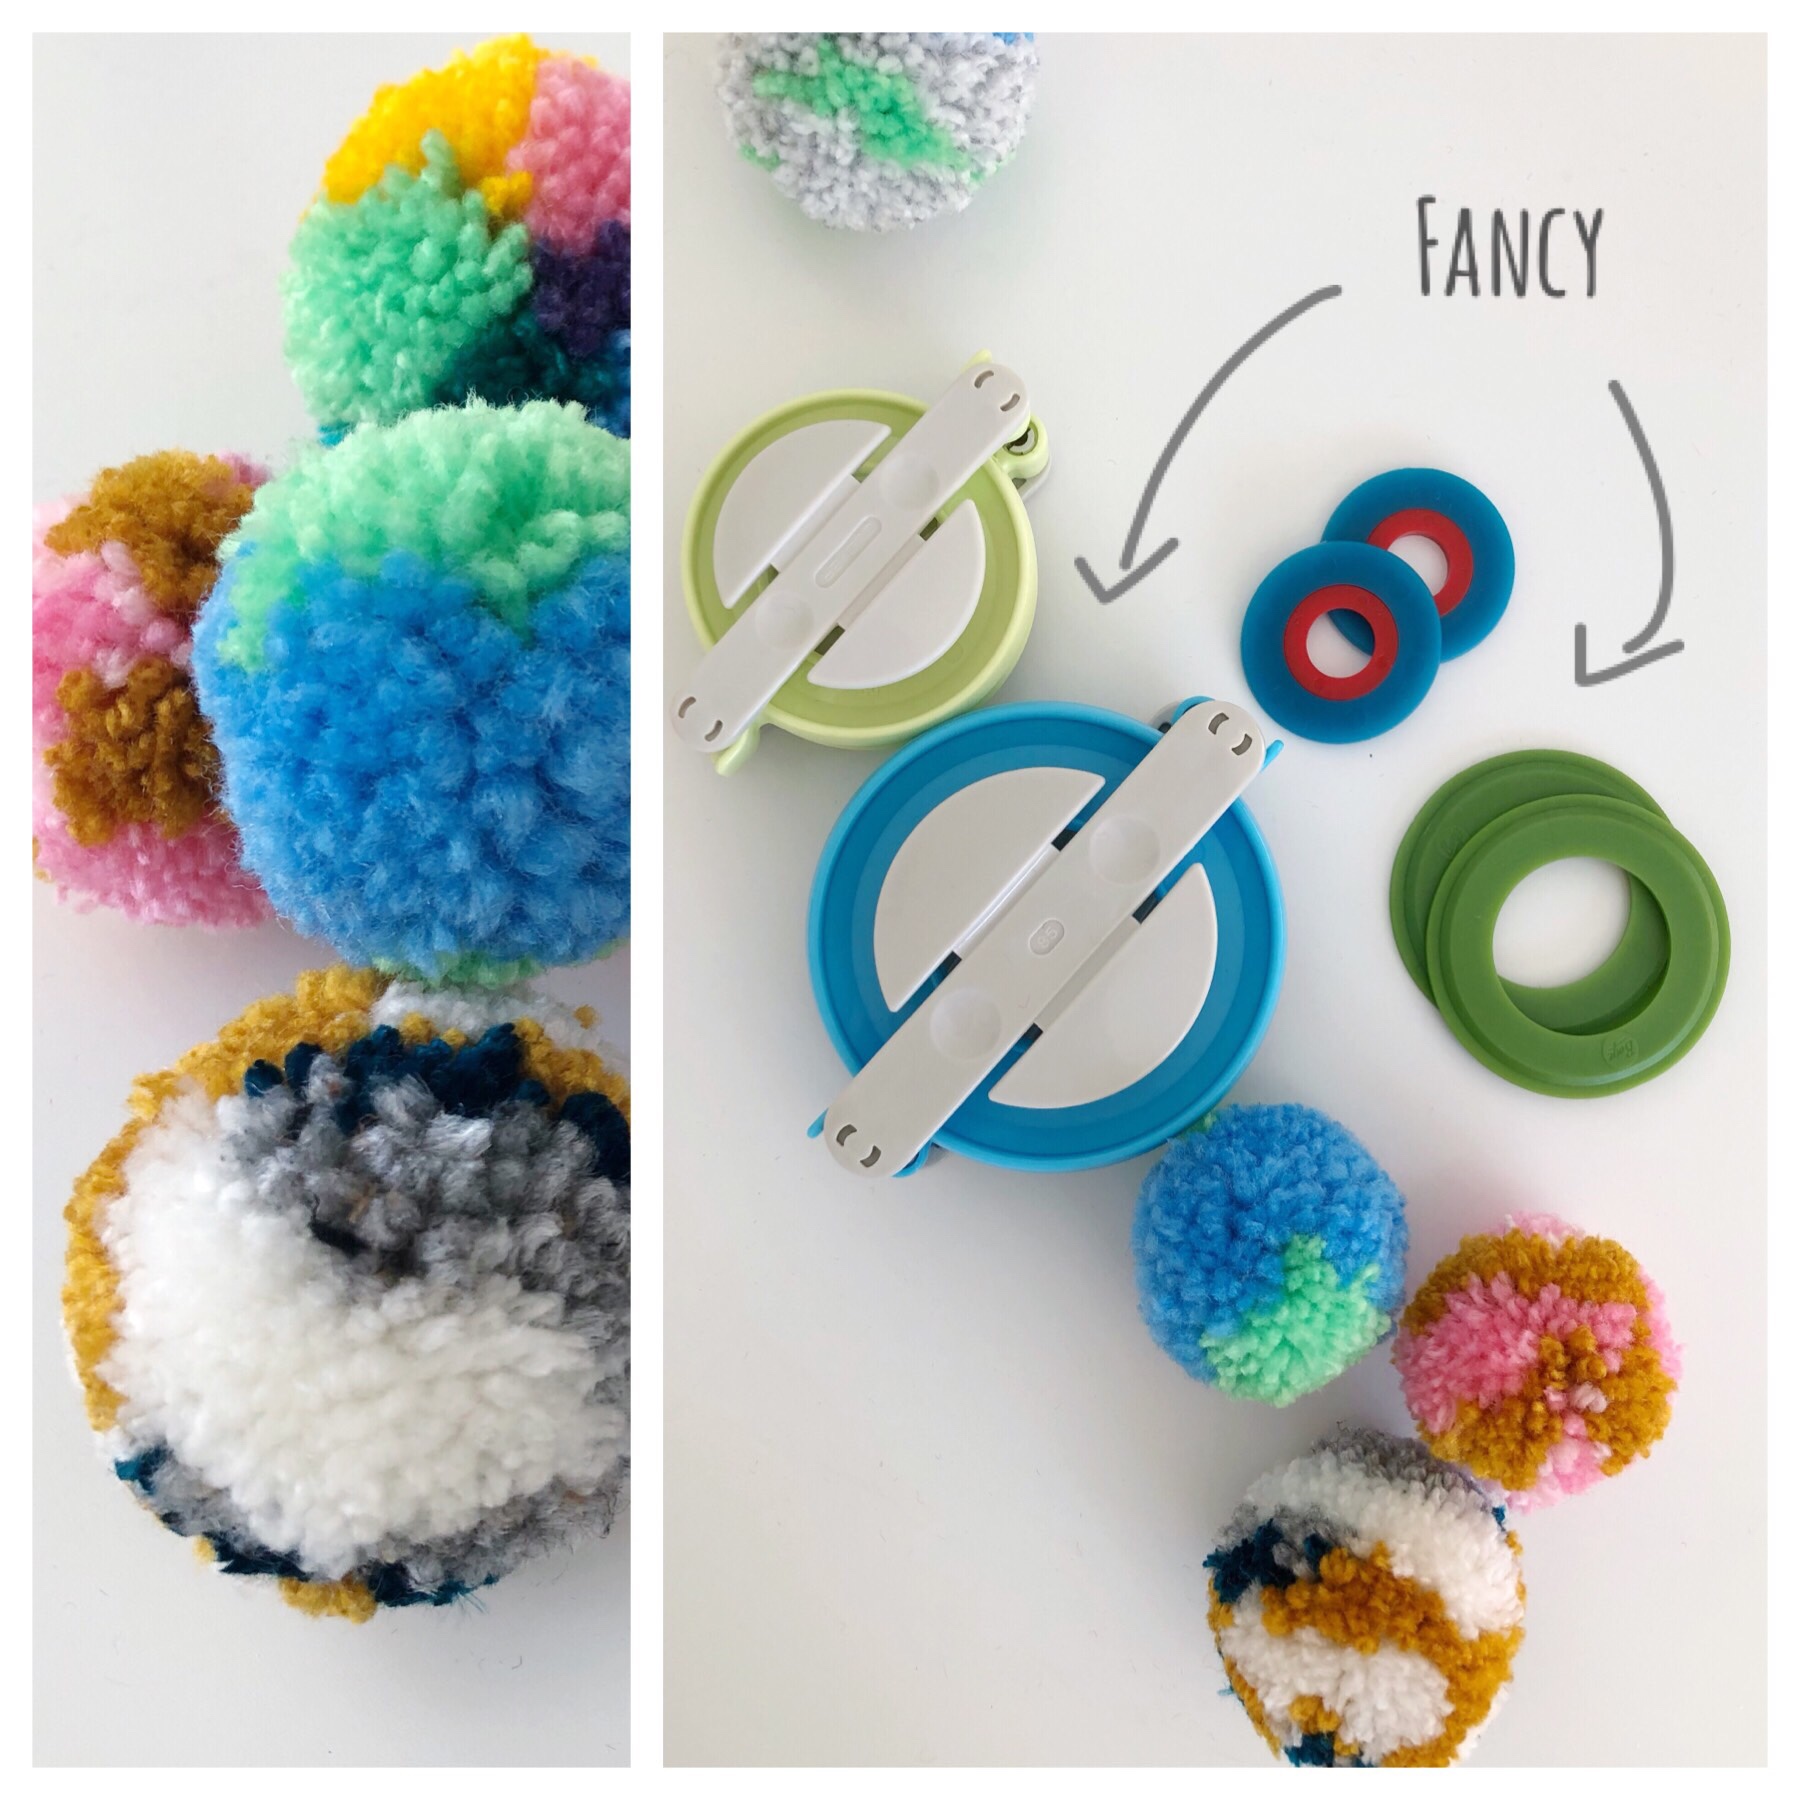
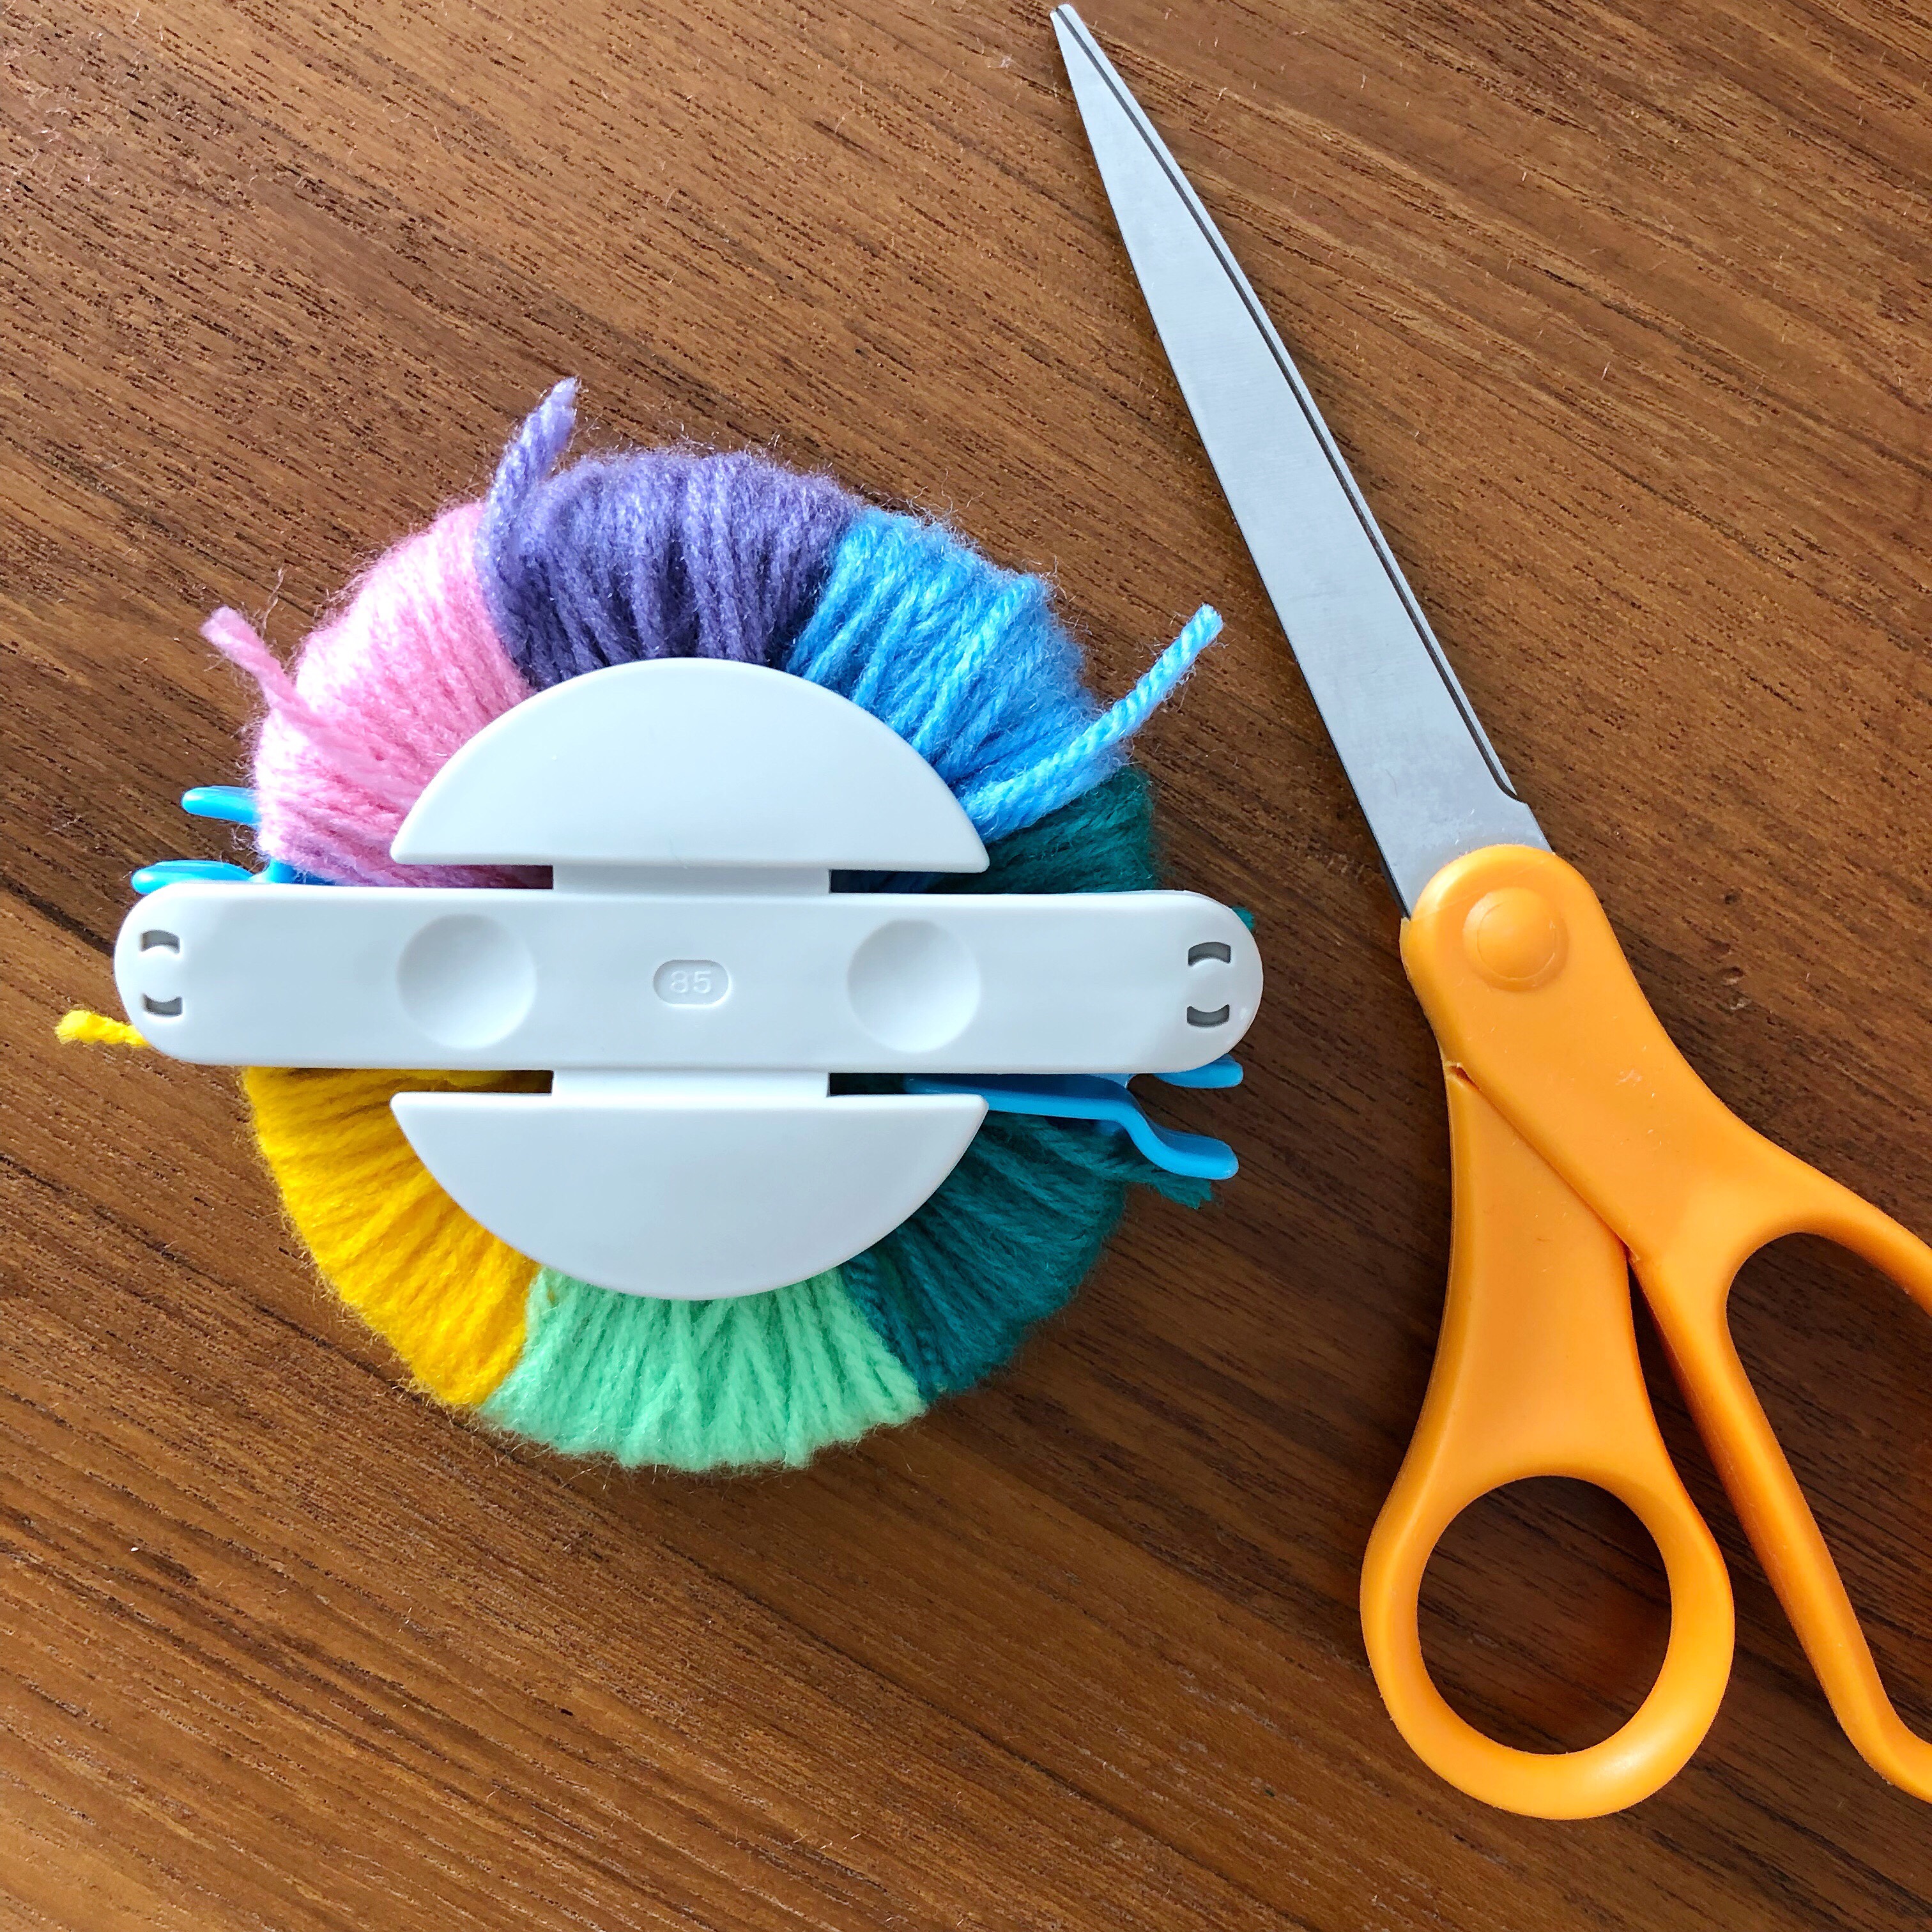
Some of my fancy pompom makers. The disks are from Boye and the larger two are from Clover. Both came in sets purchased at Michael’s Craft Stores.
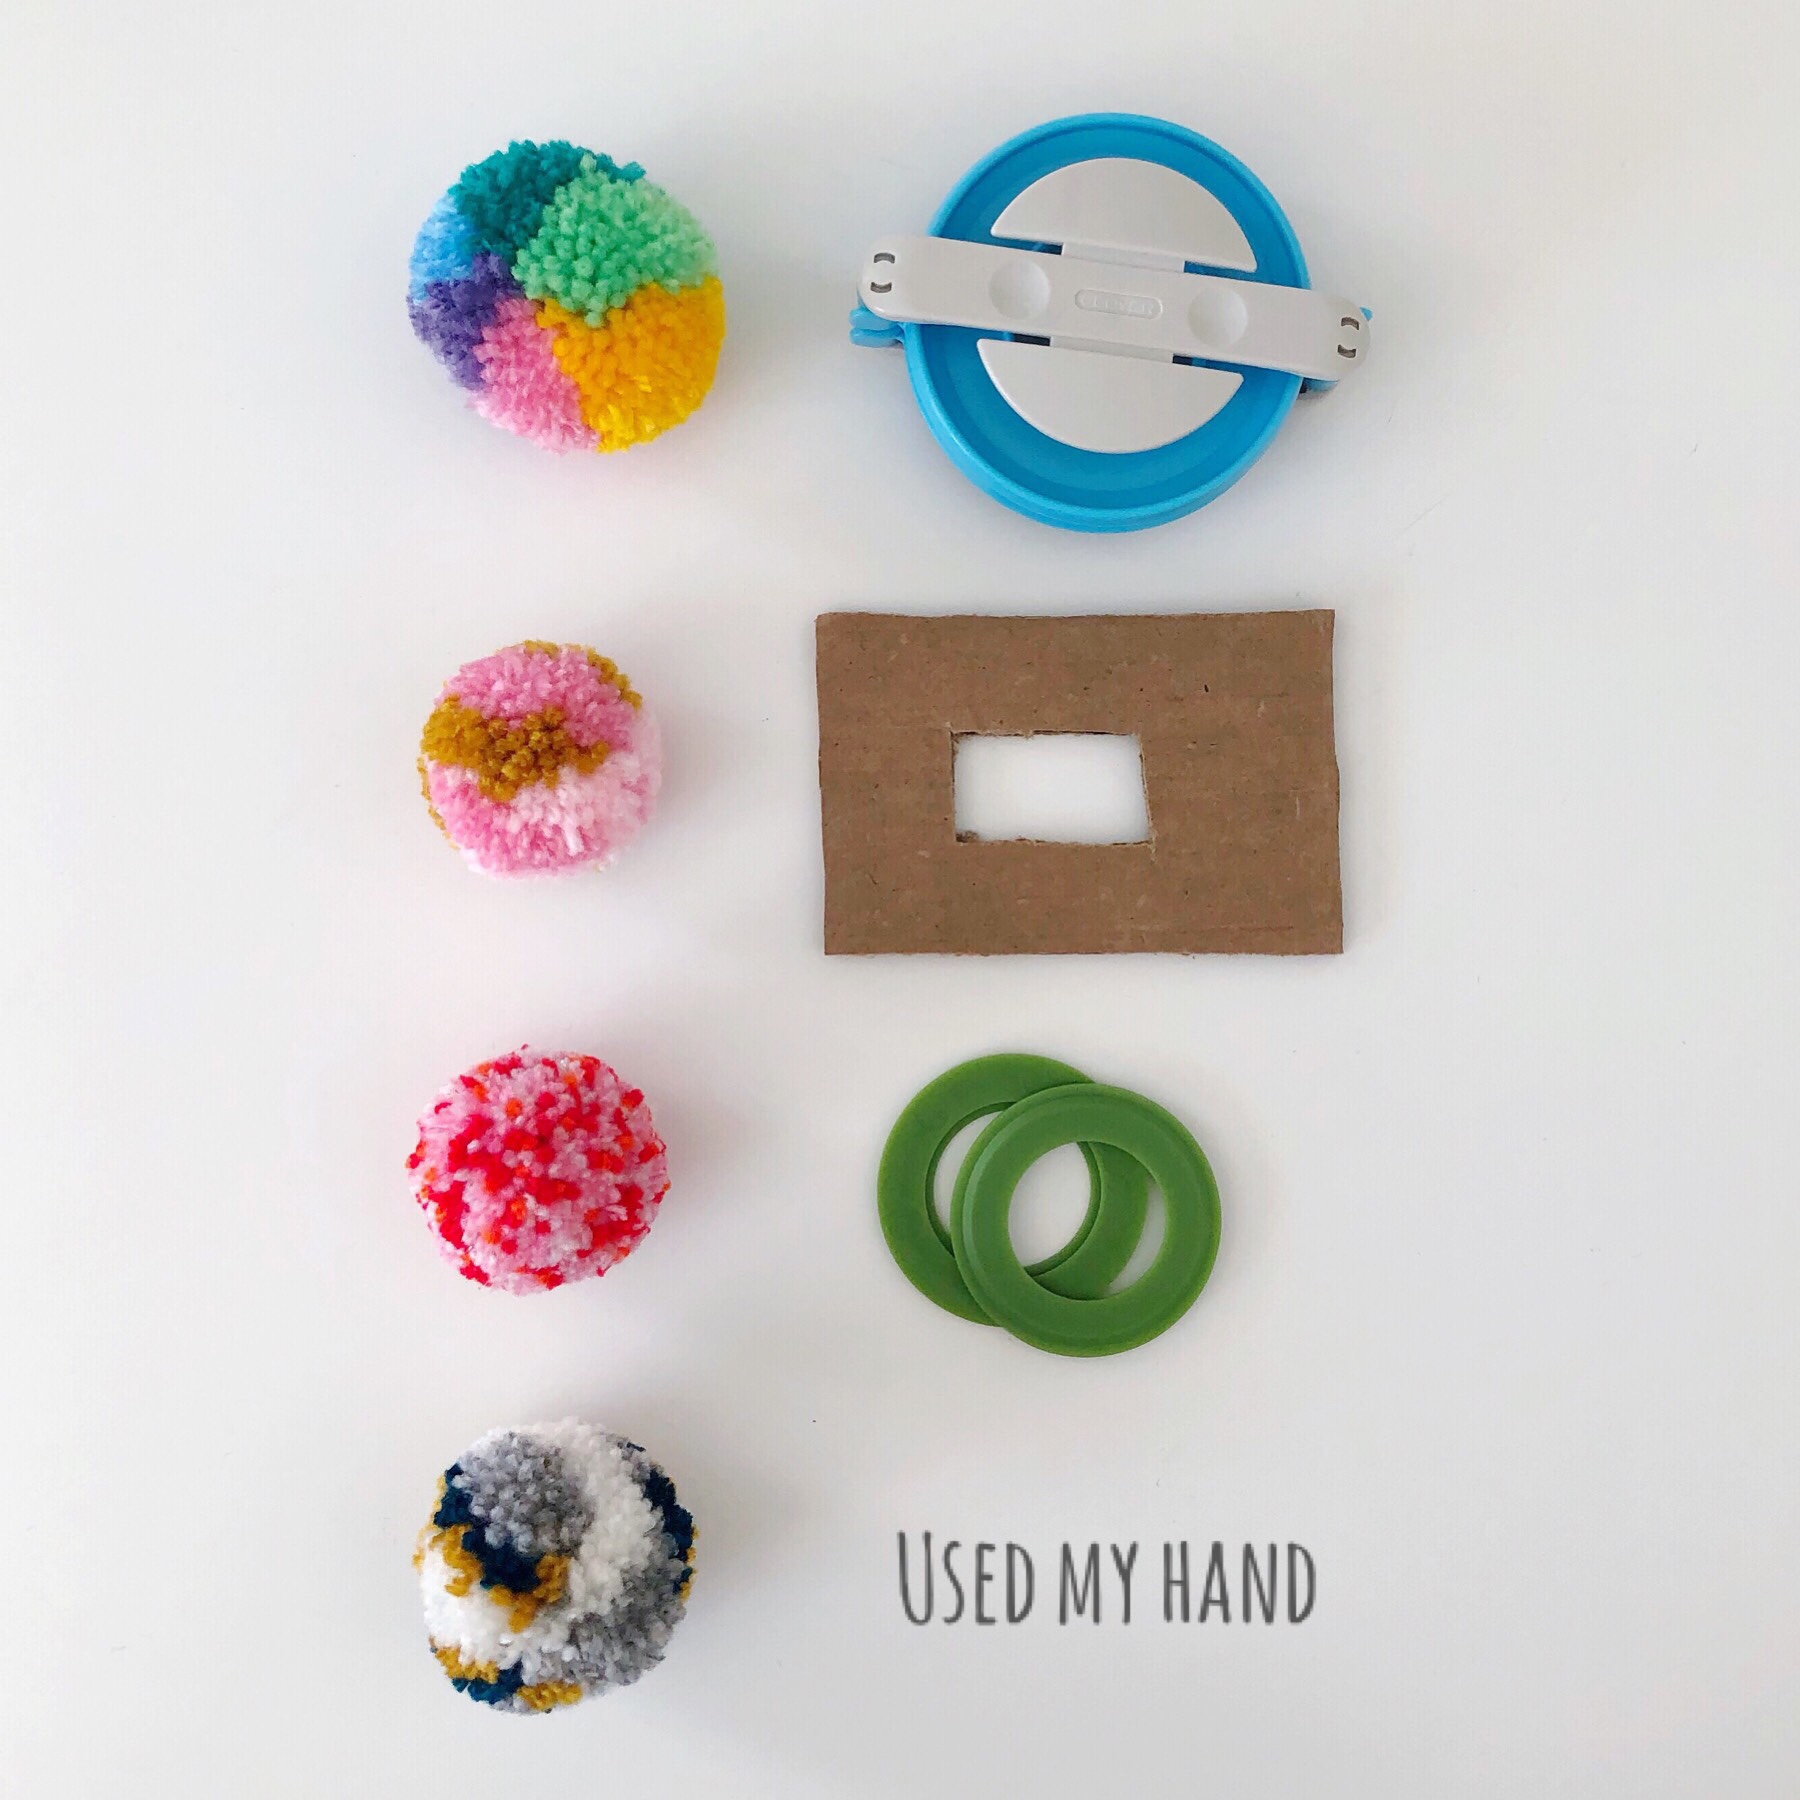
I’ve tried a few different methods to pompom making, and really the only difference I’ve noticed is the amount of yarn that gets trimmed away. The advantage of a pompom maker is a lot less waste when trimming. But you can also make a pompom with a piece of cardboard, toilet paper rolls (yes, that is a pompom making method), or just use your bare hands. The easiest way is probably using your hand. Depending on the size, wrap the yarn around your palm, or fingers. Once you’ve wrapped a significant amount (at least 50 times around), slip the yarn off, lay it on a table and tie the center. That’s it.
Can you tell the difference? The last pompom pictured I wrapped the yarn around my four fingers probably about 100 times.
Step 1 – Wrap your yarn
Whichever method you choose, you will need to start by wrapping a lot of yarn. Of course smaller and larger pompoms need less or more yarn. I never really measure the amount I use, unless I am trying to make 2 pompoms that are the exact same size. In this case, I would count the number of times I’ve wrapped the yarn, so that I can repeat it with the same amount a second time.
Here I’ve wrapped multiple colours around my large Clover pompom maker.
Step 2 – Tie the center
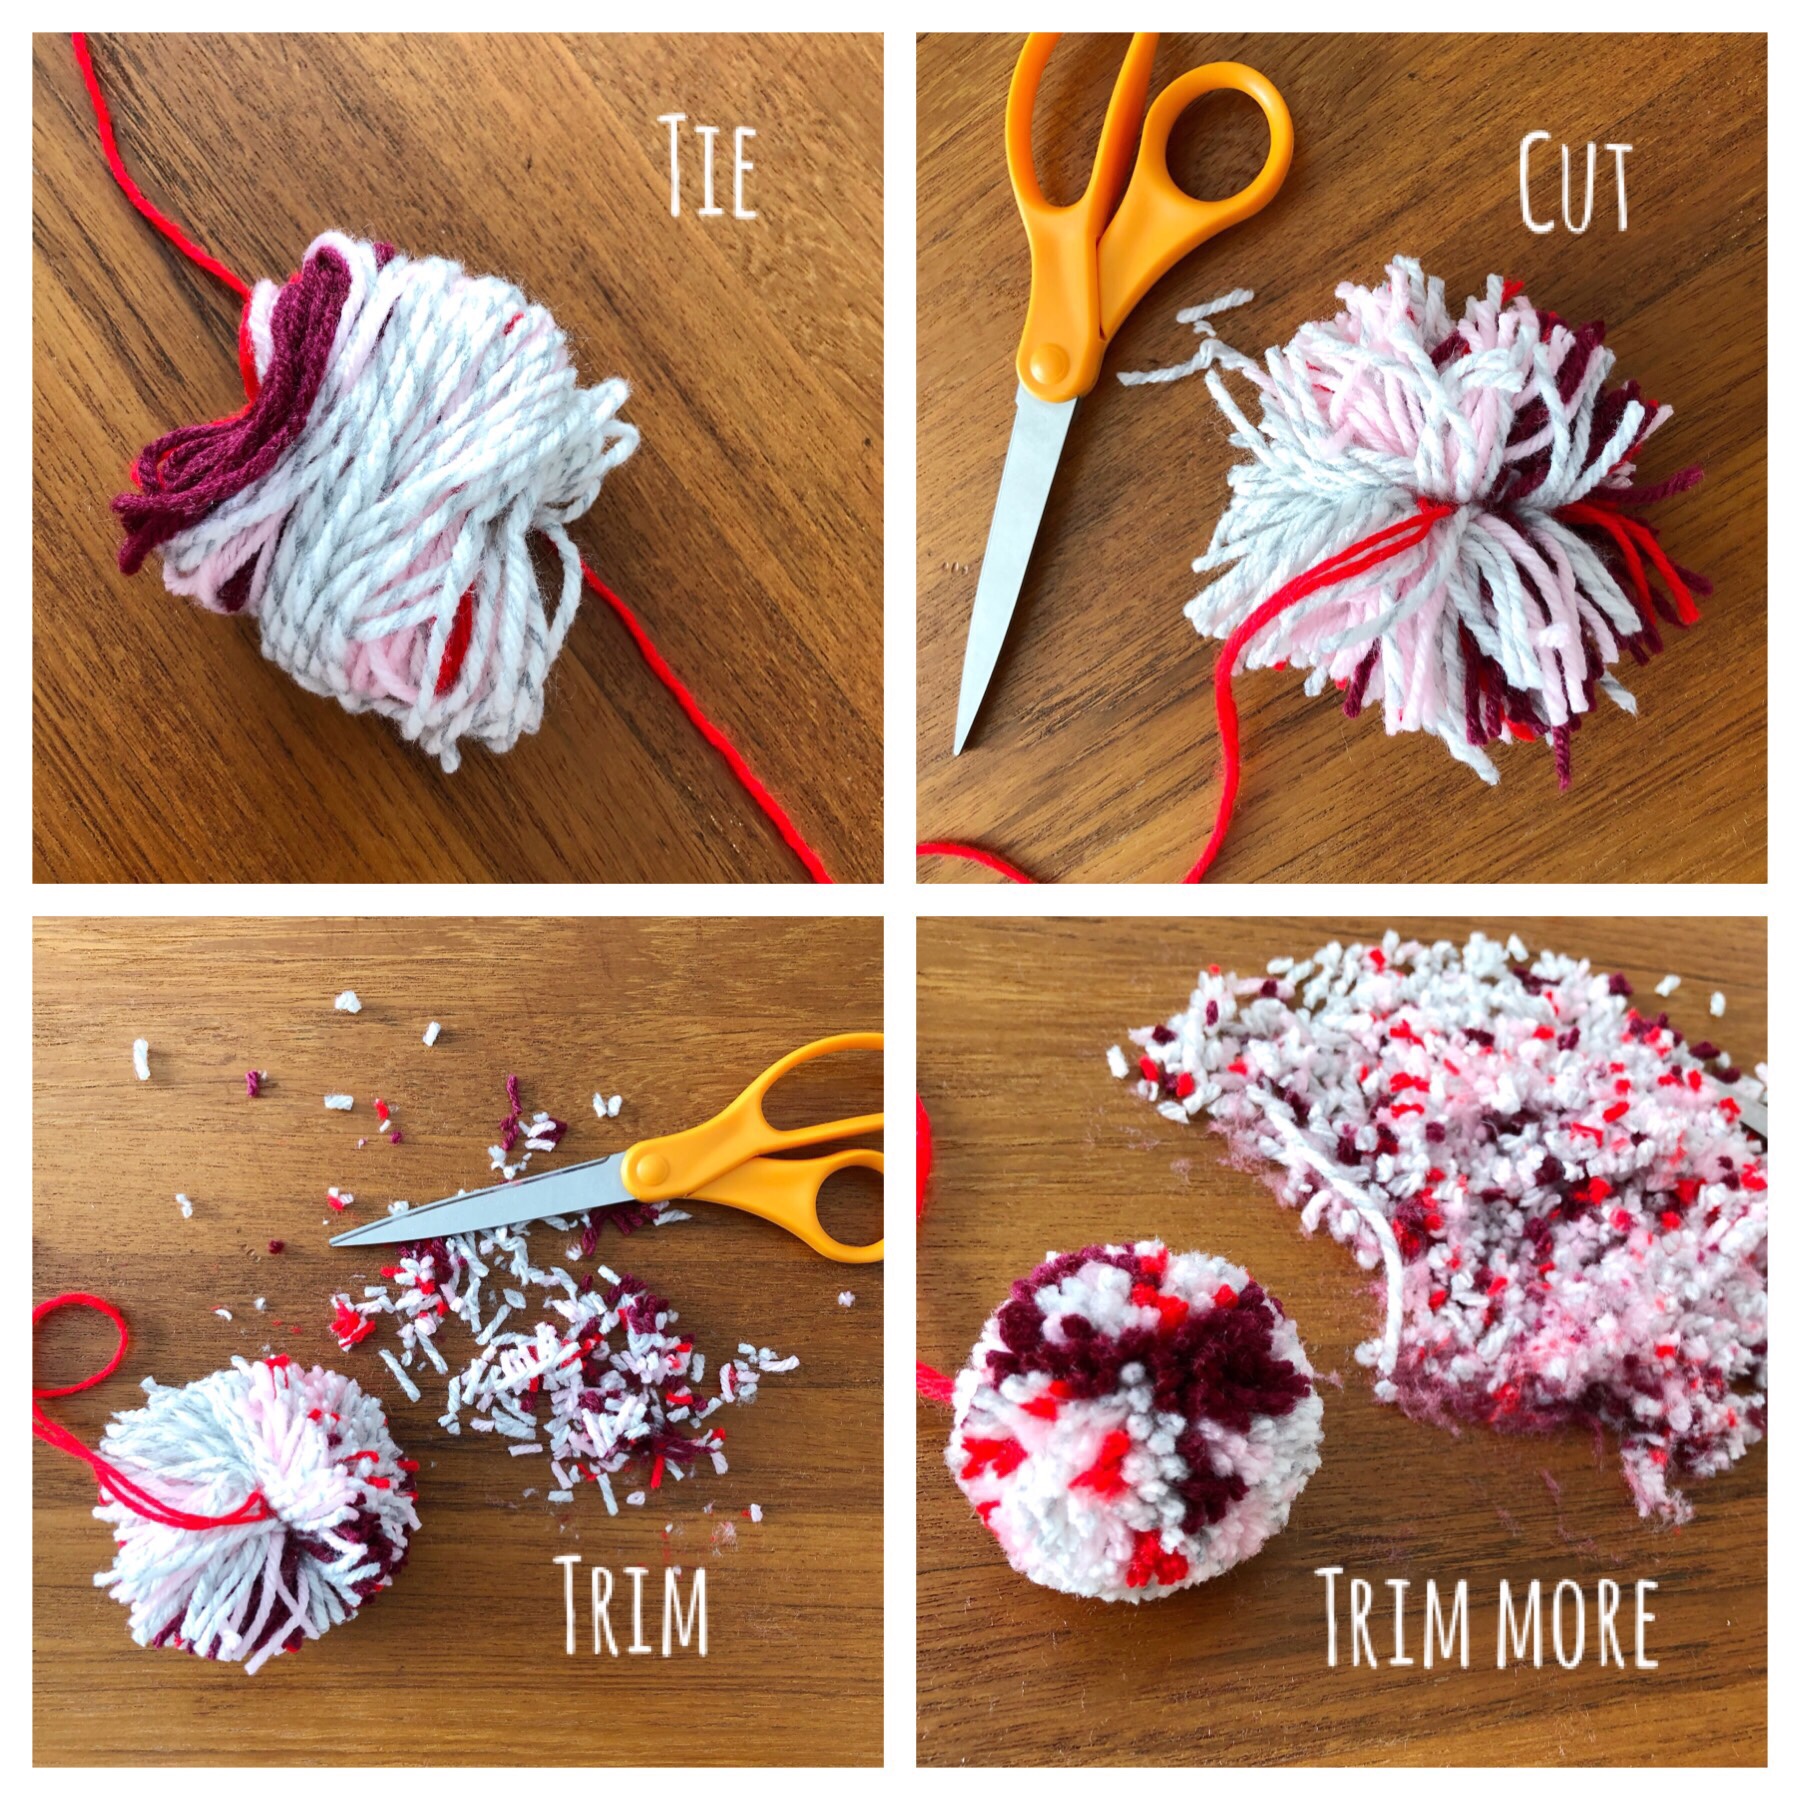
The tighter you can tie the center of the pompom, the better it will look. I usually use a piece of yarn, but a strong sewing thread works too. If you’ve tied the center but feel it could be tighter, wrap the string around again and tie a tighter knot on the other side.
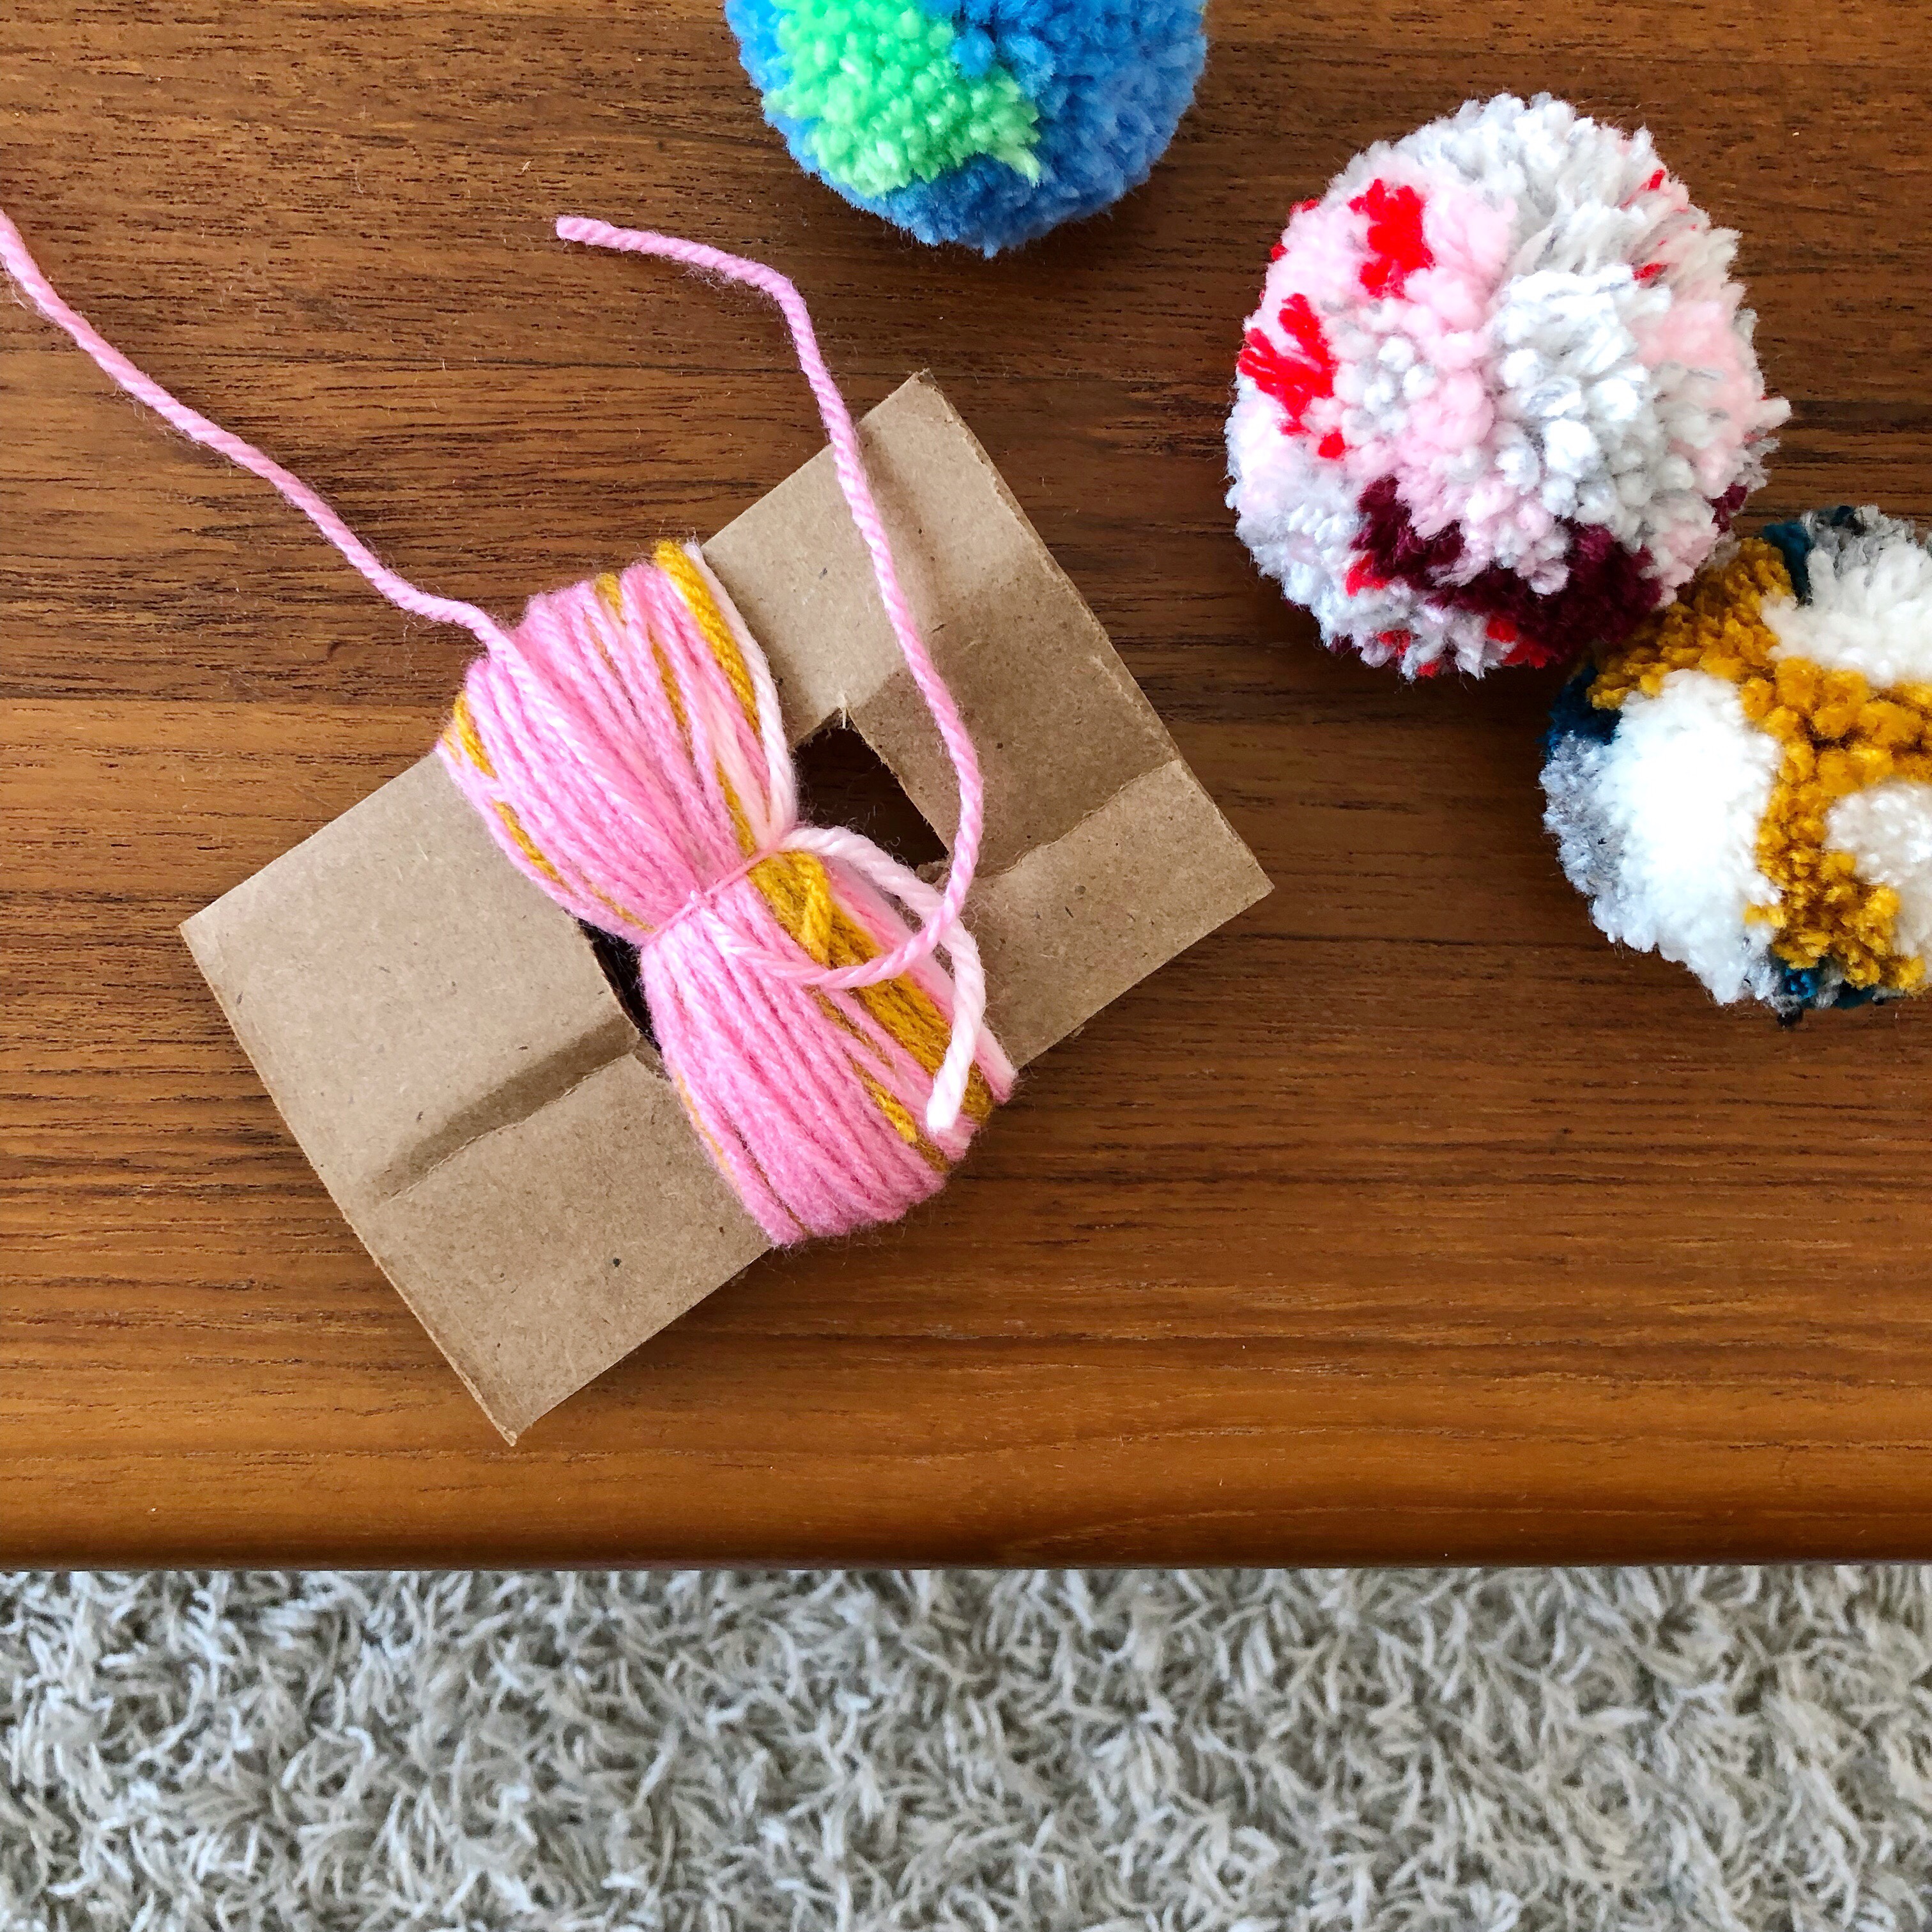
Here I’ve used a cardboard pompom maker. Once you’ve tied the center, simply slip your scissors though the loops and cut. The pompom will free itself from the cardboard and be ready to trim.
Step 3 – Trim, trim, trim
It is impossible to tie the center of some yarn, cut the sides, and get a perfect pompom. You will always have to trim it into a perfect sphere. It can be a quite meditative experience actually, like trimming a bonsai tree. I like to hold my pompom from the string used to tie the center and trim all around, shaking it out occasionally to fluff it up.
This pompom was also made by wrapping the yarn around my hand.
Now that you’ve made the best pompom ever, what do you do with it? Well the possibilities are endless my friend!
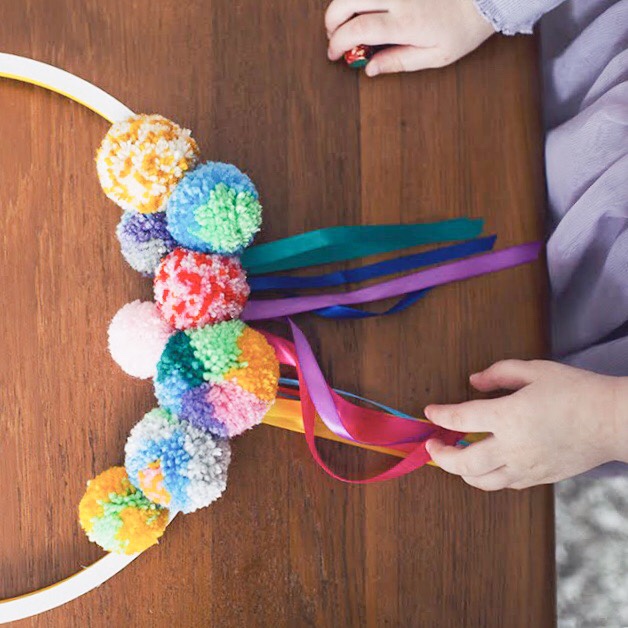
You can make a wreath, a pompom tassel for your purse, adorn a pair of otherwise sad shoes, embellish a pillow or throw, create a fun headband, string them into a garland, or make a pair of earrings. Visit my pompom Pinterest board for ideas and inspiration and be sure to follow me on Instagram for more crafts, DIY projects and ideas.
Happy pompom making!