
I was recently gifted my grandmother’s old sewing machine, so I decided to make my toddler a simple Halloween costume. I’ve always wanted to get into sewing, but for some reason I find it super intimidating, which is weird considering all the DIY projects I take on. Maybe it’s because it involves an actual machine? Who knows!? I wanted to start slow and make something with as little actual sewing as possible so that I could get a hang of the machine. My daughter loves cats, so why not a black cat costume? My mother made me a similar costume when I was a kid, and I loved it so much, I think I wore it 3 years in a row! It was cute, comfy, and warm.

My sister’s birthday is October 16th, so almost all her birthdays were Halloween themed. I’m in the back wearing my cat costume!
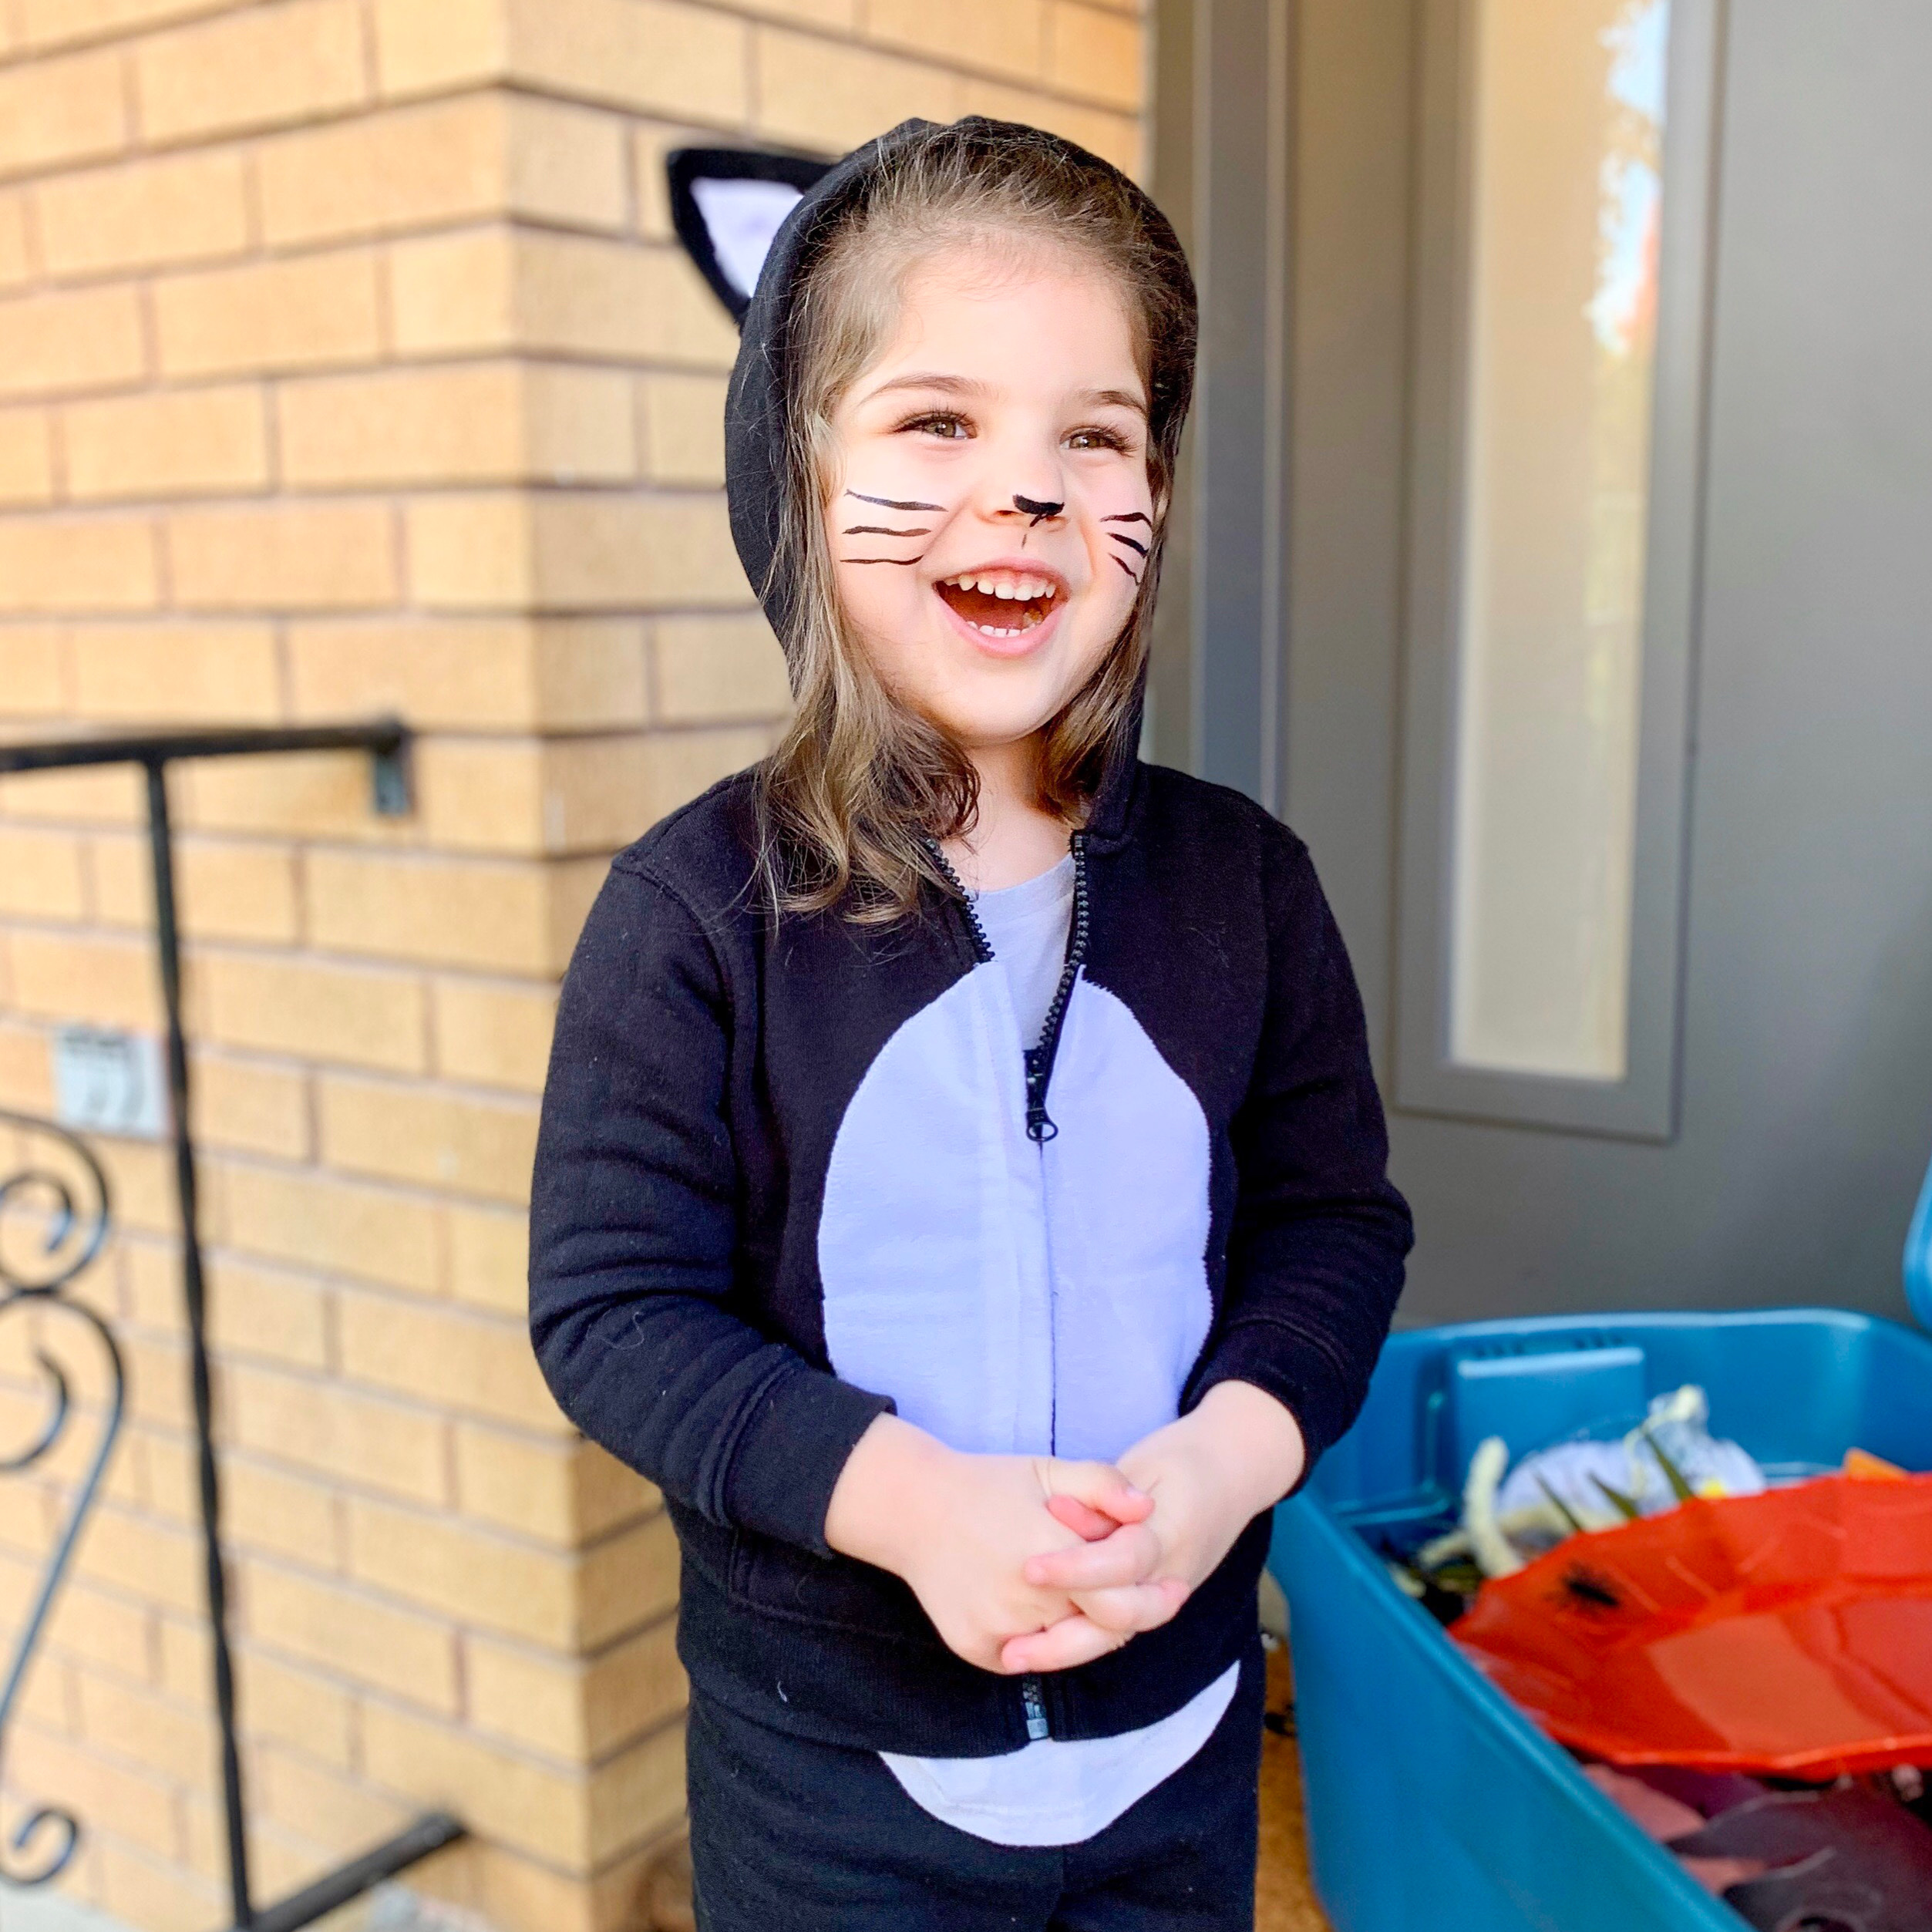
Halloween in Canada is usually pretty cold and often involves snow, so this costume will keep your little one perfectly warm. Best part is, it’s simple and quick to make because all you need to do is add some cat parts to a hoodie and sweatpants.

I found everything but the black felt at Walmart.
Here are the supplies you need to get started:
– black hoodie in desired size
– black sweatpants in desired size
– 1/2 yard black felt
– 1/2 yard white felt (I actually used a fuzzy fabric)
– black all purpose thread
– white all purpose thread
– fusible adhesive “Wonder web”
– polyester stuffing
– fabric chalk
– straight pins
1 – Cut everything out

There is no pattern for this costume. I simply used fabric chalk to draw my lines and cut away!
I started by cutting all my pieces out. For the white tummy, I cut a piece of paper to size first and traced it onto my fabric as a template. Because my hoodie had a zipper, I had to cut two half circles to accommodate the zipper. I cut one half circle wider, so that I could sew a flap that covered the zipper, giving the illusion of a solid white tummy. If you have a pull on hoodie, you can skip this step and just cut an oval tummy. For the tail, I simply cut a a long rectangle of felt, approximately 5″ wide, and cut a white decorative tip. Lastly, I cut 4 triangular ears from the black felt with 2 smaller white centers. Why 4 ears? The felt I purchased was a little thin, so I ironed 2 pieces together, making the felt a little thicker.

I cut the cat ears longer to begin with because I wasn’t sure how I was going to attach them, and ended up trimming a lot of excess fabric off later.
2 – Iron on with fusible adhesive
Using fusible adhesive makes this costume easy to put together. It looks like a thin mesh. You simply sandwich it between your fabrics, and press down with an iron on the steam setting. This melts the mesh turning it into glue. The fusible adhesive should be cut slightly smaller than your top piece of fabric so that it can’t be seen.
I ironed the tummy on both sides of the zipper, folding the longer side over so that it became a flap covering the zipper. I ironed the white tip onto the tail and the small white triangles onto the ears.
3 – Top stitching

Close up of the top stitching for the white tummy.
This may be an unnecessary step, but I decided to top stitch all my ironed on pieces. I figured it’s a toddler costume and it’s going to be washed a lot, I didn’t want to risk anything peeling off. It also gives a nice finished look and helps prevent any possible fraying. I used a zigzag stitch with white all purpose thread on my sewing machine. You could do this step by hand as well.
4 – Piecing it all together
The most exciting part! Once I ironed and top stitched the white fabric, it was time to construct the tail. First, I folded it in half lengthwise, with the right sides facing in, and pinned it together in a few spots. Then, using black thread, I sewed along the cut edge, leaving a 1/4″ seam. When I got to the tip of the tail, I sewed a rounded tip and cut off the excess fabric. Then I rolled the tail right side out and filled it with the polyester stuffing.

The completed tail with rounded tip.
To attach the tail, I cut it to the desired length, tucked it into the crease of the back of my sweatpants, and sewed it on. I initially was going to cut a hole in the pants, but decided not to. This way, if I want to remove the tail in the future, I still have a pair of usable sweatpants.
The last step was adding the ears. First, I decided where I wanted the ears to go. Once again, I was going to cut a hole in the hoodie, but that made me too nervous, so I folded the hoodie over creating a little pocket that sandwiched the ears, and sewed along the underside.

And voila! Cat costume complete. My daughter has already worn it a few times, but it has yet to be washed. I will follow up once I run it through the washer and dryer.
Funny side story – I never ended up using my grandmother’s machine. After struggling with the thing for 4 hours, I brought it to my mom’s house for her to look at. She tried all the same things I did, rethreading the machine, rethreading the bobbin, cleaning out the base, adjusting the tension, with no luck. My 96 year old grandfather took a look and discovered something jamming the bobbin case, but we still couldn’t get the stitches to not unravel, or jam the machine. So it’s being dropped off for repairs this week, and we’ll see if it’s even worth fixing. Maybe I’ll be getting a new machine for Christmas?
*Update: Ellie’s costume still fits this year! She’s been wearing the hoodie casually all year. The hoodie and sweatpants wash really well. I’ll be saving this costume for her little sister to wear next year.