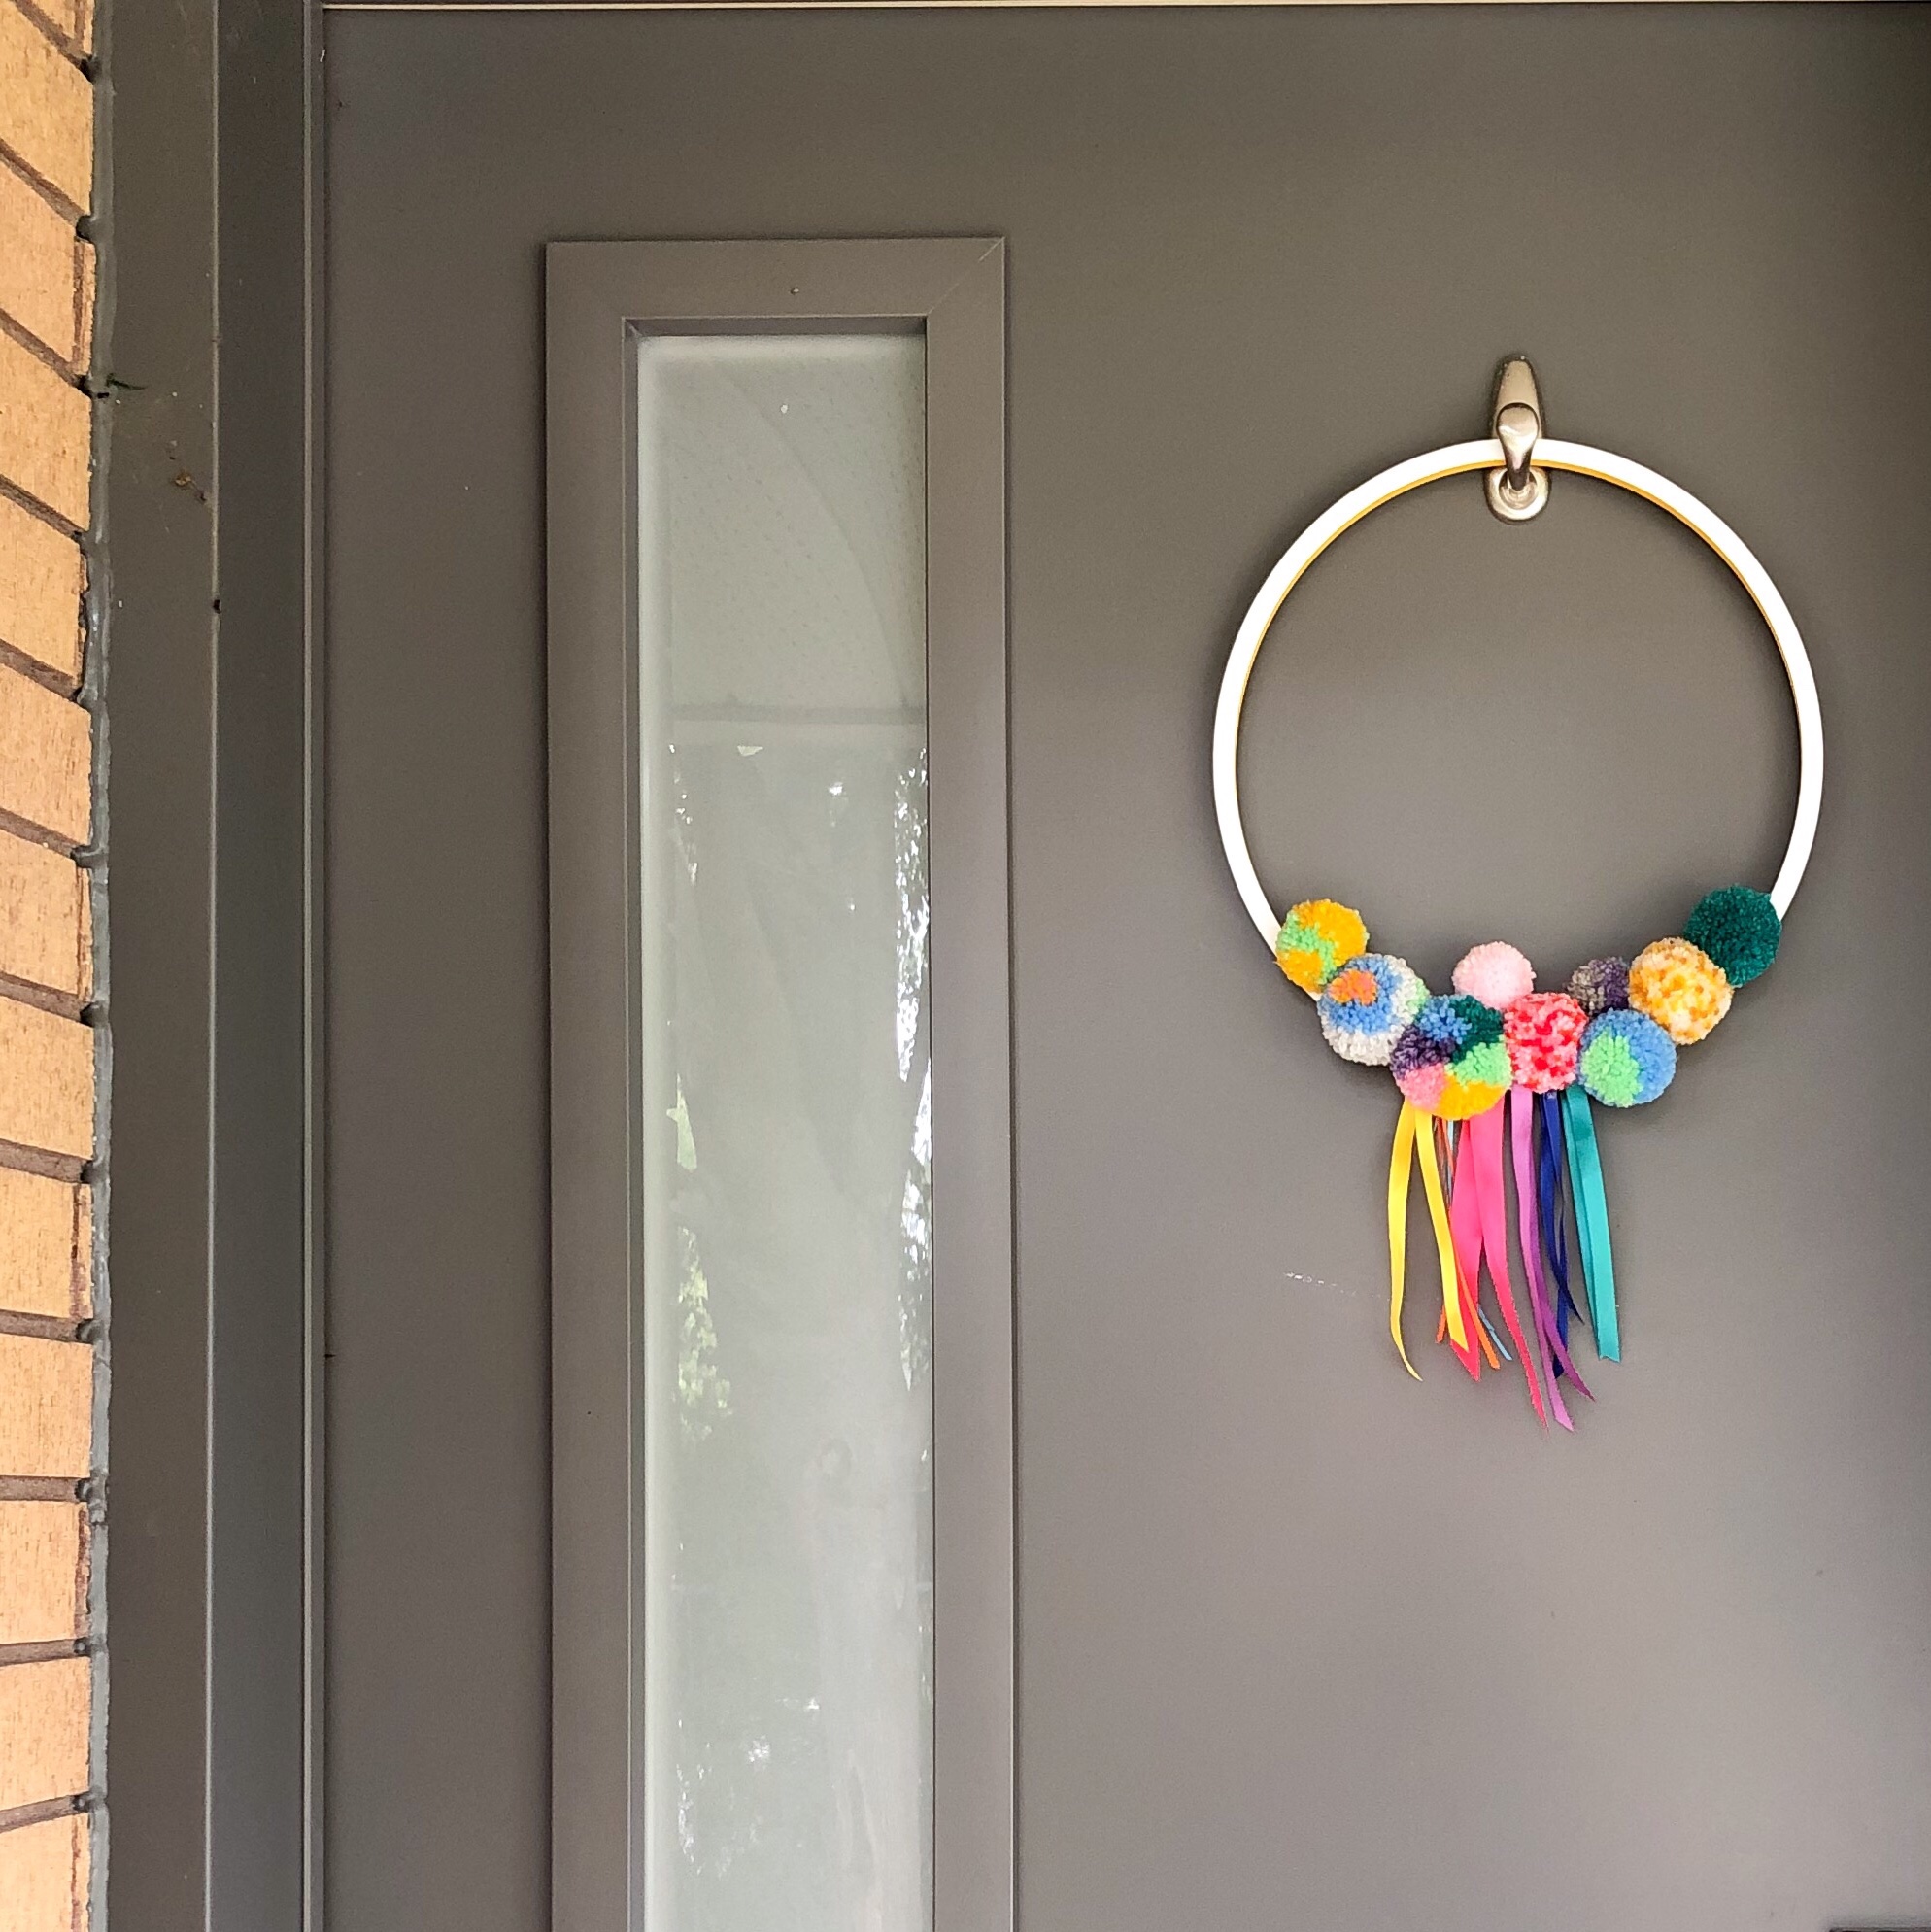
A few months ago I made a bunch of pompoms for my blog post “How to Make a Perfect Pompom“. I wanted to test out different methods and compare all the pompom makers I have. I ended up with a lovely collection of pompoms, but didn’t really have a project in mind. Not wanting them to go to waste, I decided to use them to throw together this bright and colourful pompom wreath for our front door.
Here’s what you need to create one for yourself:
– wooden hoop (I used part of an embroidery hoop)
– paint
– a collection of pompoms
– ribbon
– hot glue
Start by painting the wooden hoop. This step is totally optional. I chose to paint the hoop white and the inner side a bright yellow. Natural wood looks great too, however if you plan on hanging it outdoors I highly recommend sealing it with varnish first (trust me, I learned this the hard way and had a wreath grow mold last year).
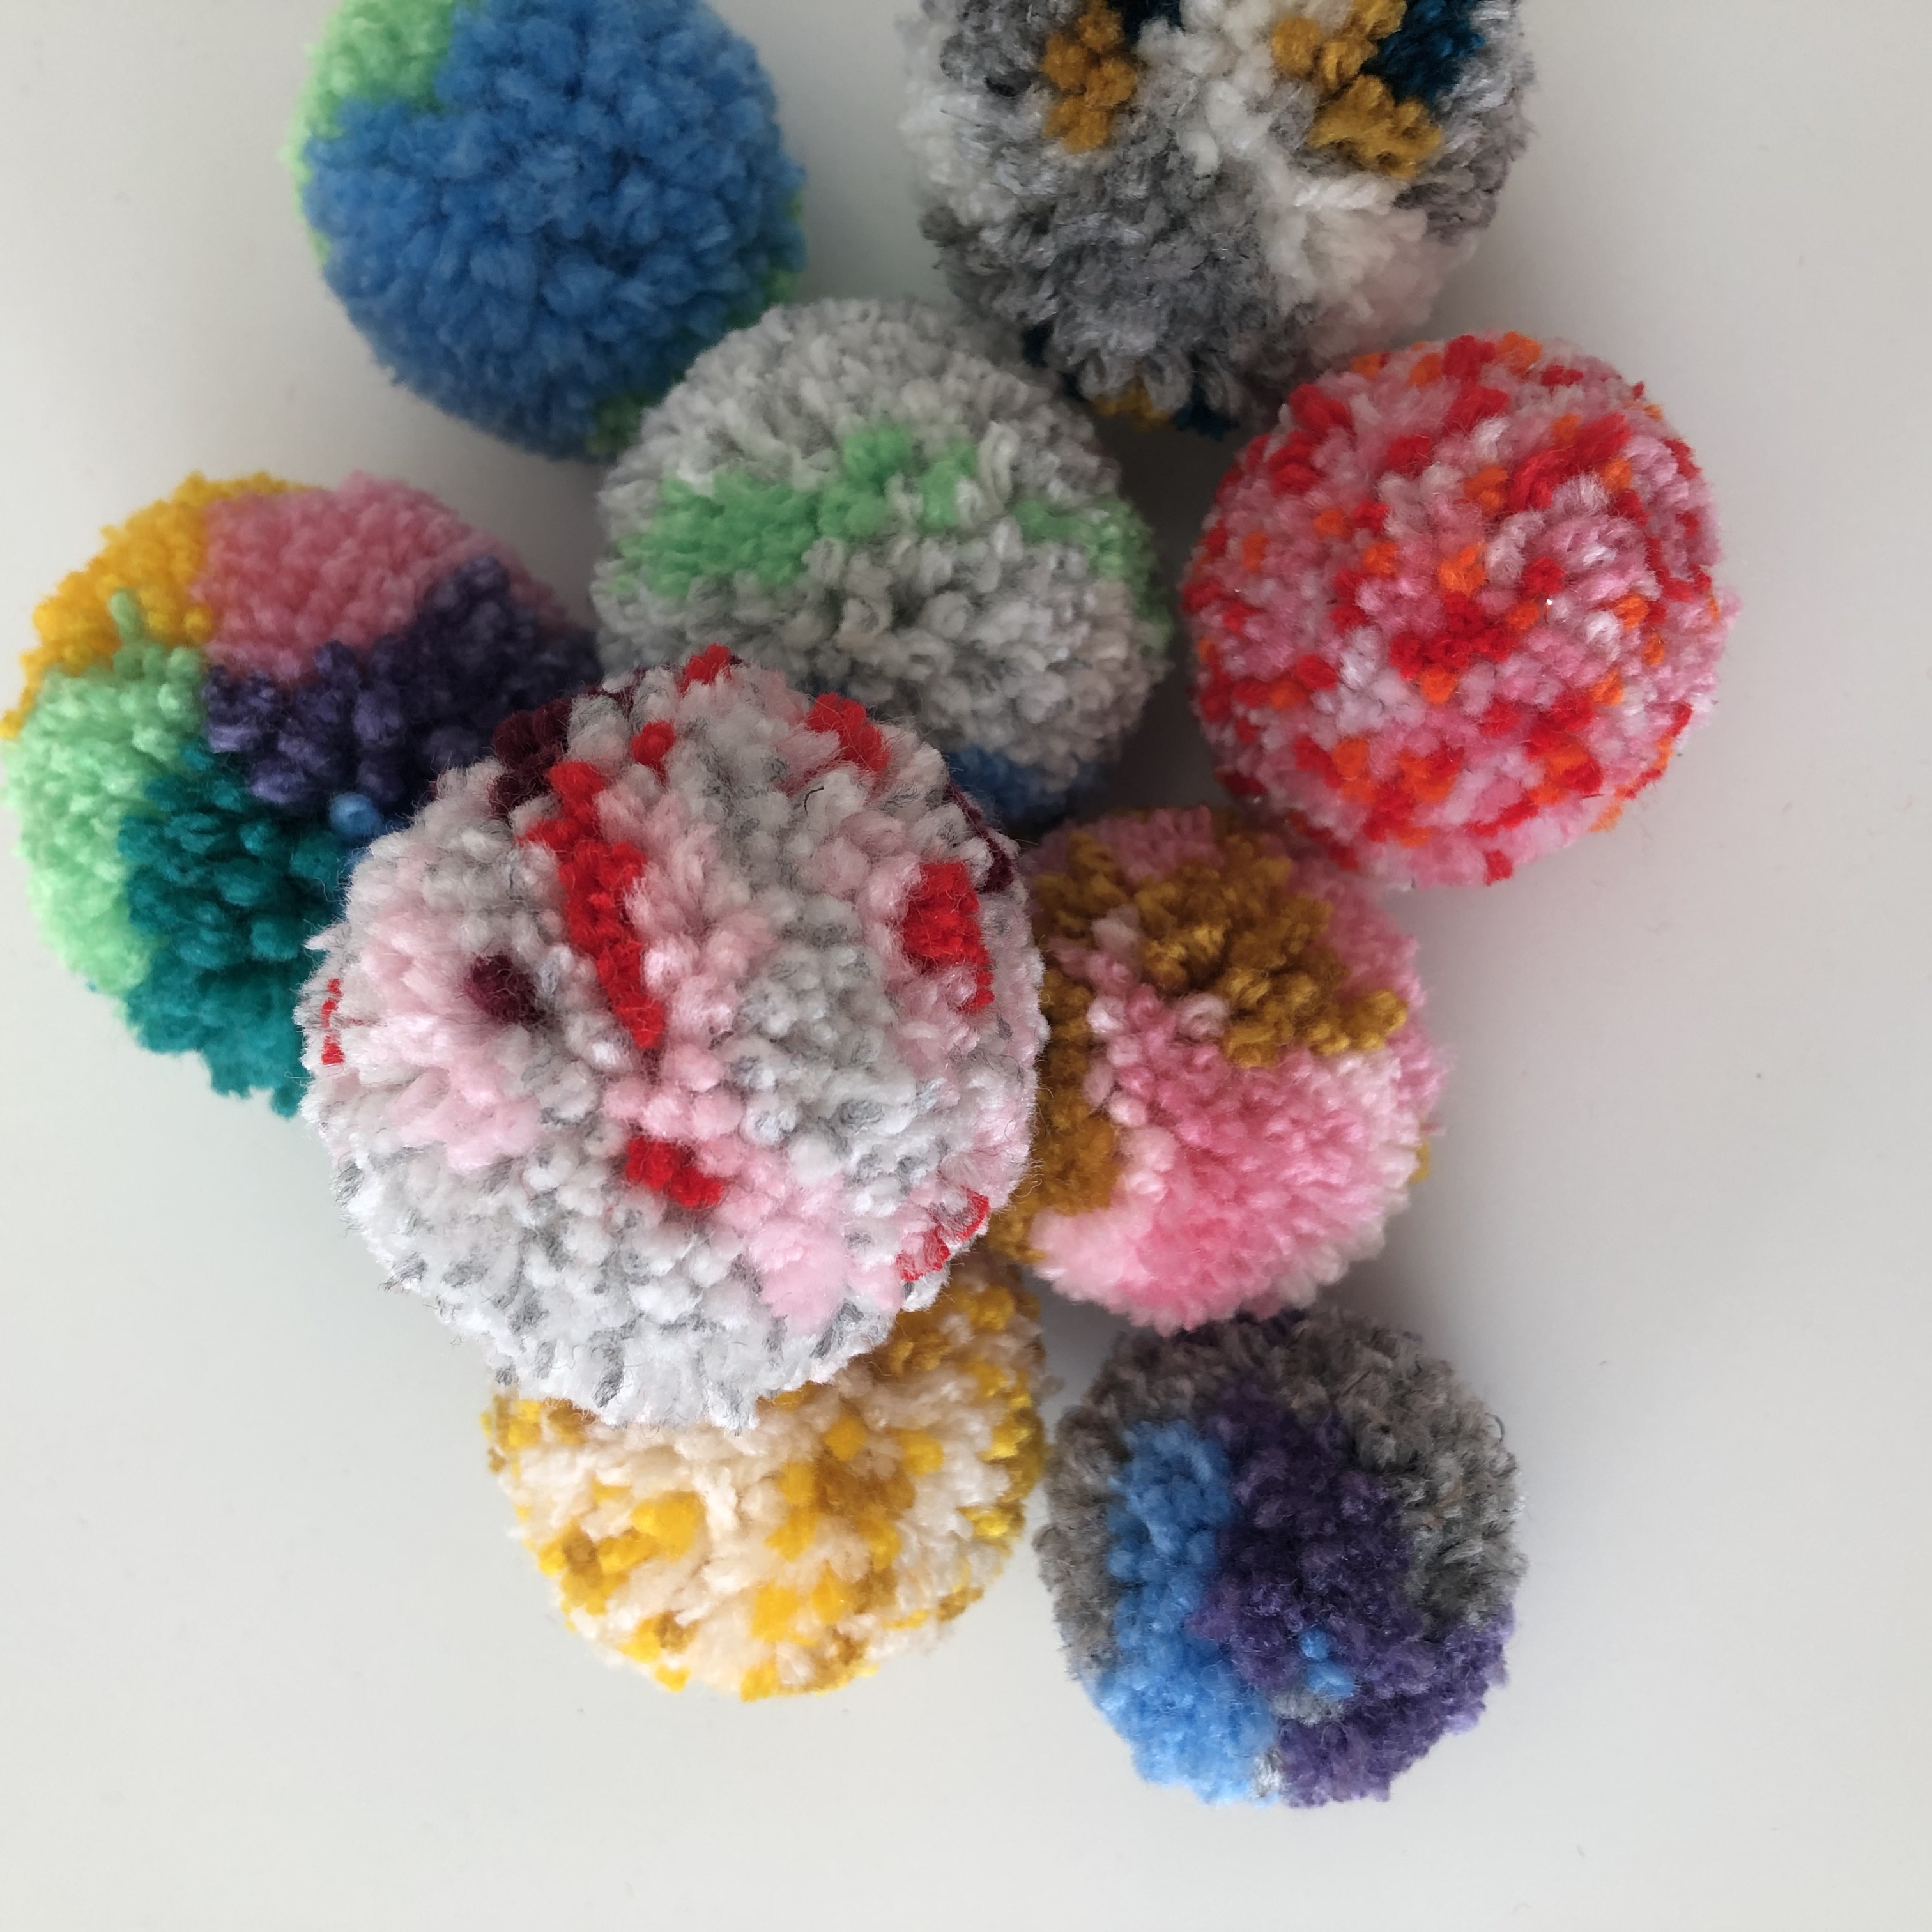
Make a collection of medium to small sized pompoms. I had fun with it and chose totally random colours. You can do solid colours, combos, or make them random like I did. There are really no rules! If you’ve never made a pompom, check out my blog post to learn how to make one.
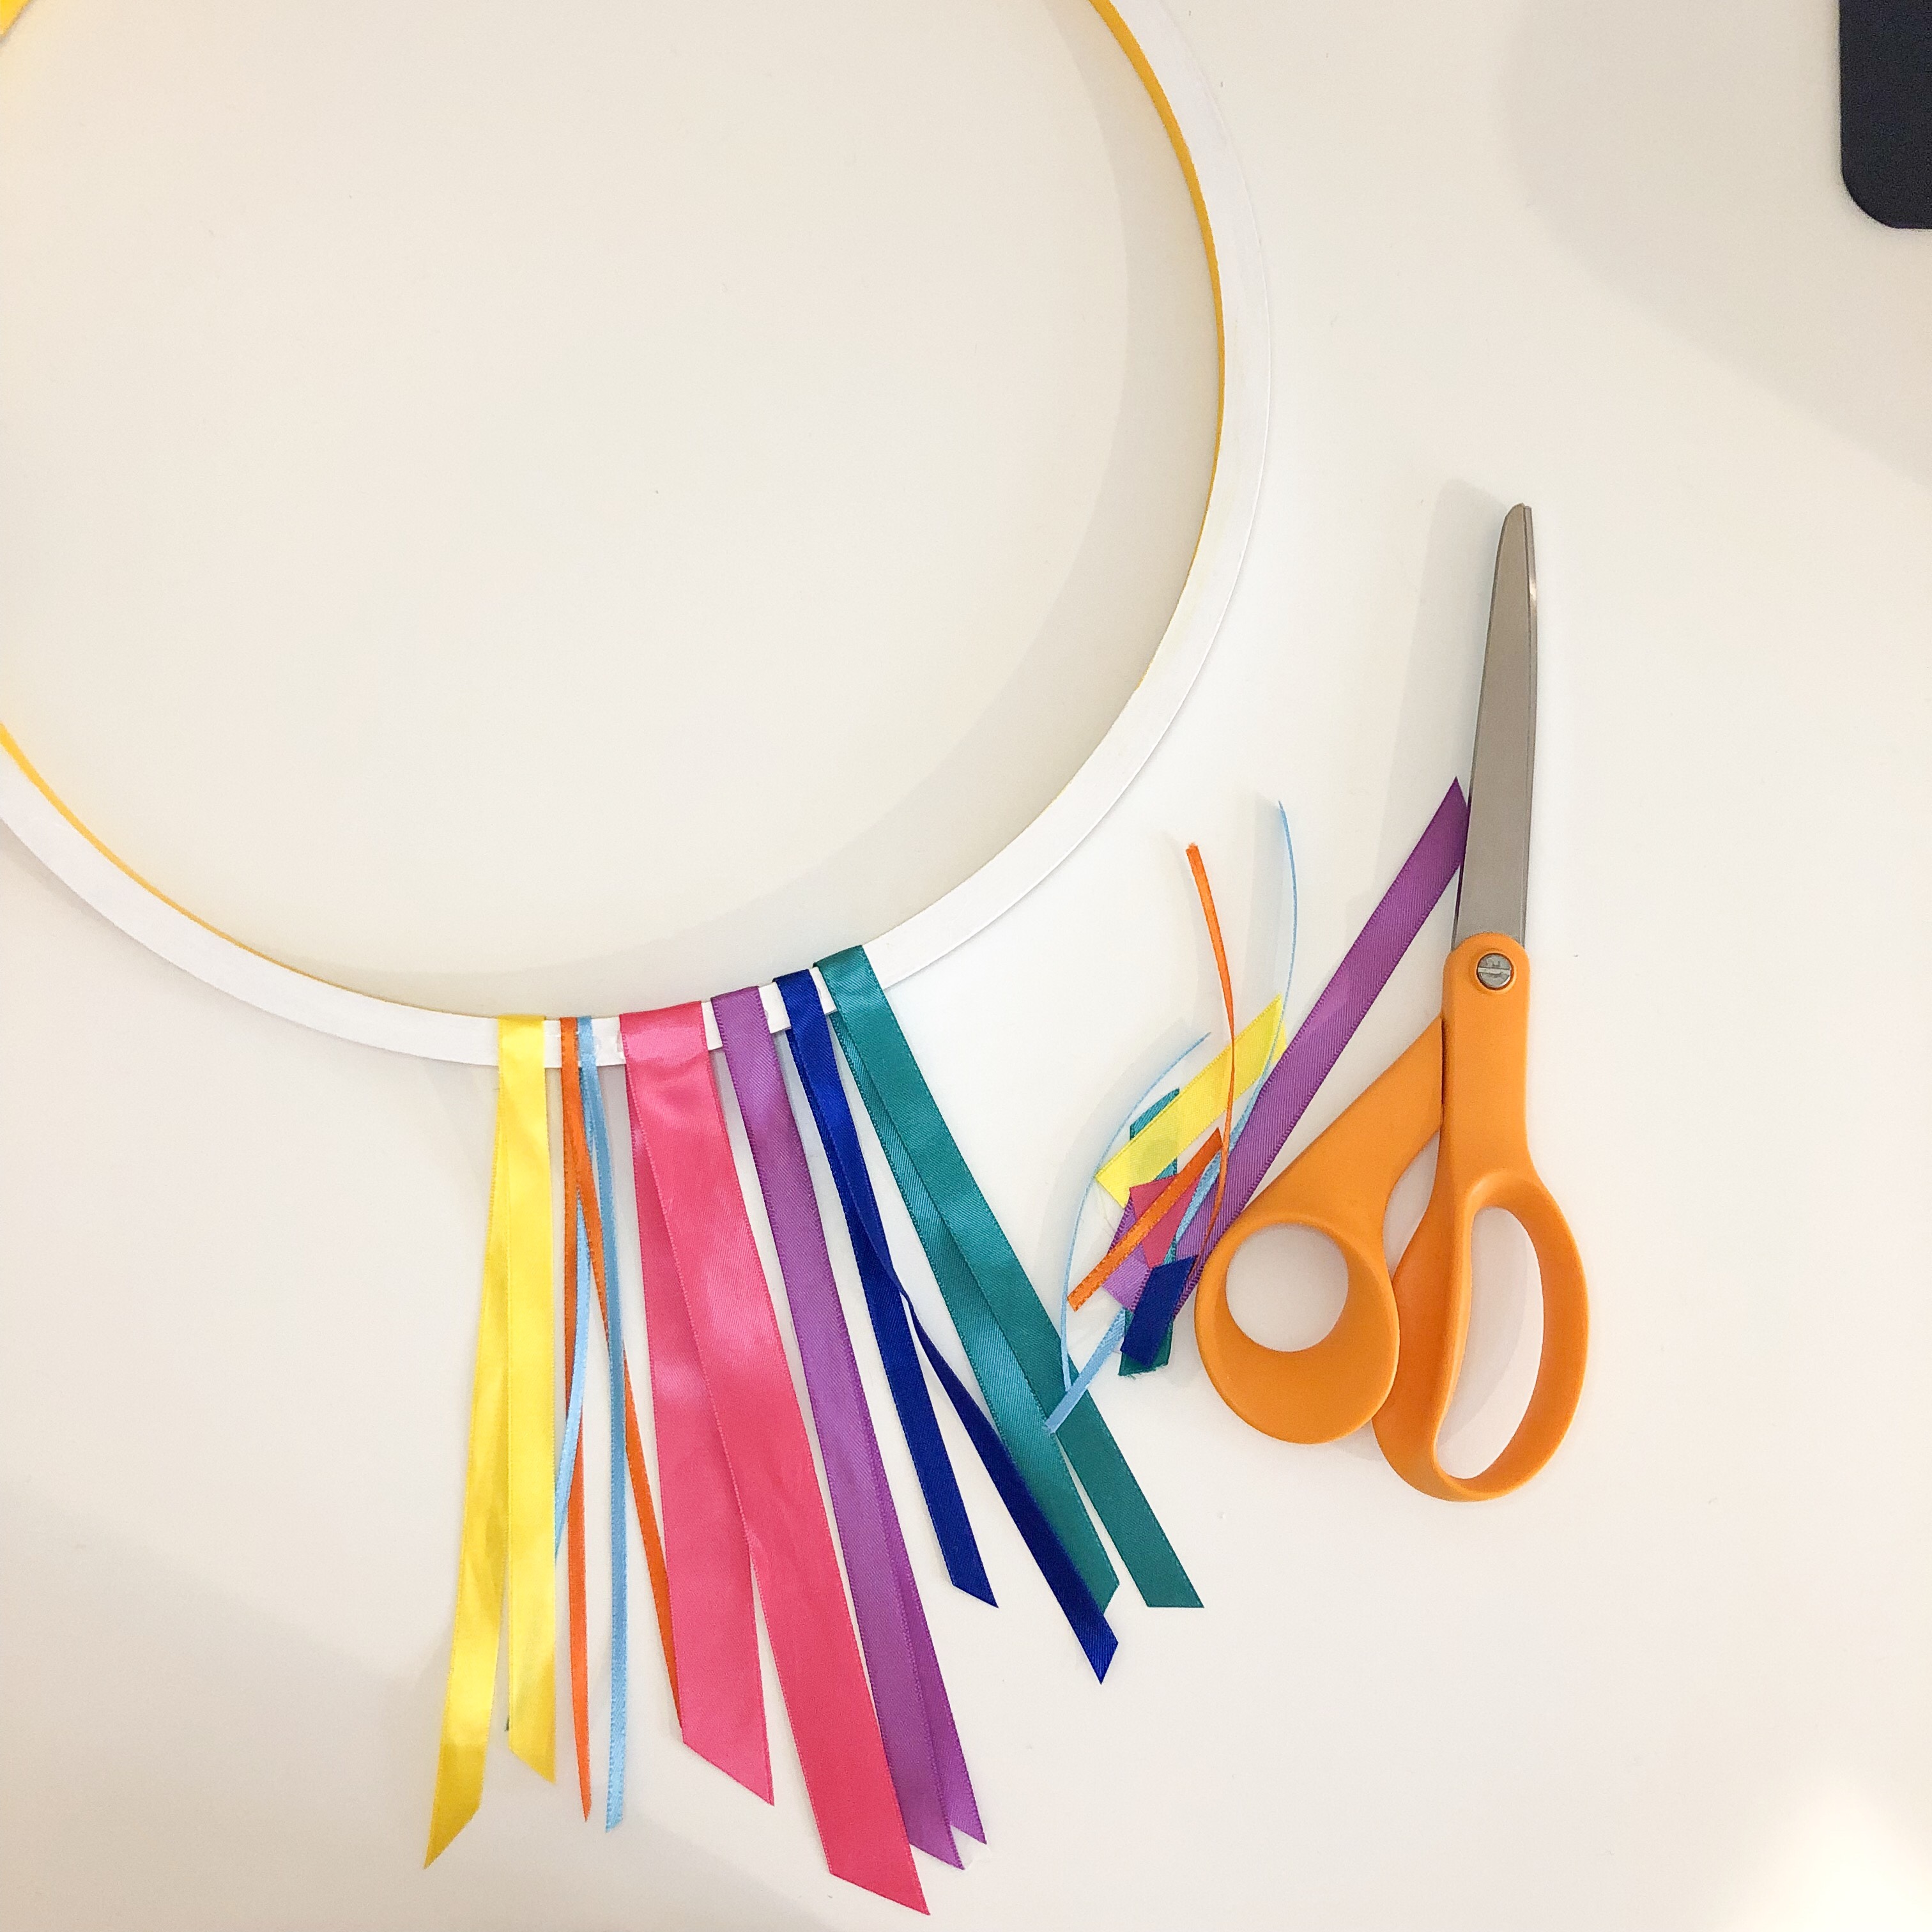
Glue the ribbon on the hoop first. Lay the ribbon on the base of the wreath hoop and secure with hot glue. I chose a few strands of satin ribbon I had laying around. Once the glue has cooled, trim the ribbon to random lengths.
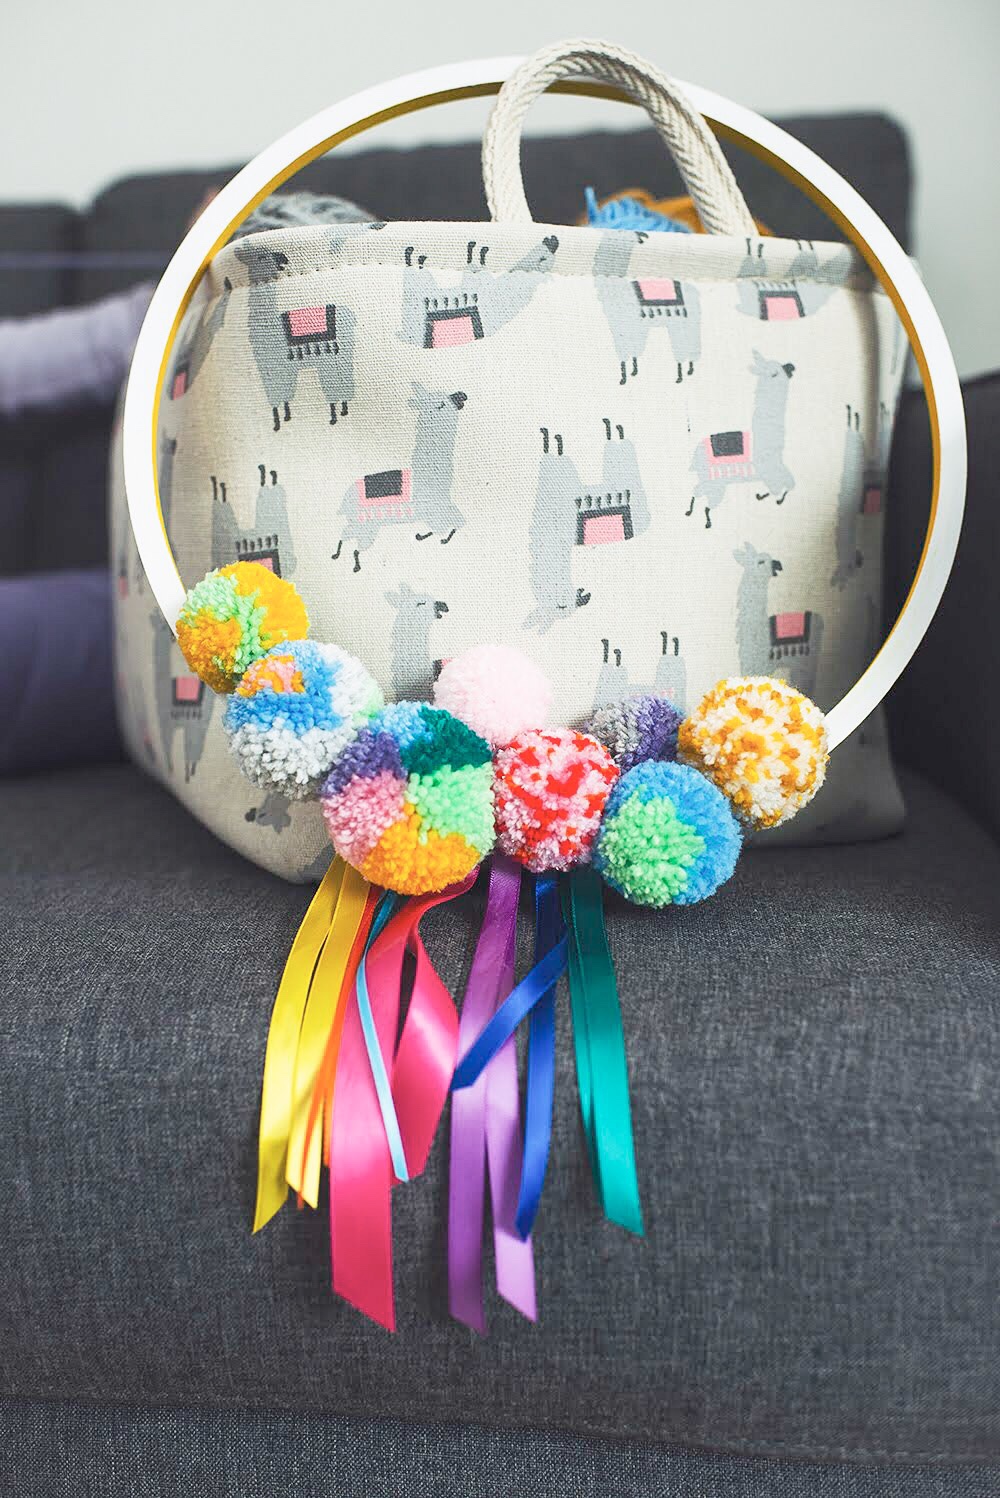
Glue the pompoms onto the wreath hoop overlapping the ribbon. You can glue pompoms all the way around, or just cluster them on the bottom like I did. I decided the placement of my pompoms by first organizing them on my work surface, and then glued them onto the wreath.

Once the glue has cooled, it’s ready to hang! You can add a looped ribbon to the top, or just hang the wreath itself onto a hook.
Want to learn more about wreath making? Check out my blog post Wreath Making 101 for tips, tricks, and inspiration. Don’t forget to follow me on Pinterest, Instagram, and subscribe to my newsletter to stay up to date with all things crafty.