My 2.5 year old daughter is at the age where she loves having her own space to sit and be creative. For a few weeks I set up a temporary art area in front of our big living room window with crayons and paper. I was amazed how often she went over to sit and draw independently. It even became her preferred area to have snack. The temporary table and chairs were taken away to make room for the Christmas tree, but in the New Year, I knew I wanted to recreate a dedicated art space for her.
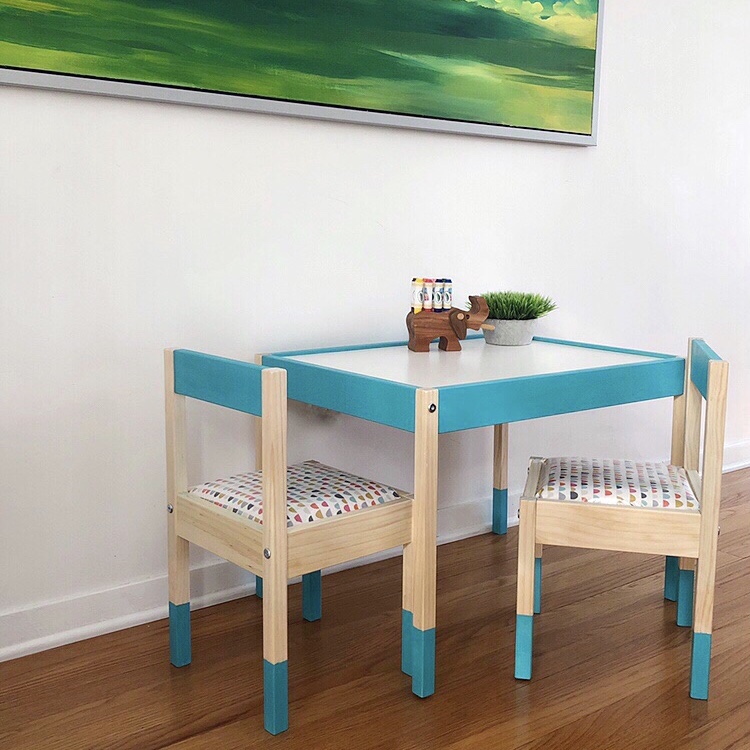
My IKEA LATT table and chair hack with wipeable upholstered seats.
Step in the IKEA LATT table and chair set. For $29.99, you’ve got the perfect toddler sized table that includes 2 chairs! What’s even better is IKEA made this set a complete blank slate. It’s great on its own, but it becomes even better by adding your own personal touch with paint or fabric.
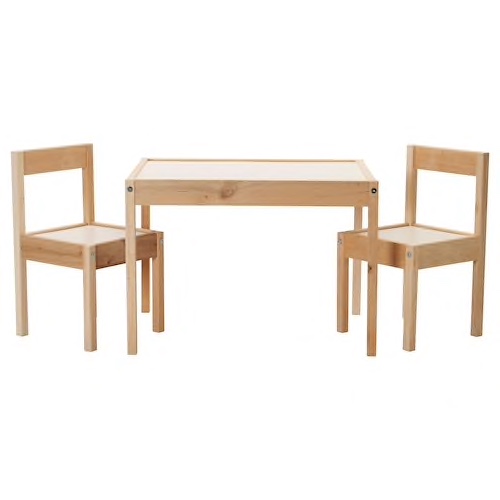
The IKEA Latt is made from unfinished pine and a laminated fiberboard.
My daughter got this set as a Christmas gift and I was so excited to customize it. I knew right away I wanted to paint it and upholster the chairs. I’ve seen a lot of LATT hacks on Pinterest. Most people painted parts or all of the wood, upholstered the chairs, and maybe attached a roll of paper or buckets for crayons. I wanted to paint the wood and upholster the chairs, but wanted everything to still be wipeable. After doing a bit of research, I found this awesome iron on vinyl called Slicker by Sew Lazy. It basically laminates fabric making it spill proof and wipeable!
Here are the supplies I used:
– IKEA LATT table and chair set
– Frogtape (painters tape)
– spraypaint
– 2 square feet of 1″ foam
– 1/2 yard of cotton fabric of your choice
– 1/2 yard Slicker interfacing (iron on vinyl)
– staple gun with 1/4″ staples
– rubber mallet
Before assembling anything, I painted the table and chairs. If you are planning on only painting parts of the wood, like I did, tape the areas you don’t want painted really well. I used Frogtape to ensure the paint wouldn’t bleed through the edges. I normally don’t spend so much on tape, but Frogtape has a glue that turns into gel when it comes into contact with liquid guaranteeing a crisp line.
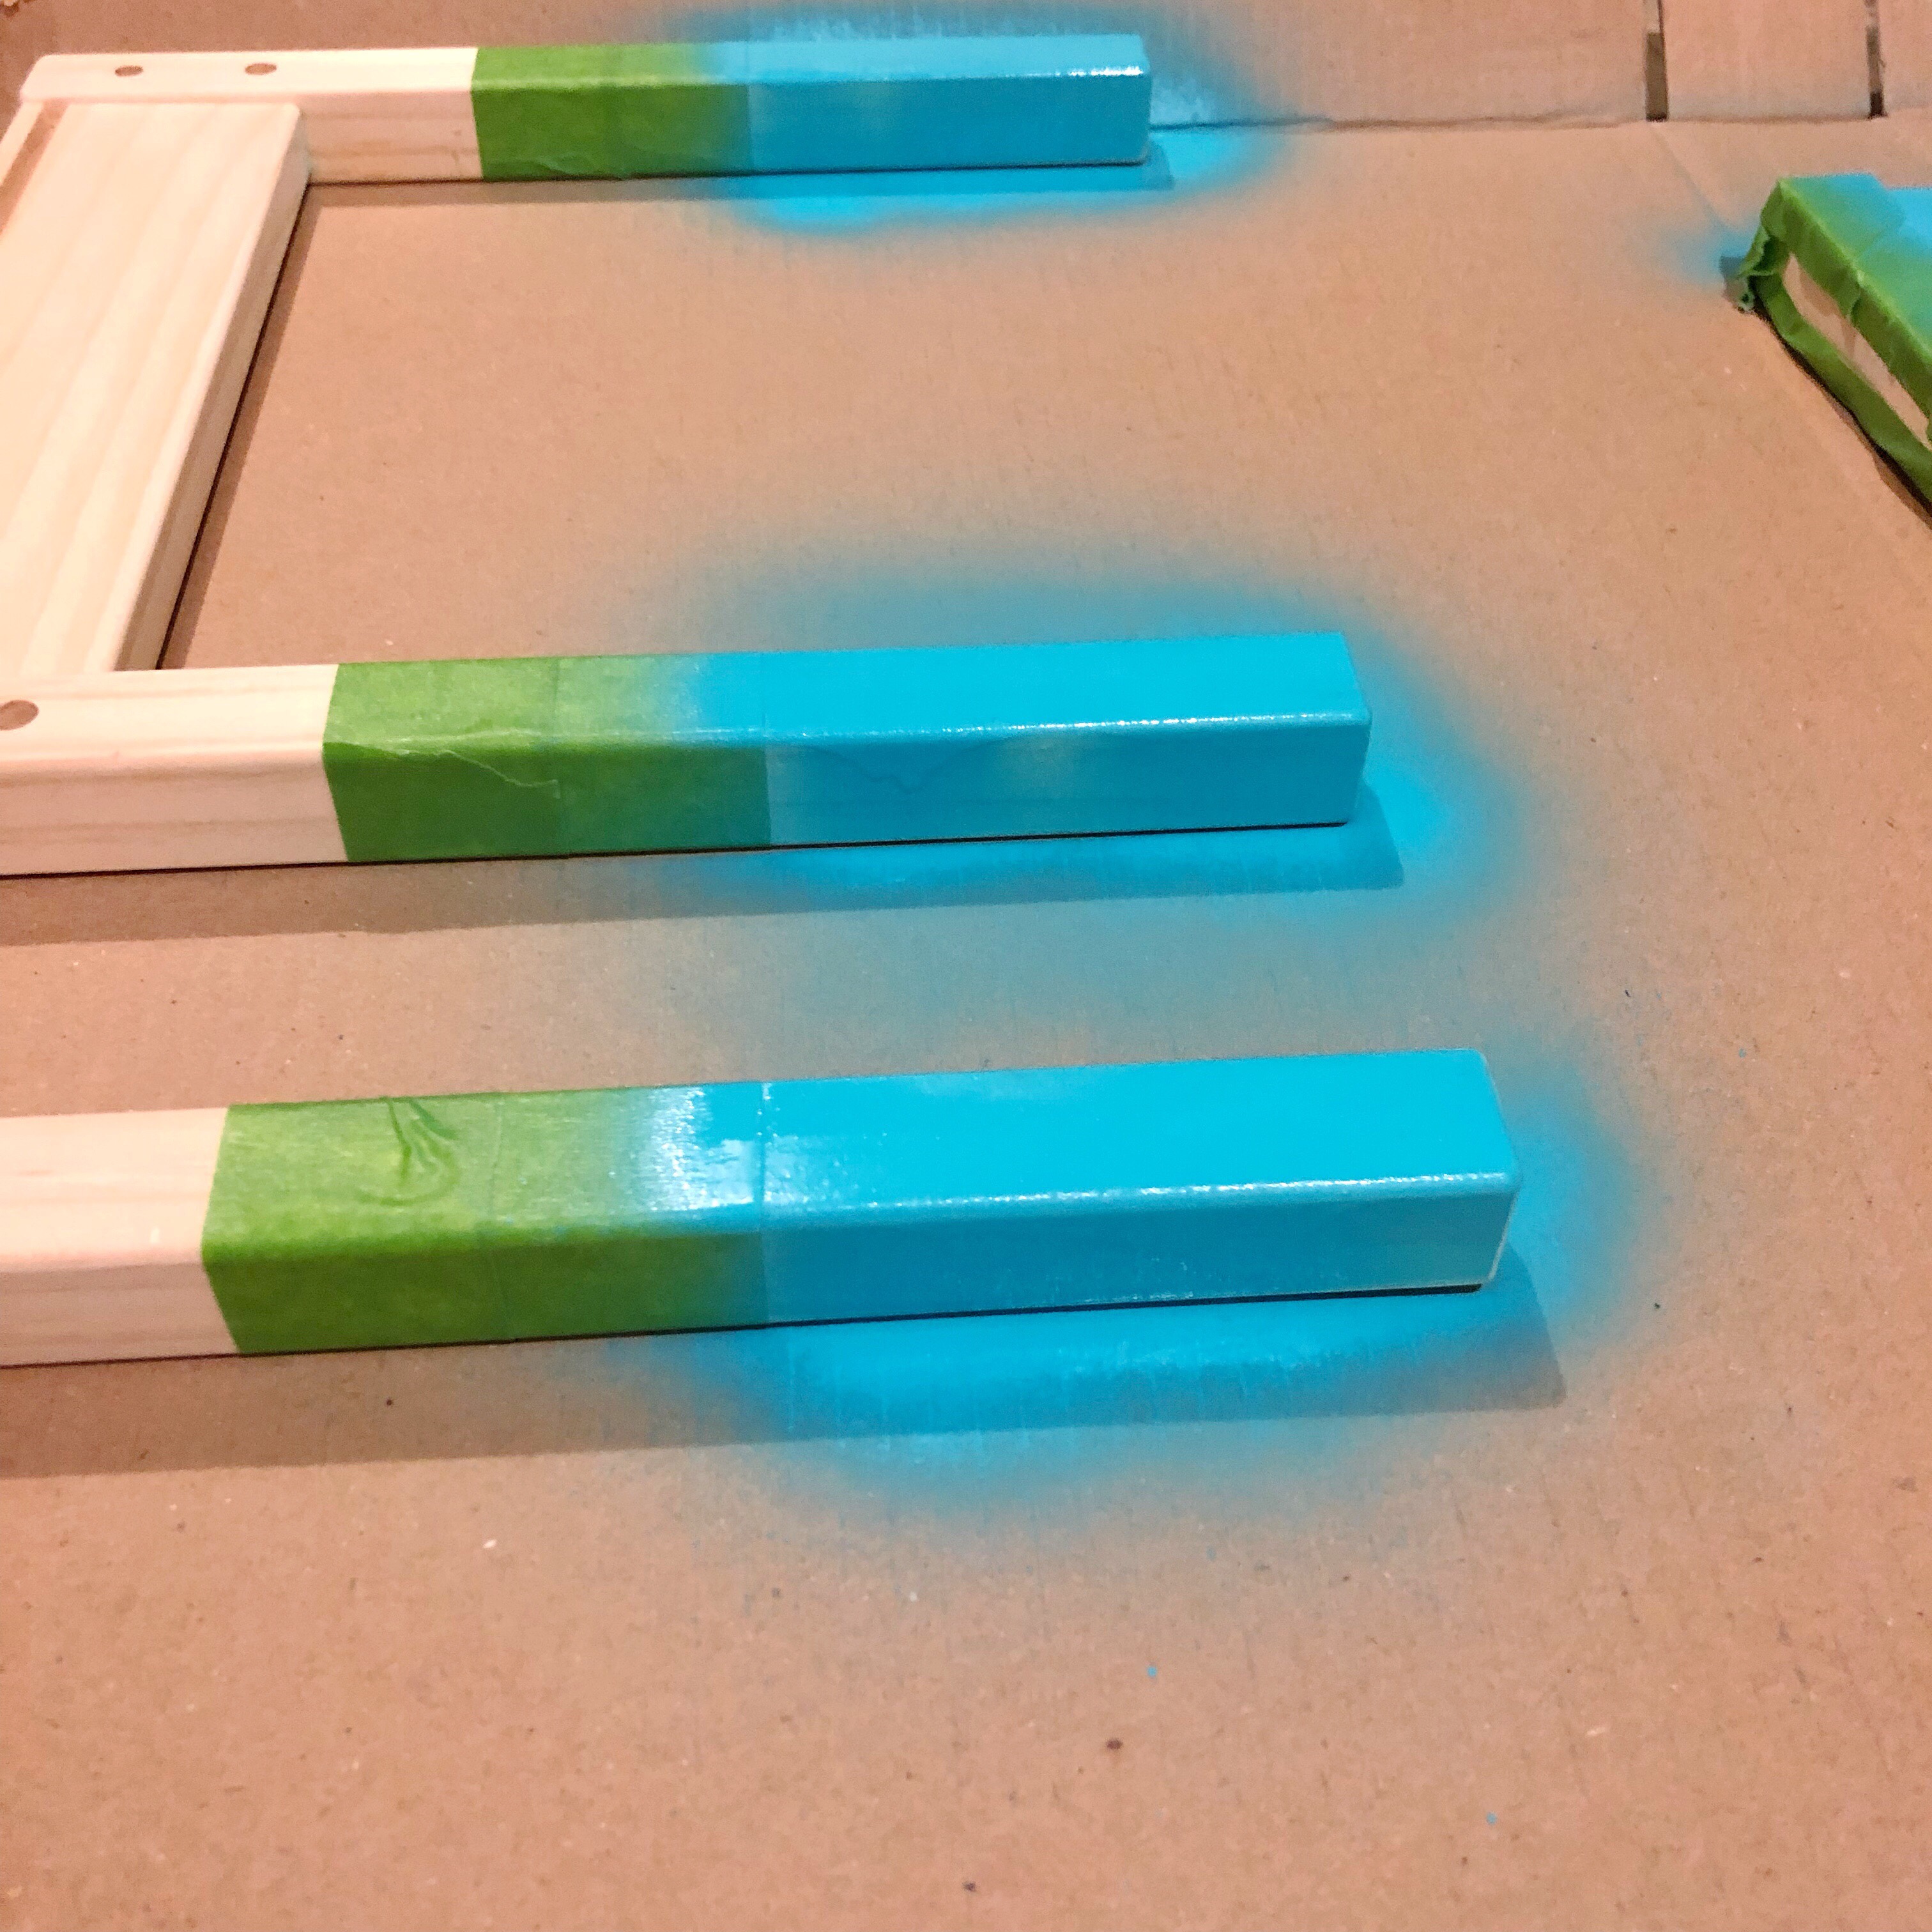
I decided to paint the bottom 4” of the table and chair legs, the sides of the table, and the top of the chairs.
Spray paint works great because it’s easy to apply and gives a durable finish. Make sure to take your time and spray thin coats, allowing the paint to dry really well before flipping each item and spraying the underside. I should’ve taped off more of my chairs, because I ended up with some overspray in the end. But since it was natural wood, I just lightly sanded the paint off.
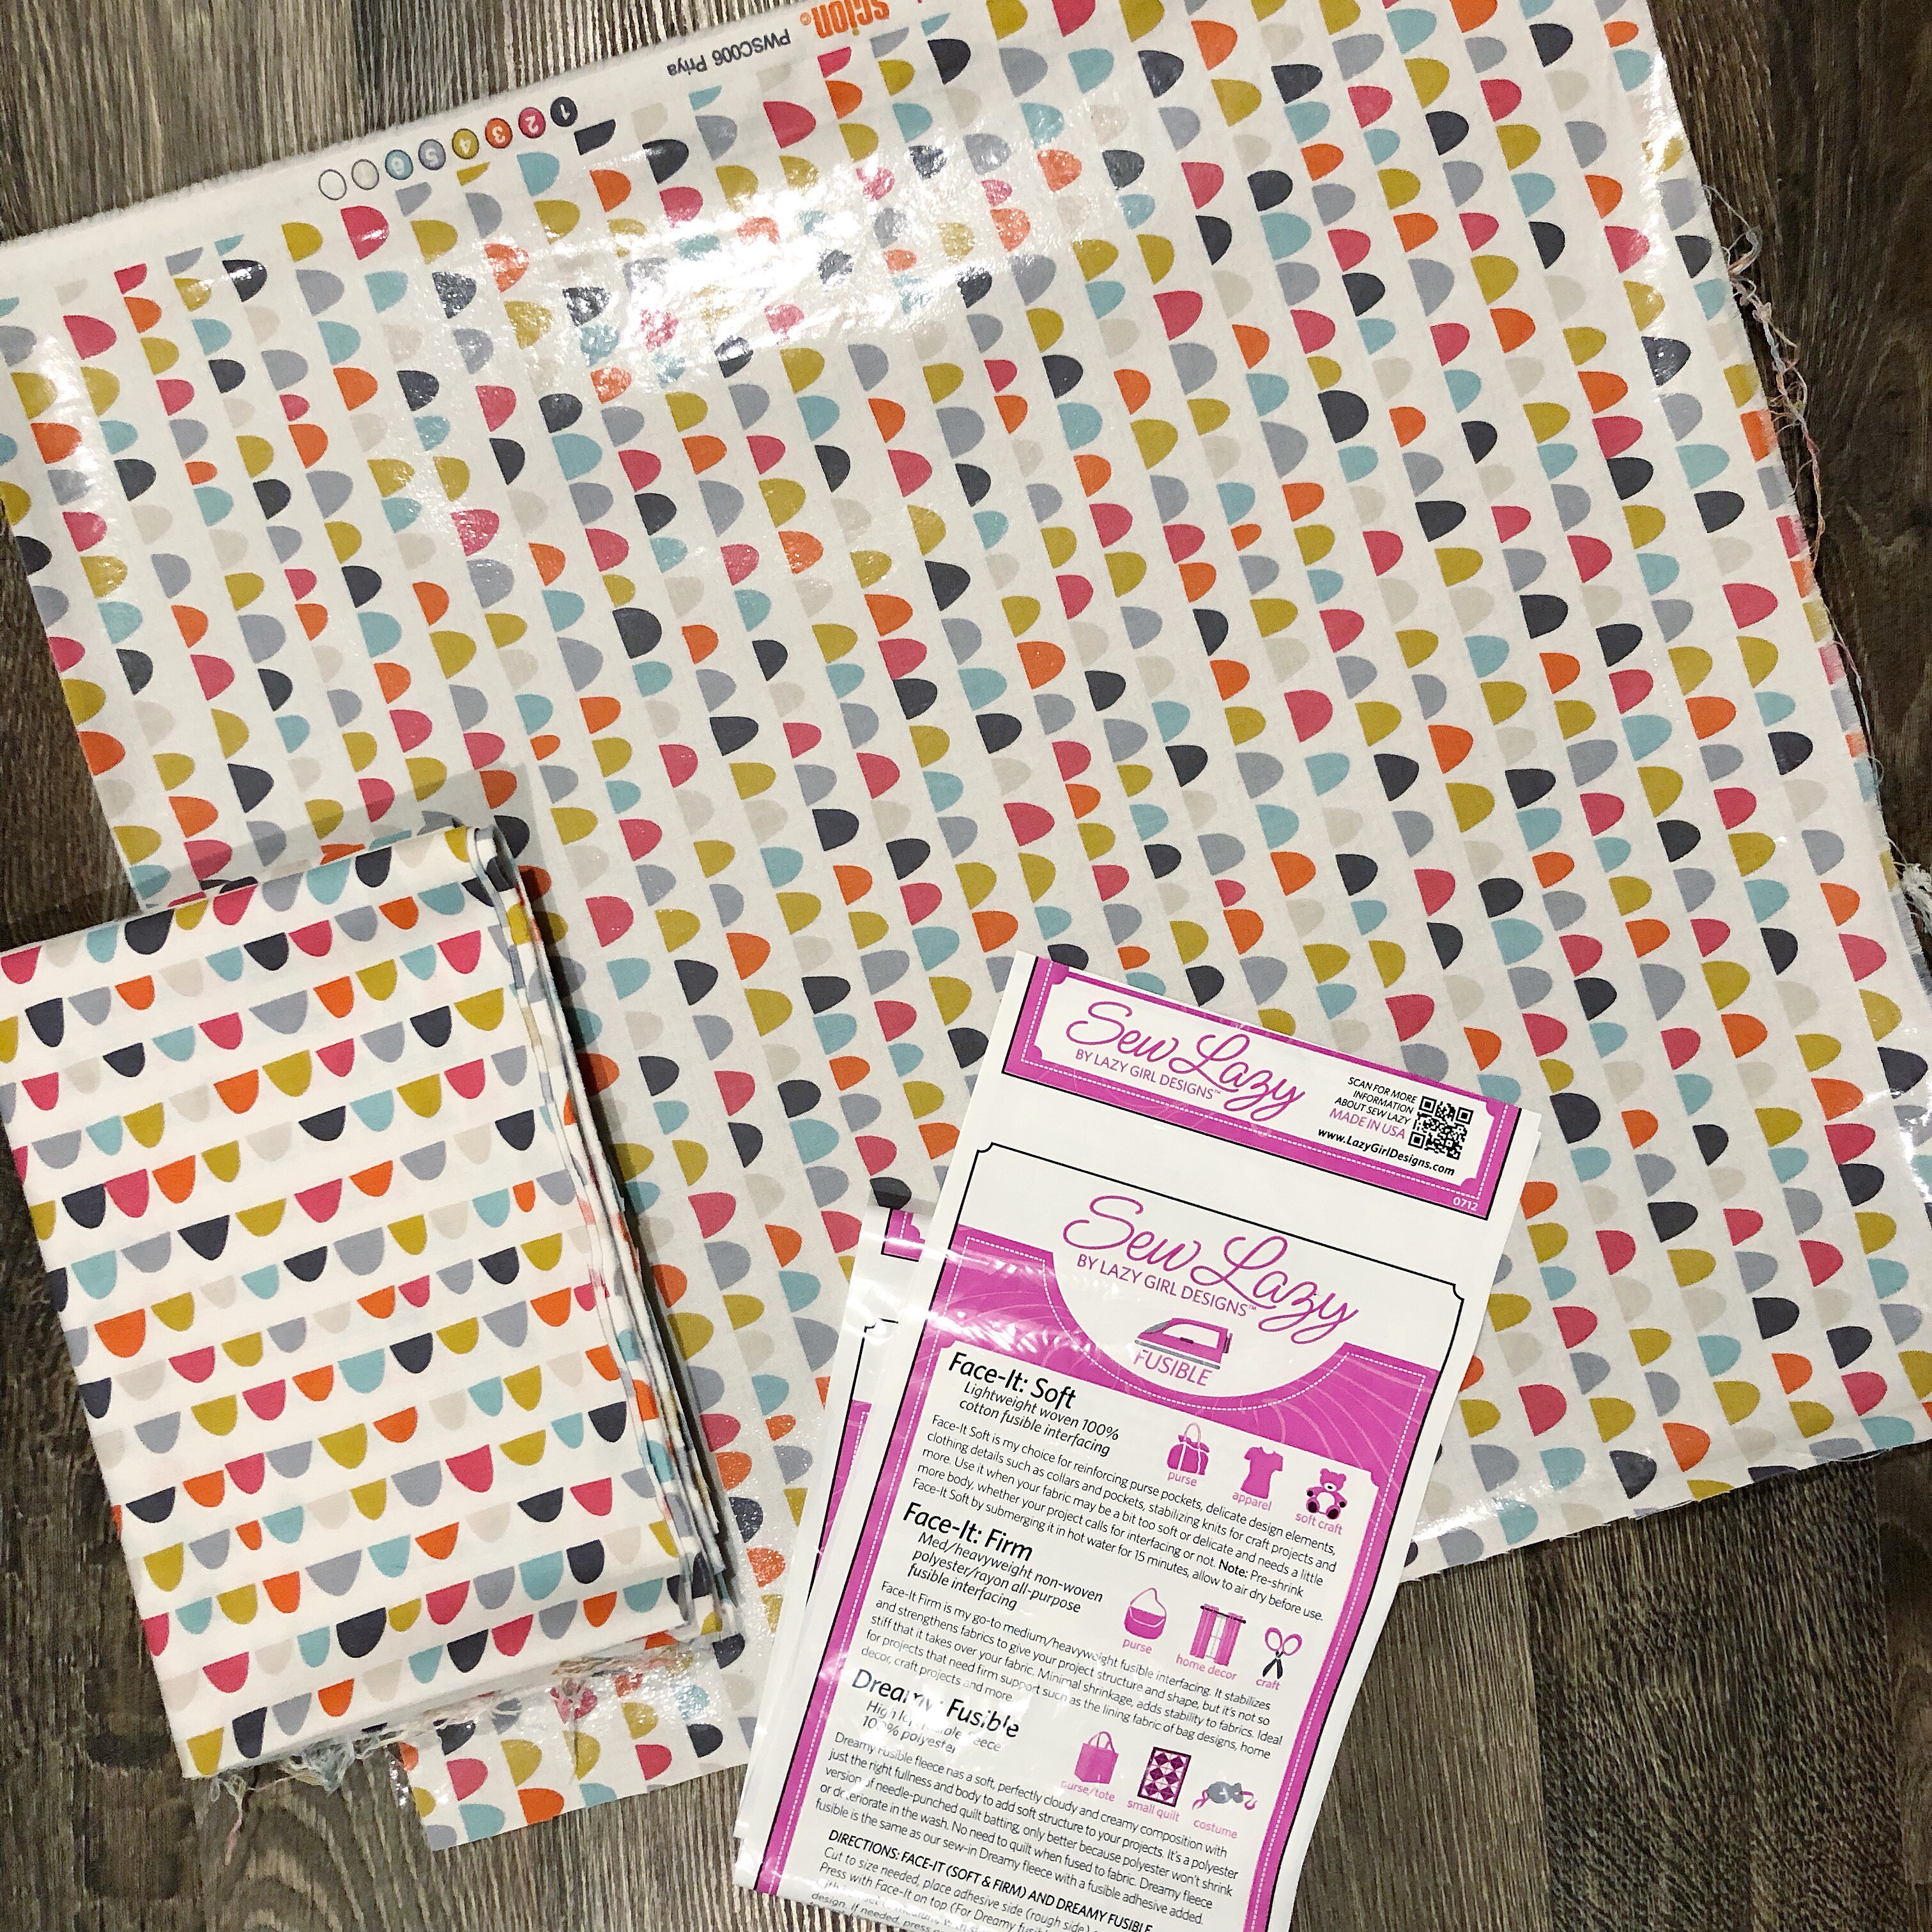
Fabric – Dakarai by Scion
Next I laminated my fabric with Slicker iron on vinyl interfacing. Following the instructions, I made sure to wash and iron my fabric first. I cut 2 pieces of fabric large enough to cover each seat, and 2 pieces of vinyl, all approximately 18″ square. The Slicker vinyl has a sticky side that needs to be face down on the fabric. Don’t forget to cover it with the paper backing so that it doesn’t glue itself to your iron. Ironing over the paper backing melts the vinyl and glues it to the fabric. Make sure you allow it to cool before moving onto the next step.
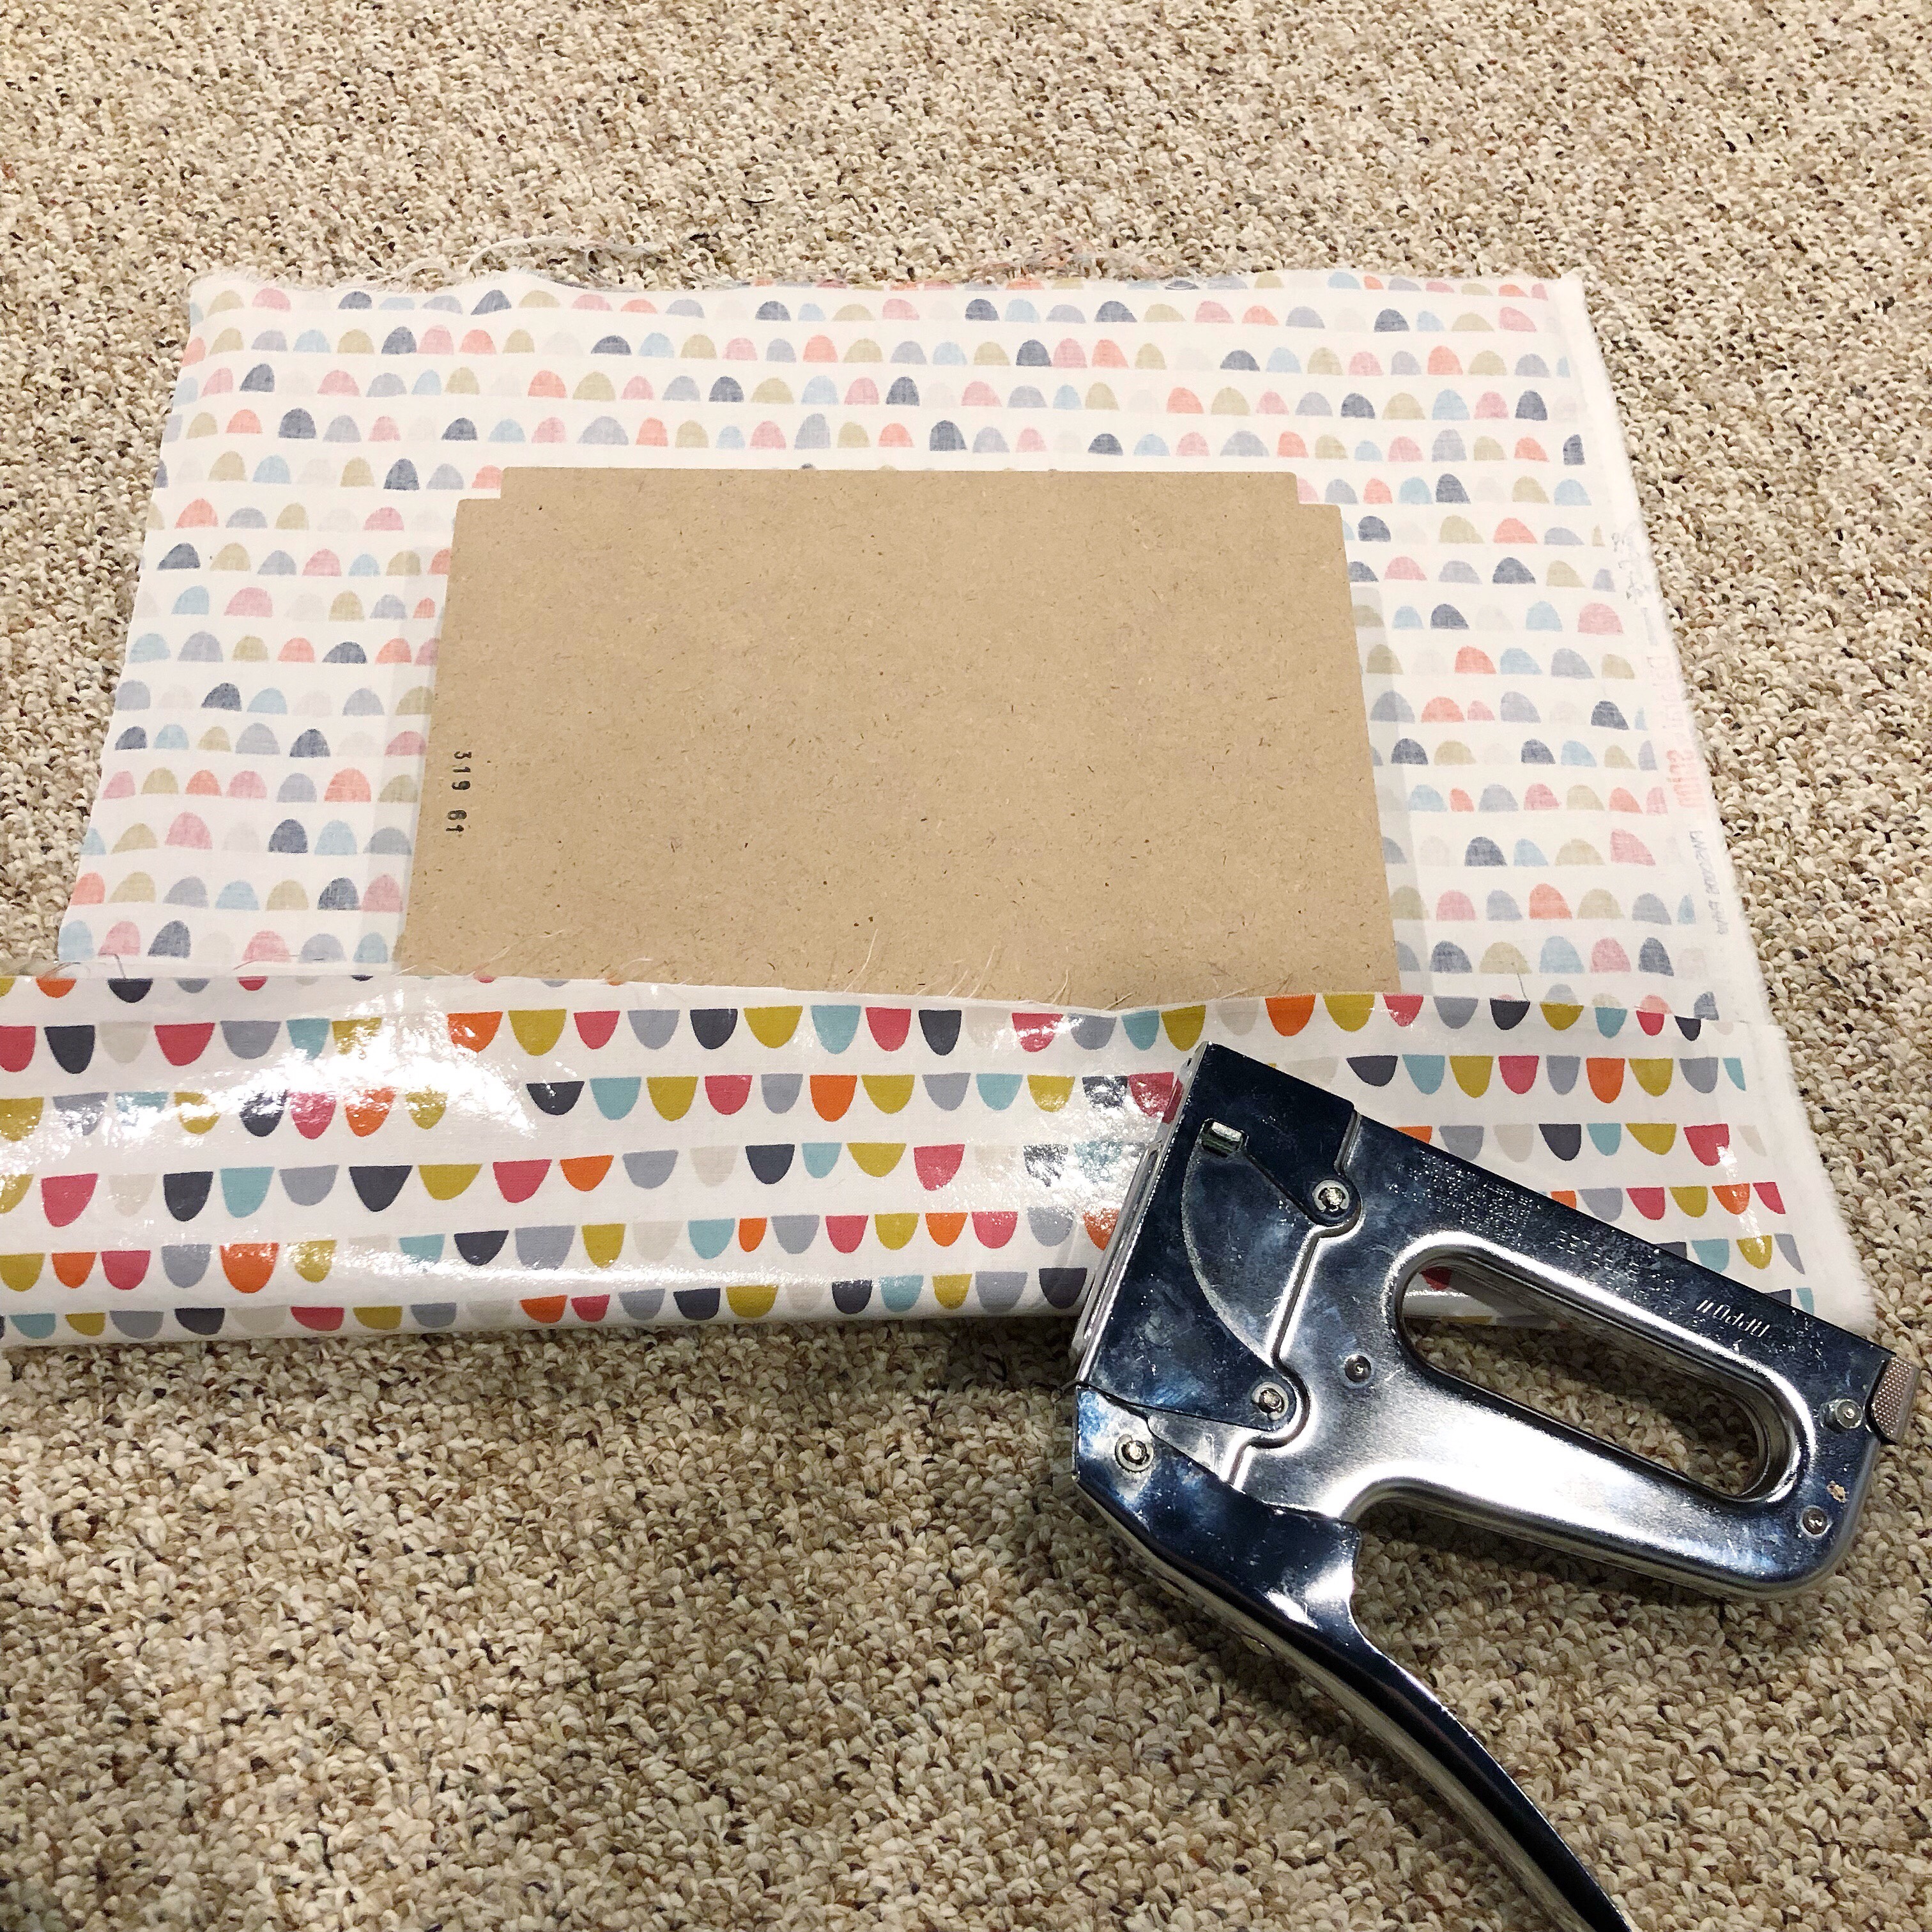
I’ve sandwiched the foam between the seat base and the vinyl fabric.
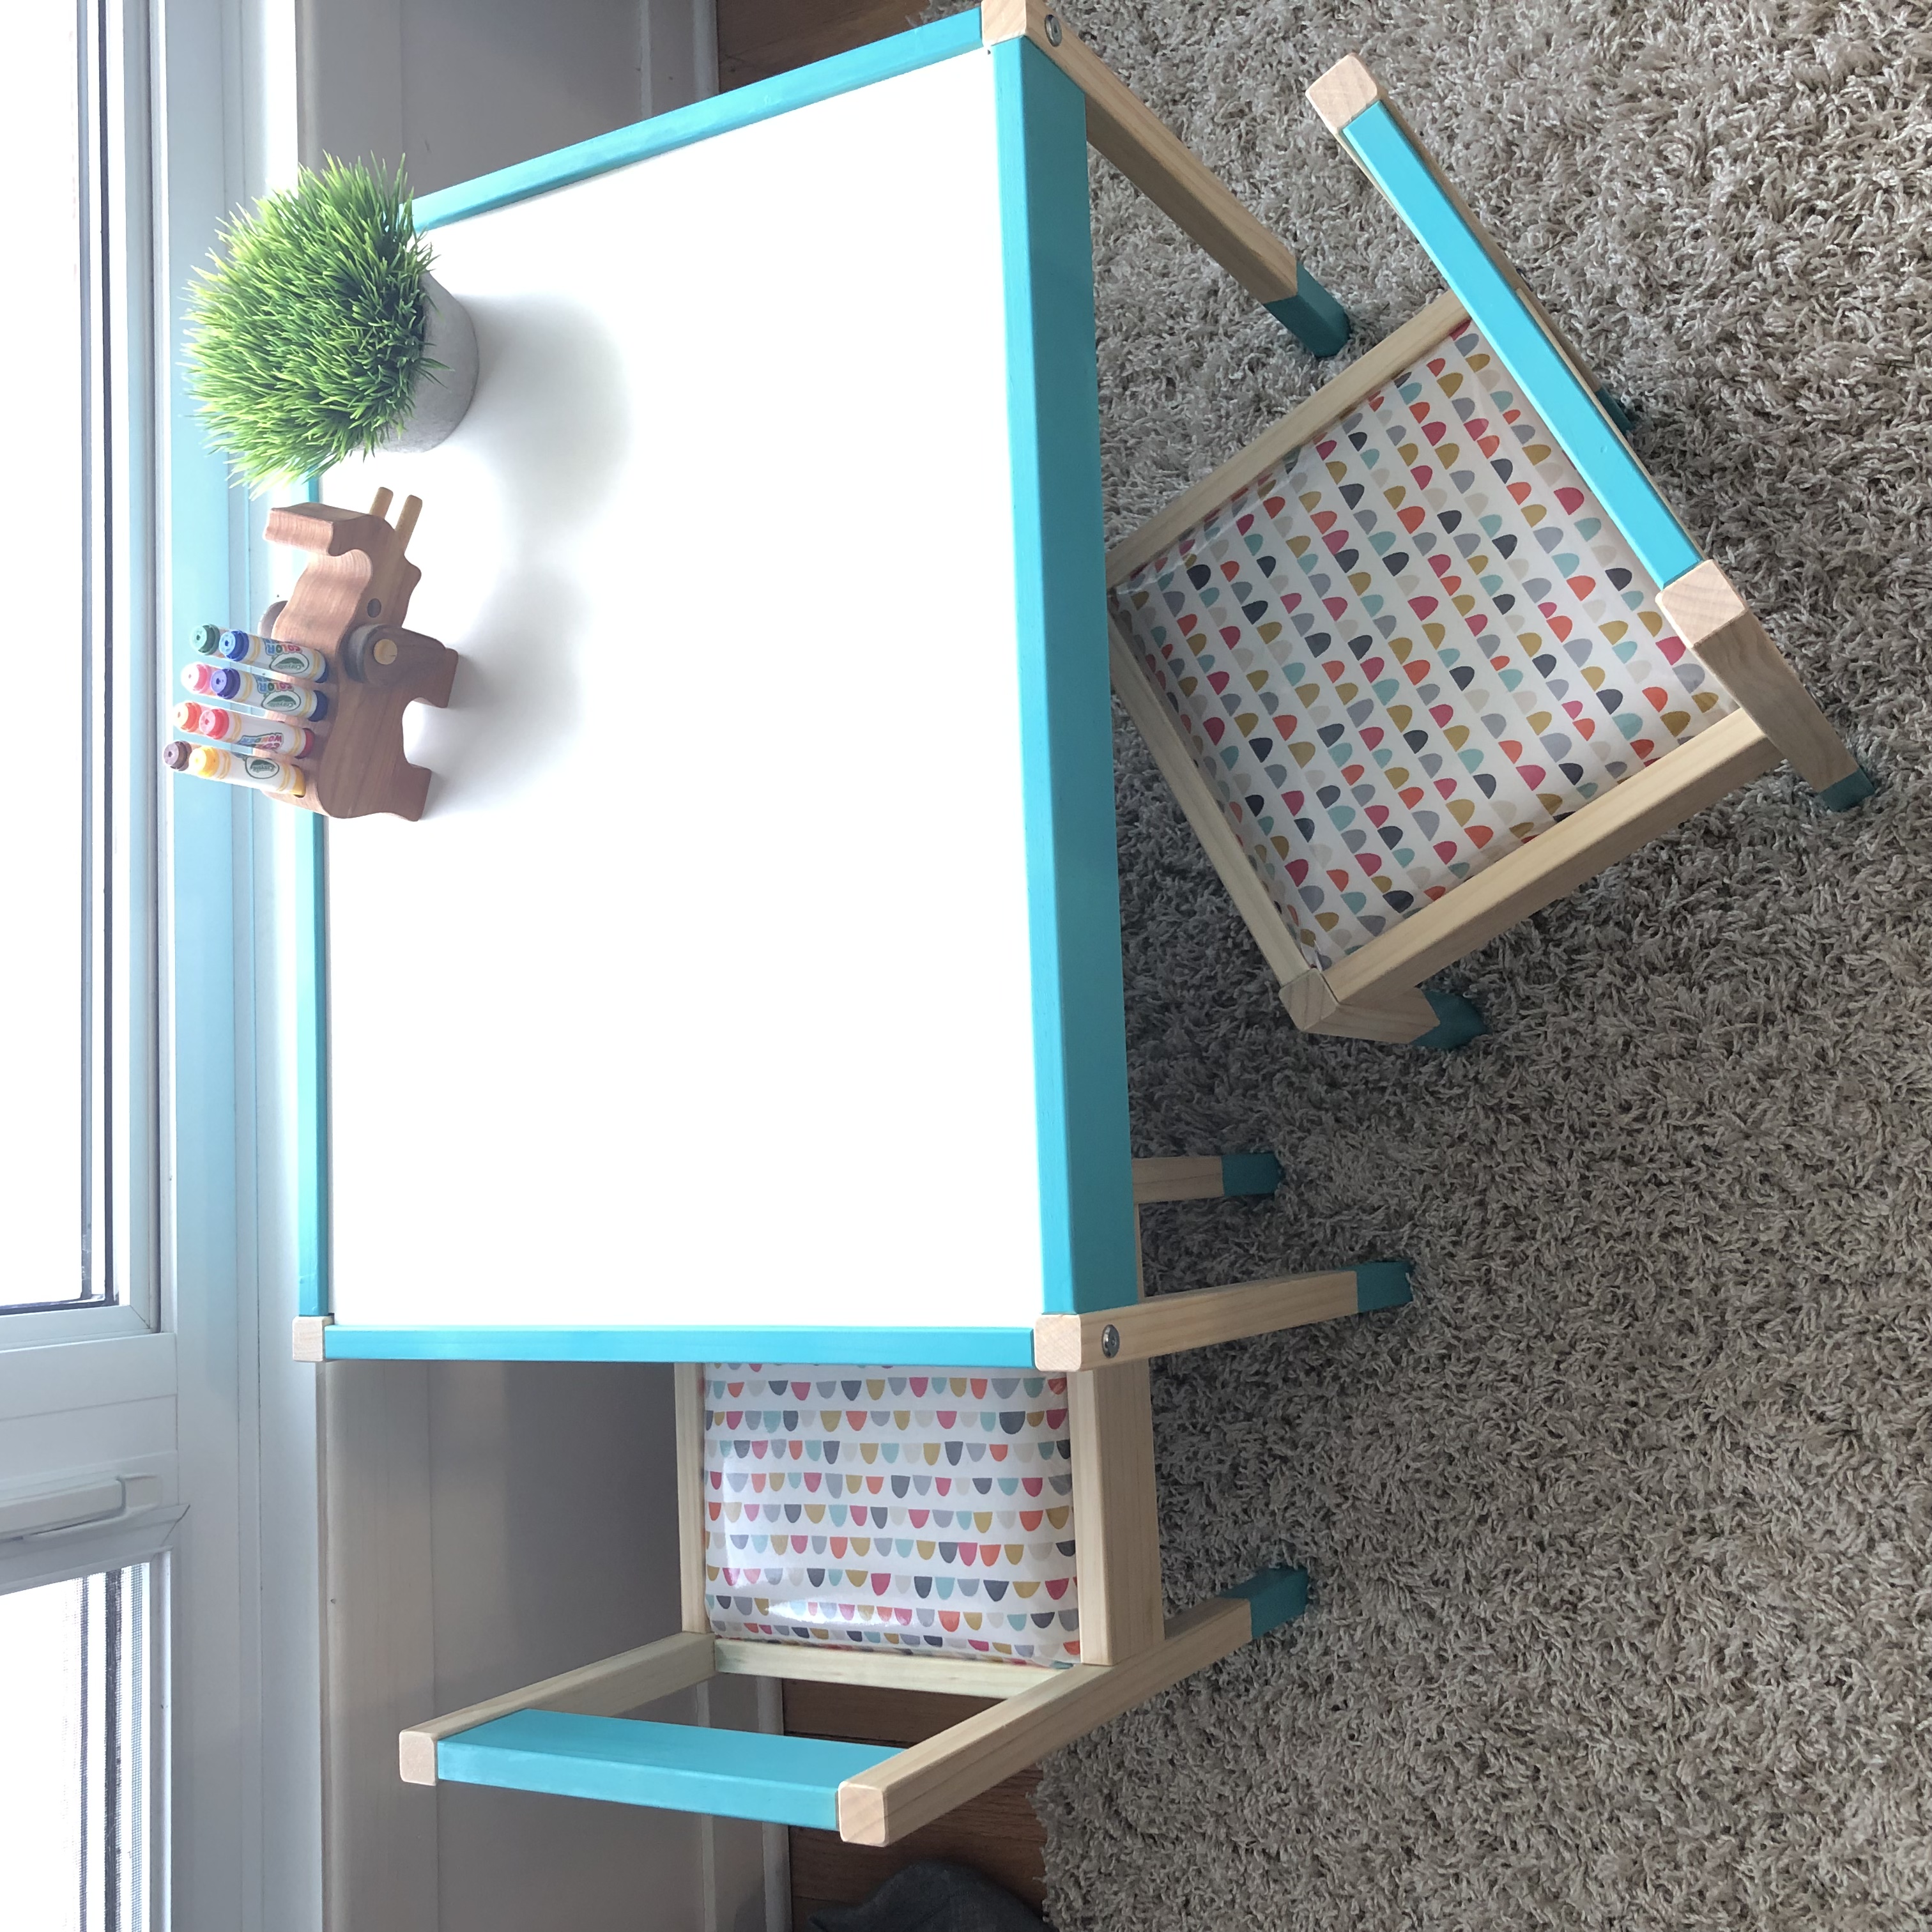
Using scissors, I cut the 1″ foam slightly smaller than the seat base, approximately 10″ square. Next, I wrapped the seat with the vinyl fabric and stapled it to the back. When stapling you always want to do opposite sides so that the fabric stays taught. The corners can be a little tricky. I had to fold and staple the corners multiple times so that the vinyl fabric wouldn’t bunch.
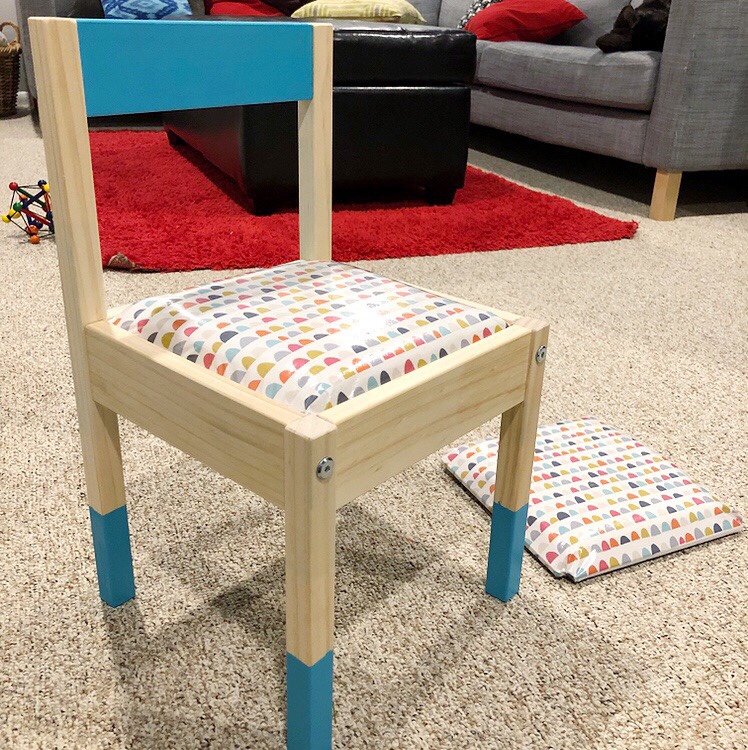
First chair complete!
Once the paint has had enough time to dry and the seat bases are upholstered, it’s time remove the tape and assemble. For the chairs, I assembled 2 sides, then used a rubber mallet to get the upholstered seat into the grooves. Because of the thickness of the fabric with the vinyl it was a little tight, but the mallet worked wonders. I attached the opposite side and the back using the same method.
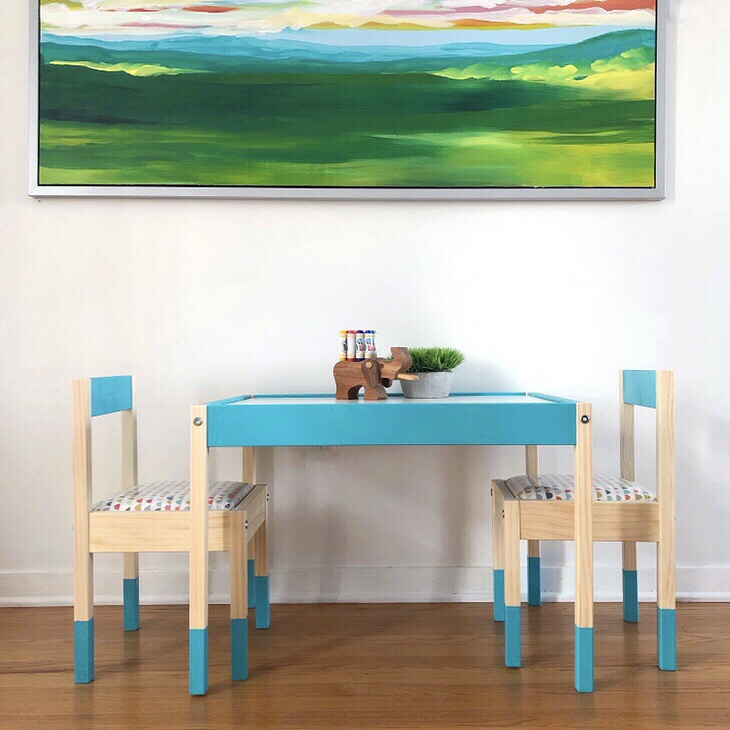
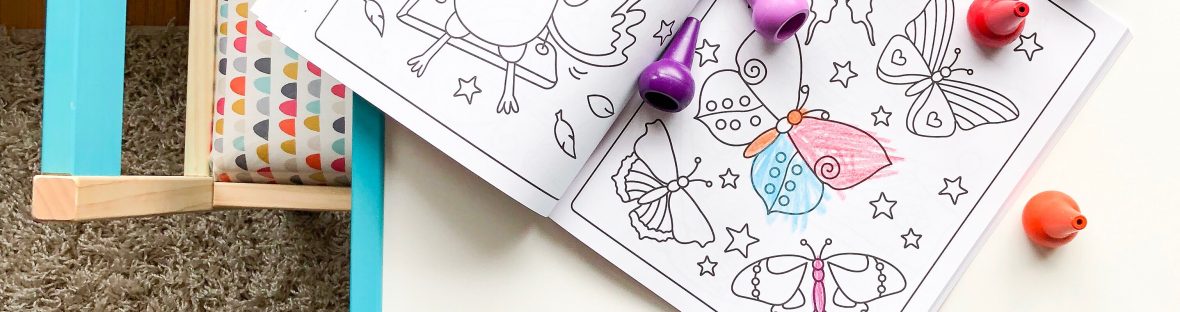
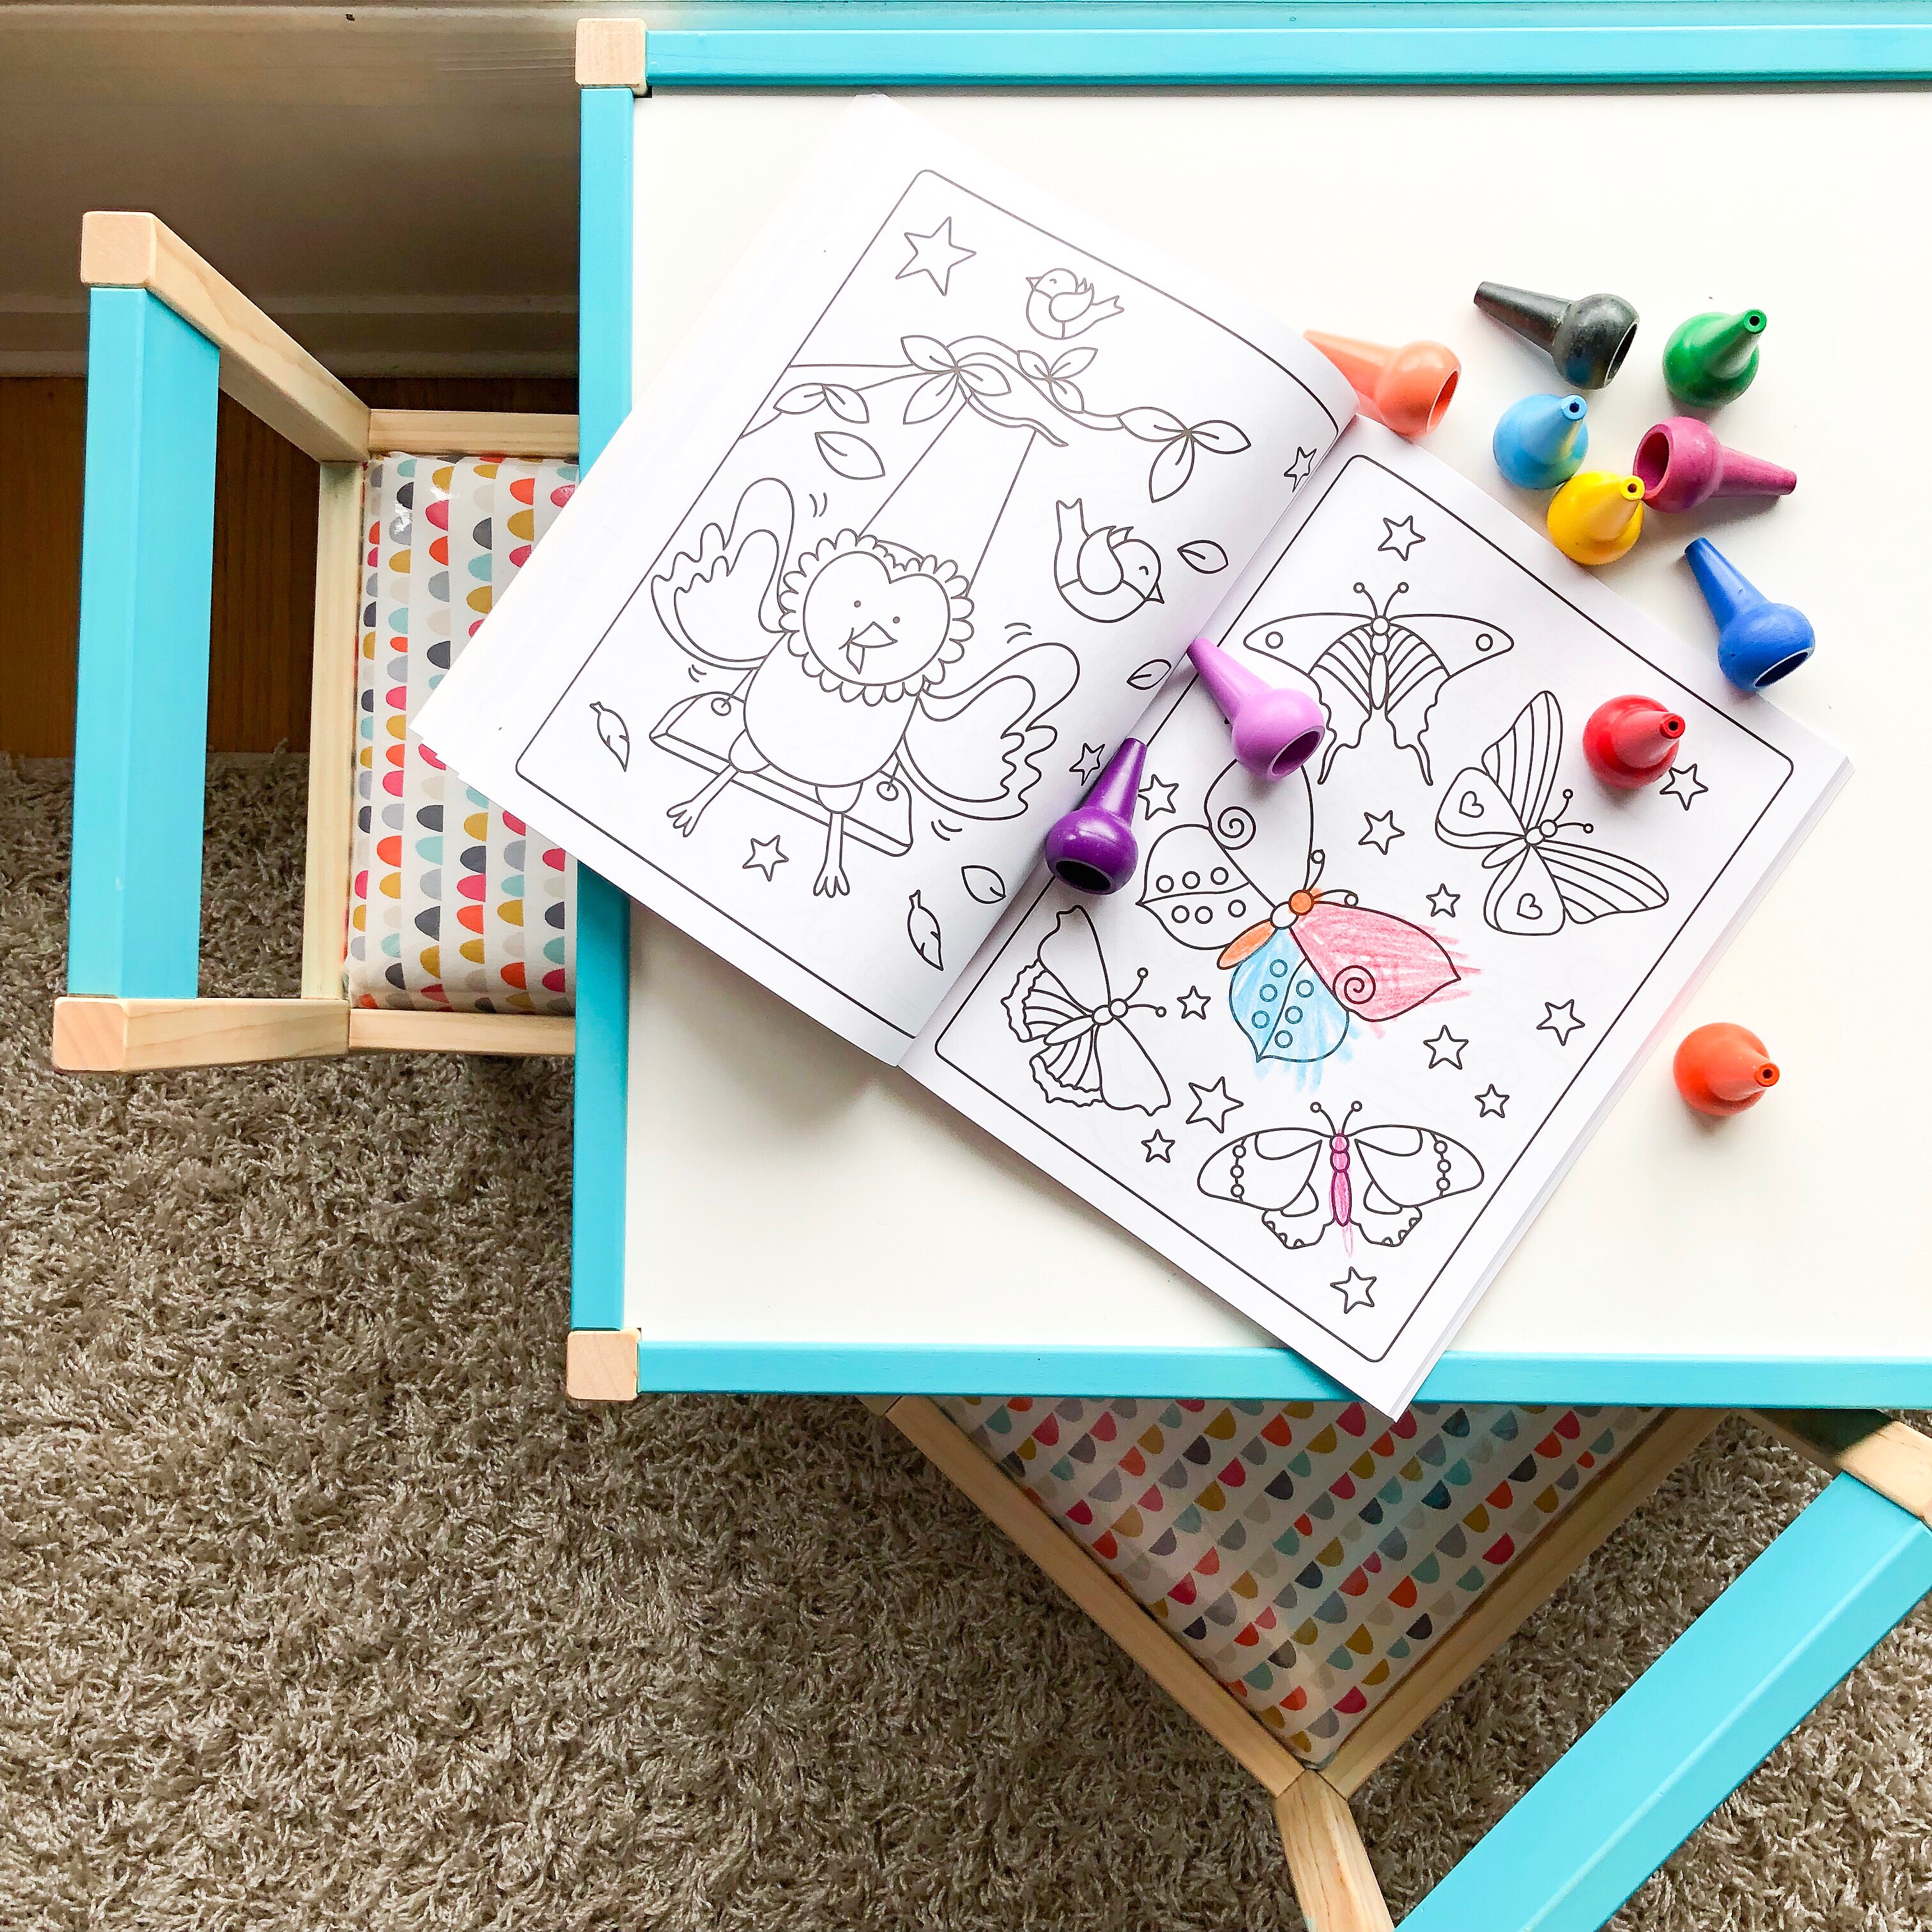
I’m extremely happy with the finished product. The set suits our home decor, the seats are comfy to sit on, and everything is durable and washable. We’ve moved the set back into the living room where my daughter can sit, watch squirrels, craft, colour, and eat snacks.
The table and chairs are now in front of our living room window.
Want more DIY projects? Follow me on Instagram and Pinterest to see all my projects and inspiration.