Over the years, I have painted and refinished a lot! Chairs, doors, cabinets, dressers, benches; I painted, stained and varnished whatever I could get my hands on. I think the first item I had ever refinished was my old 80’s dresser. It had a white finish with multicolored speckled knobs. As a 14 year old, it just wasn’t cool. So I figured out how to paint it, and then a few years later I painted it again.
Later on, I got a job at a local paint store, which of course just fed my refinishing addiction since I could get paint, primer, and stain for a discount, and sometimes even free if it was a mis-tinted can. Not all my projects turned out perfectly, but I learned a lot about proper painting technique, and steps that can make it or break it. So here are a few must follow tips to help you make your painting projects the best they can be!

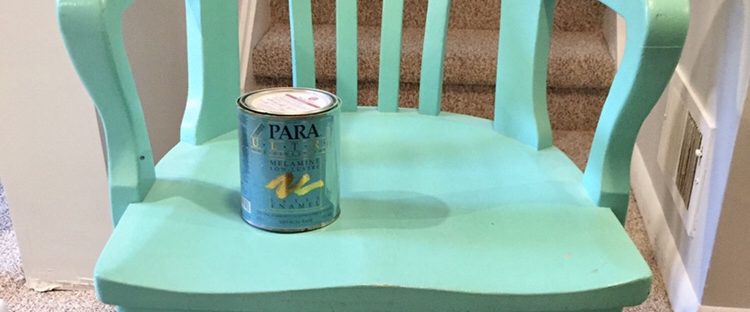
One of my favorite projects that I actually just recently gave away. My grandfather’s vintage office chair painted in teal blue.
1 – Prep the surface
Paint sticks better to rough surfaces. If the item you are painting is perfectly smooth, it’s time to rough it up. It’s not necessary to sand all the way down to raw wood (if you are refinishing something pre-painted) but definitely take off some of the sheen. For big projects, an electric sander may be handy, but sanding by hand is often all you need. Always be careful and do this in a well ventilated area and wear a mask. You never know what you are sanding off and don’t want to inhale something harmful (like lead). Once the surface has been sanded, give the item a good wipe down with a damp rag to remove any dust.
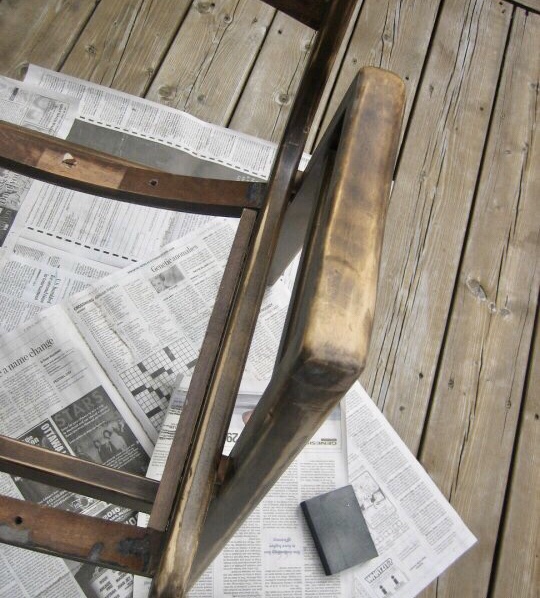
My funky yellow chair in the making. It was pretty beat up to begin with and most of the finish was worn off. Gave the whole thing a good sanding first before priming with a tinted primer.
2 – Prime
There is no such thing as “paint with primer”, it’s a total joke! Always prime! Skipping primer can really ruin your chances for a successful product. The great thing about primer is that it’s pretty cheap and can make the difference between starting over, or needing multiple coats of paint, which costs way more. Remember how I said paint likes to stick to rough surfaces? Well, that’s exactly what primer is. Chalky and grippy, it guarantees your paint will stick. One coat is all you need. Don’t worry about making it look beautiful, just slap it on there!
3 – Pick your paint
There are so many different products out there! Talk to someone at the store about your project and they should be able to recommend the right type of paint for the job. When I was refinishing things, I mainly used oil based paint. Not the greatest for the environment, and a huge pain to clean up, but it always dries smooth and gives a durable finish. Most stores aren’t selling oil based products these days, so an acrylic paint in a gloss or semi-gloss sheen works best (shinier paints dry with a harder finish). You can also ask for a water-based melamine paint, which will also give a more durable finish.
4 – Paint
Set up in a well ventilated area, out of direct sunlight. You want the paint to dry slowly and have time to level out. If your paint dries too fast or is exposed to the heat of direct sunlight, you could end up with a rough orange-peel textured surface. Apply your paint in thin coats using a brush or foam roller, allowing the paint to dry well between coats. Check the instructions on the can, they usually include drying times. Be patient! Even if it feels dry to the touch, the paint may not be completely dry, and applying a second coat could leave you with a surface prone to dings and scrapes. If your paint is dry, but looks rough between coats, you can also use a super fine sandpaper to buff out imperfections. This will give you the smoothest possible finish.
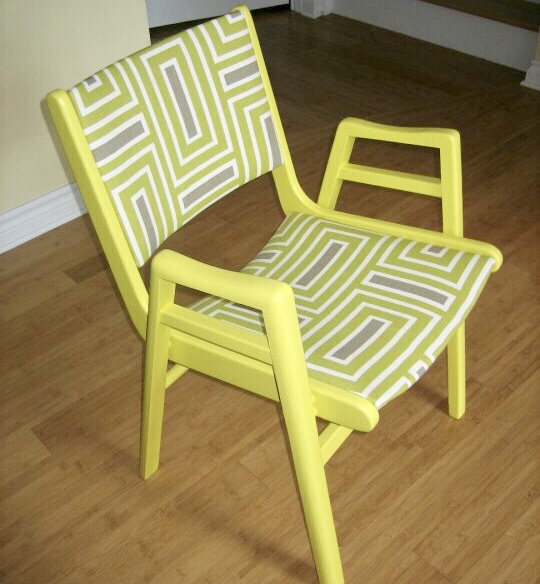
The finished chair complete with new upholstery. I wish I had taken a before picture (this was years ago and I obviously didn’t think it would get published in a blog post!). Paint was from Para in Crisp Gewurztraminer (p5050-52).
5 – Varnish (optional)
If you want a super durable finish on your project, you may want to finish with a coat of polyurethane. This works well on acrylic paints which are tinted and well cured. Leave your project to dry super well (give it at least a week). Remember to lightly sand so that the polyurethane has surface to grip onto. This also gives you the opportunity to buff out any rough spots or imperfections. Apply thin coats and allow them to dry well. Be warned, polyurethane tends to yellow over time, so I wouldn’t do this on white paint. Also, if you choose a melamine paint, this step is probably overkill.
6 – Enjoy!
Refinishing furniture can be a long process, but if done right, it should last for years.

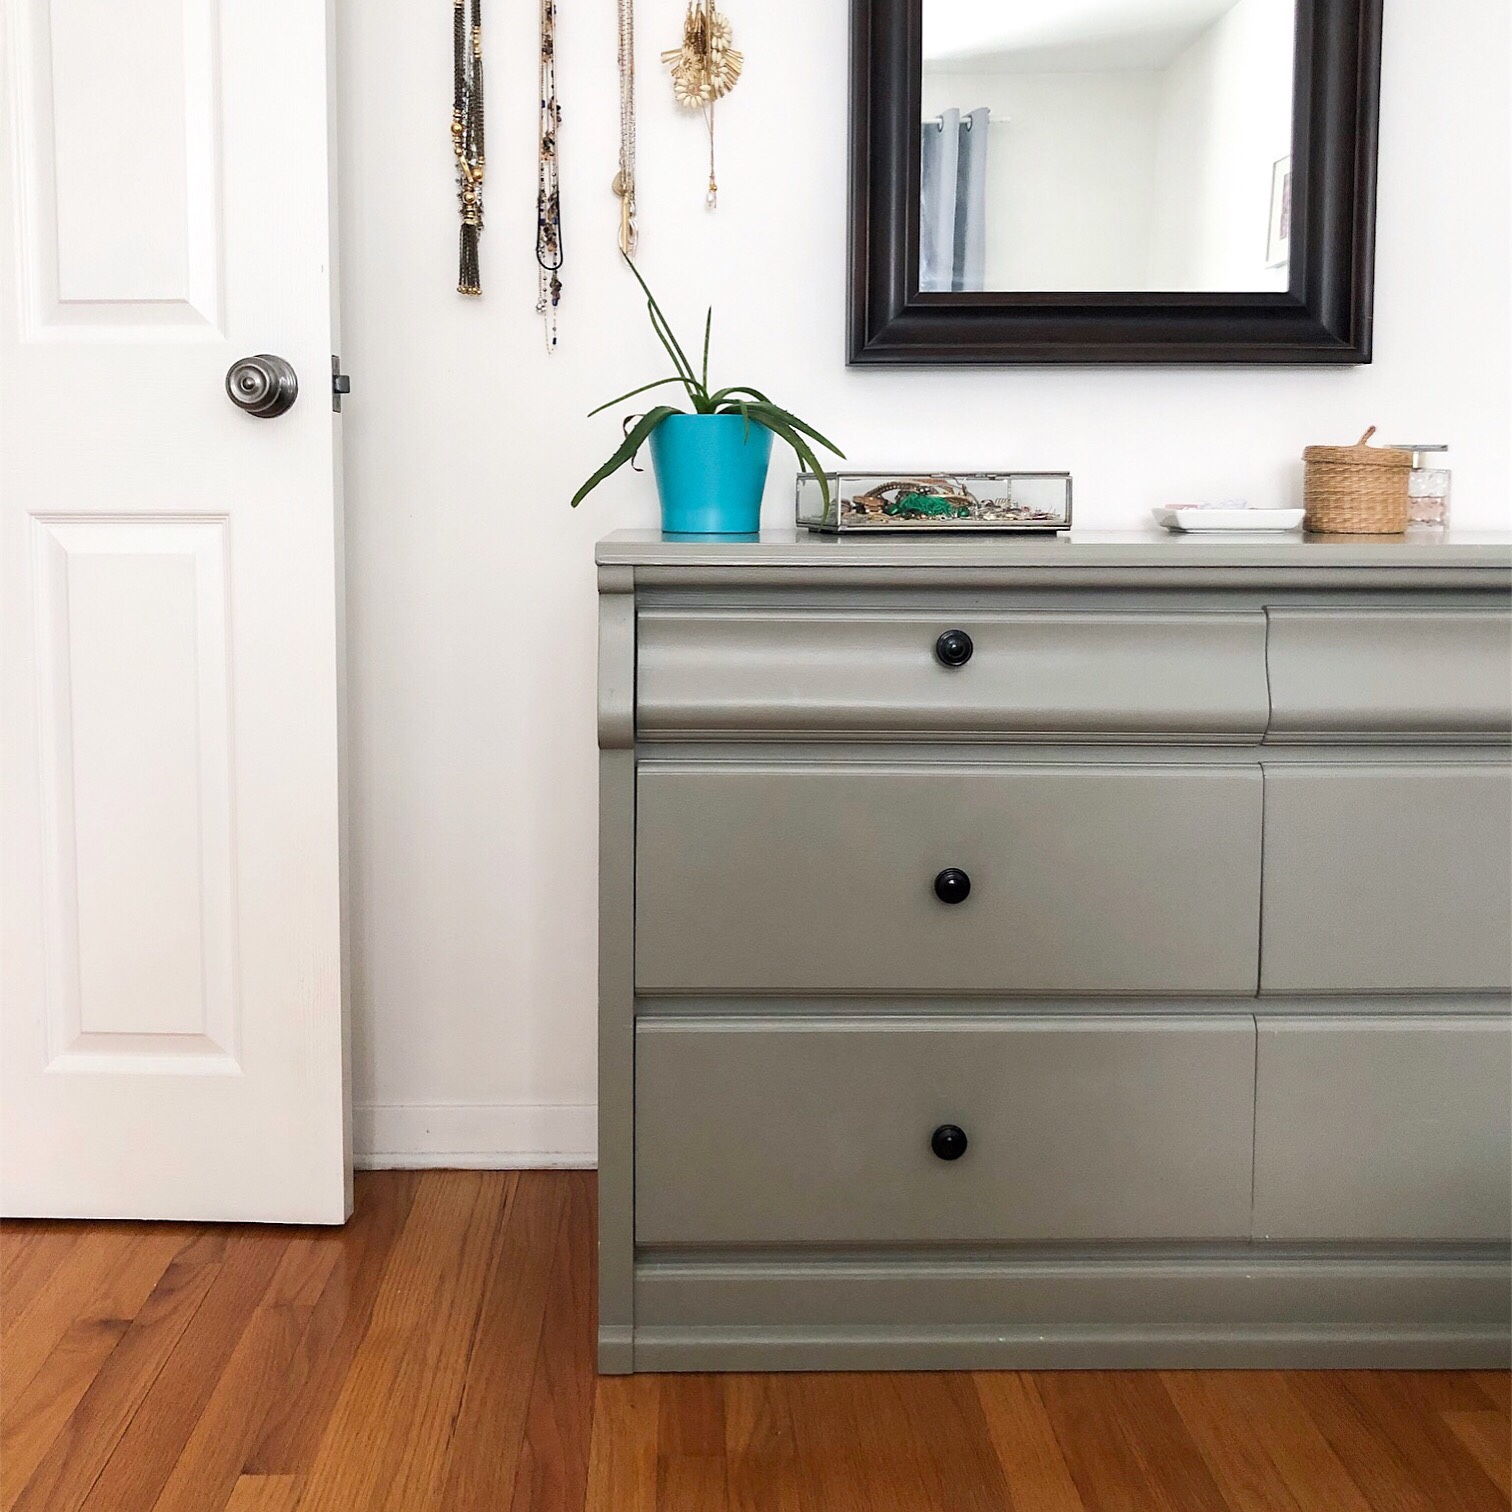
My original 80’s dresser in the background sporting it’s second makeover. A sandy grey melamine paint and black spray painted knobs.
Have you ever painted or refinished an old piece of furniture? Follow me on Instagram and tell me all about it!