We carved our pumpkins this weekend! It was so fun seeing both the girls reaching into pumpkins, playing with the strands and the seeds. It was definitely a sensory experience that kept them busy for a while.
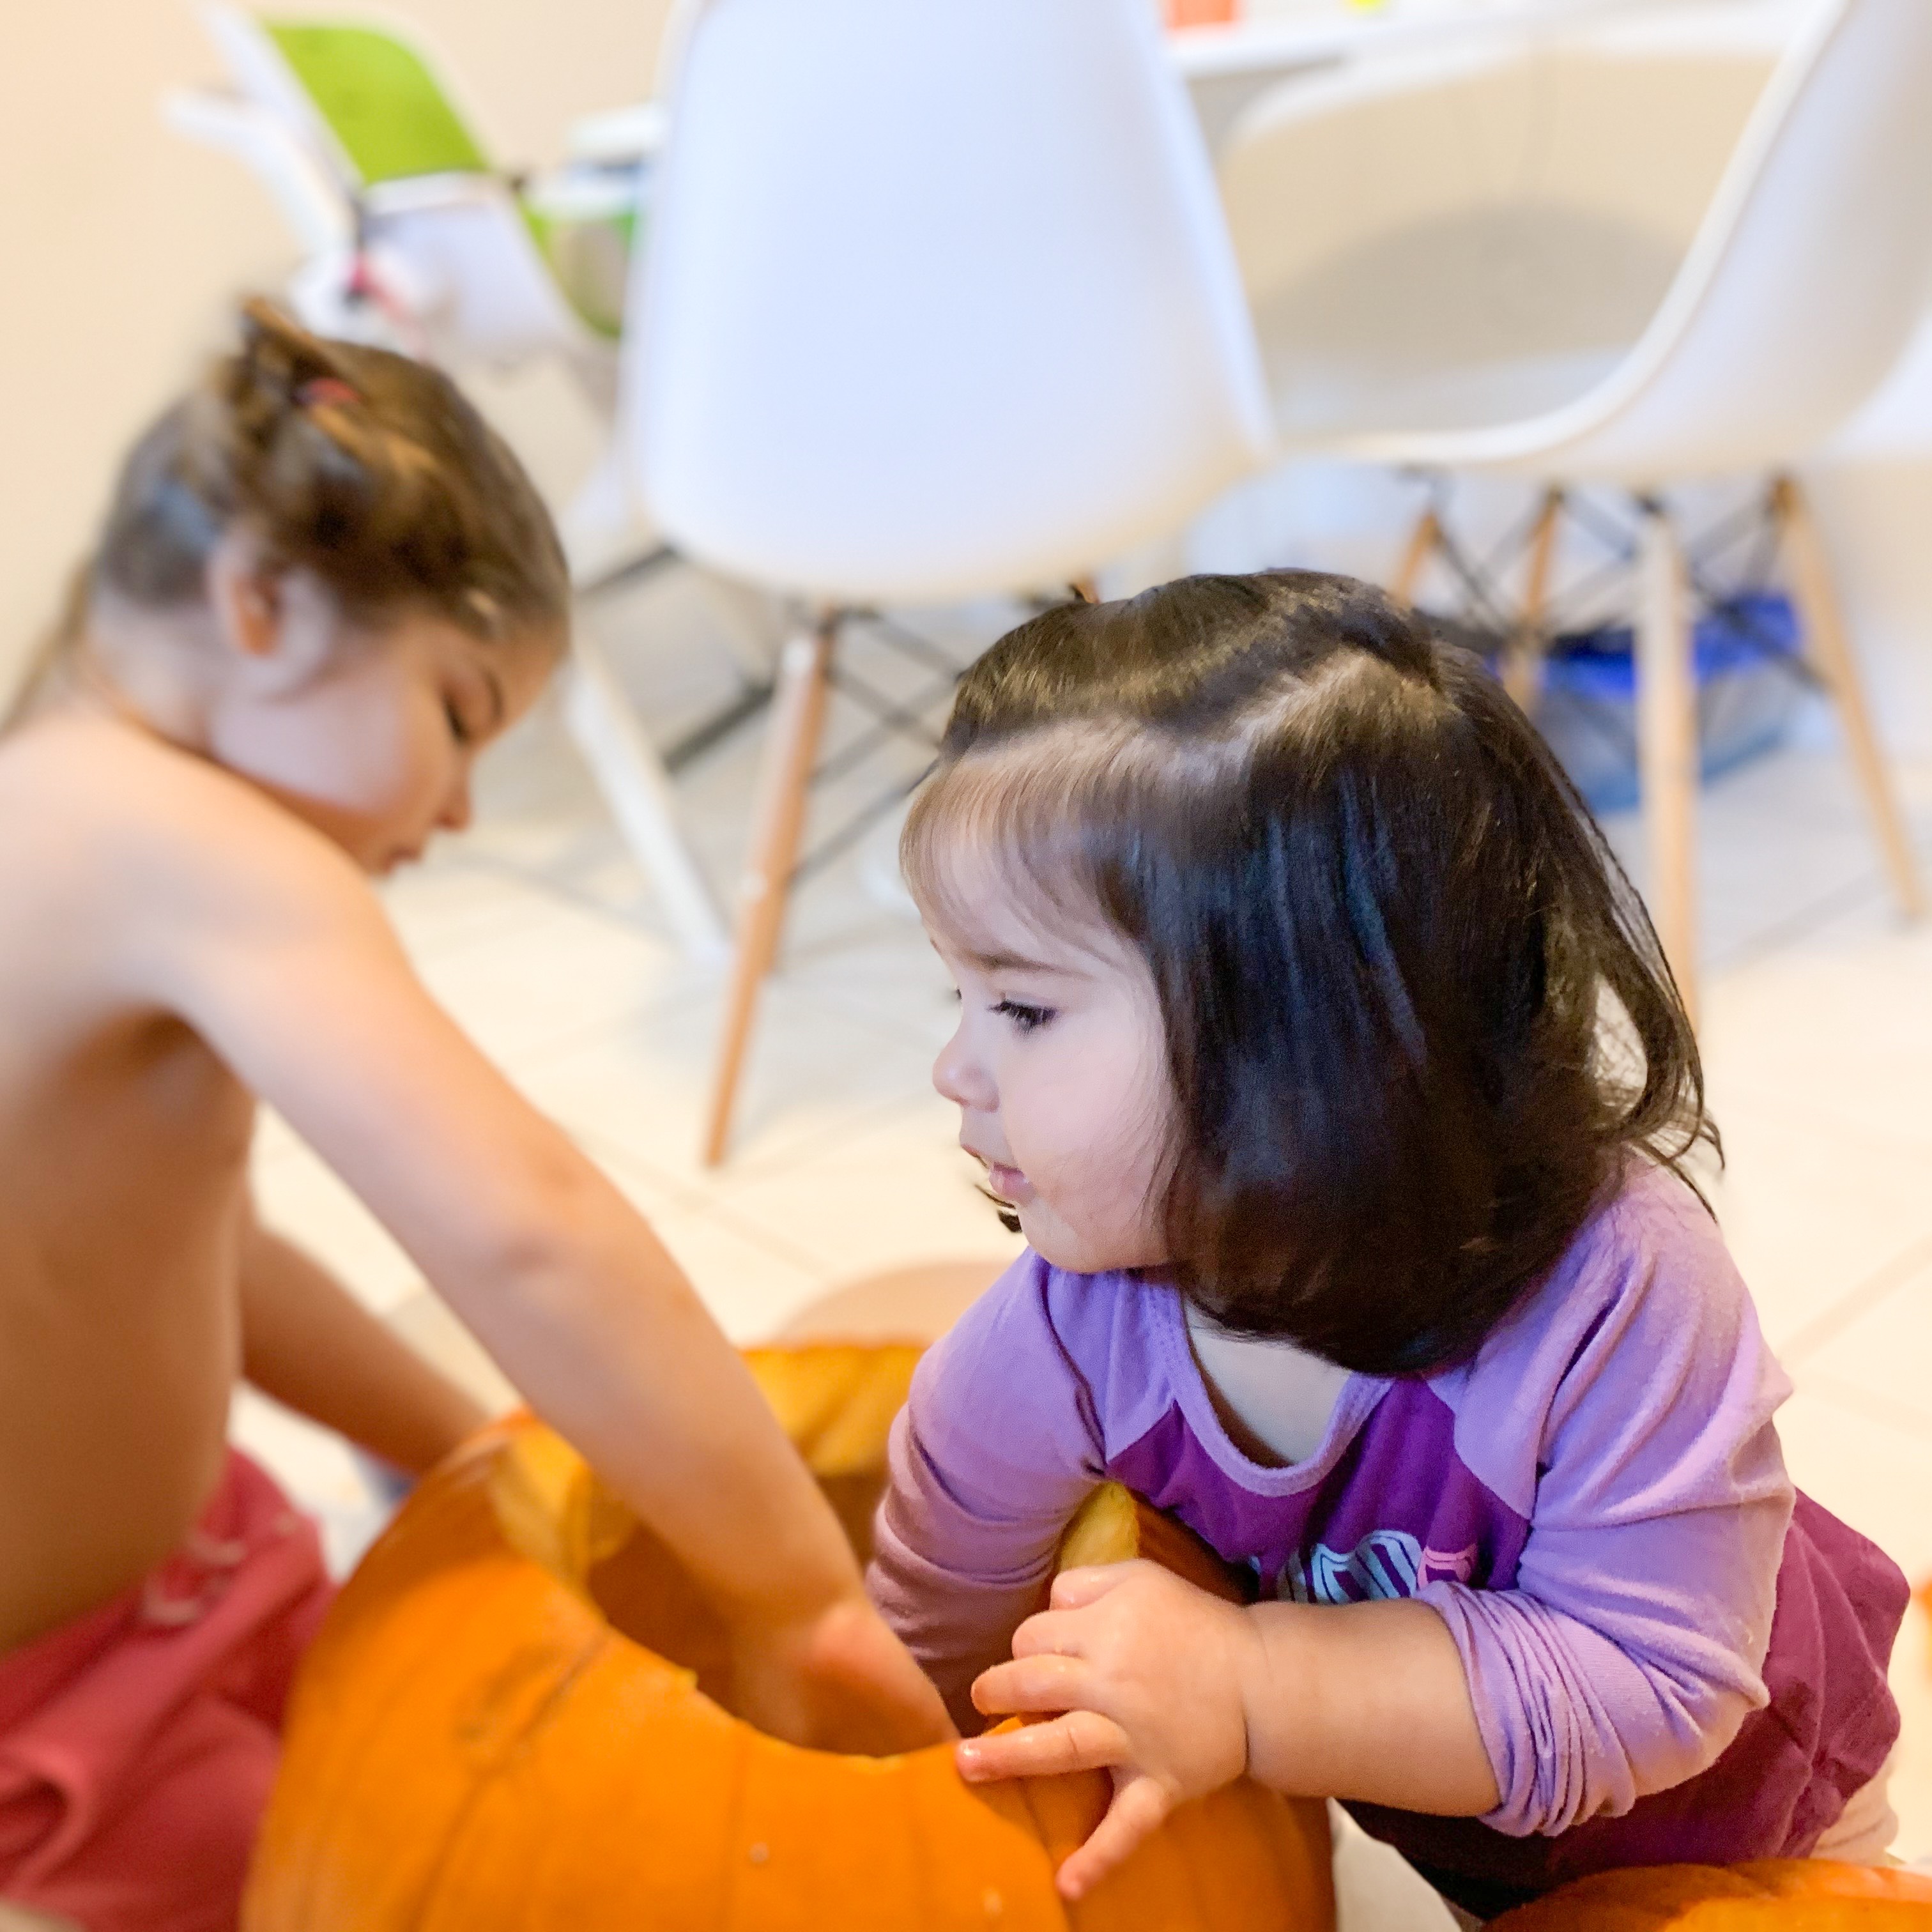
Last year Ellie wanted nothing to do with pumpkin guts, but this year she was loving scooping and stirring the insides.
For the last 3 years, whenever I’ve carved a pumpkin, I’ve taken the time to separate the seeds and roast them. It feels like such a waste to toss them when they can easily become a great snack!
Here’s what you need to roast your own pumpkin seeds:
– seeds from 2 medium pumpkins
– olive oil
– sea salt
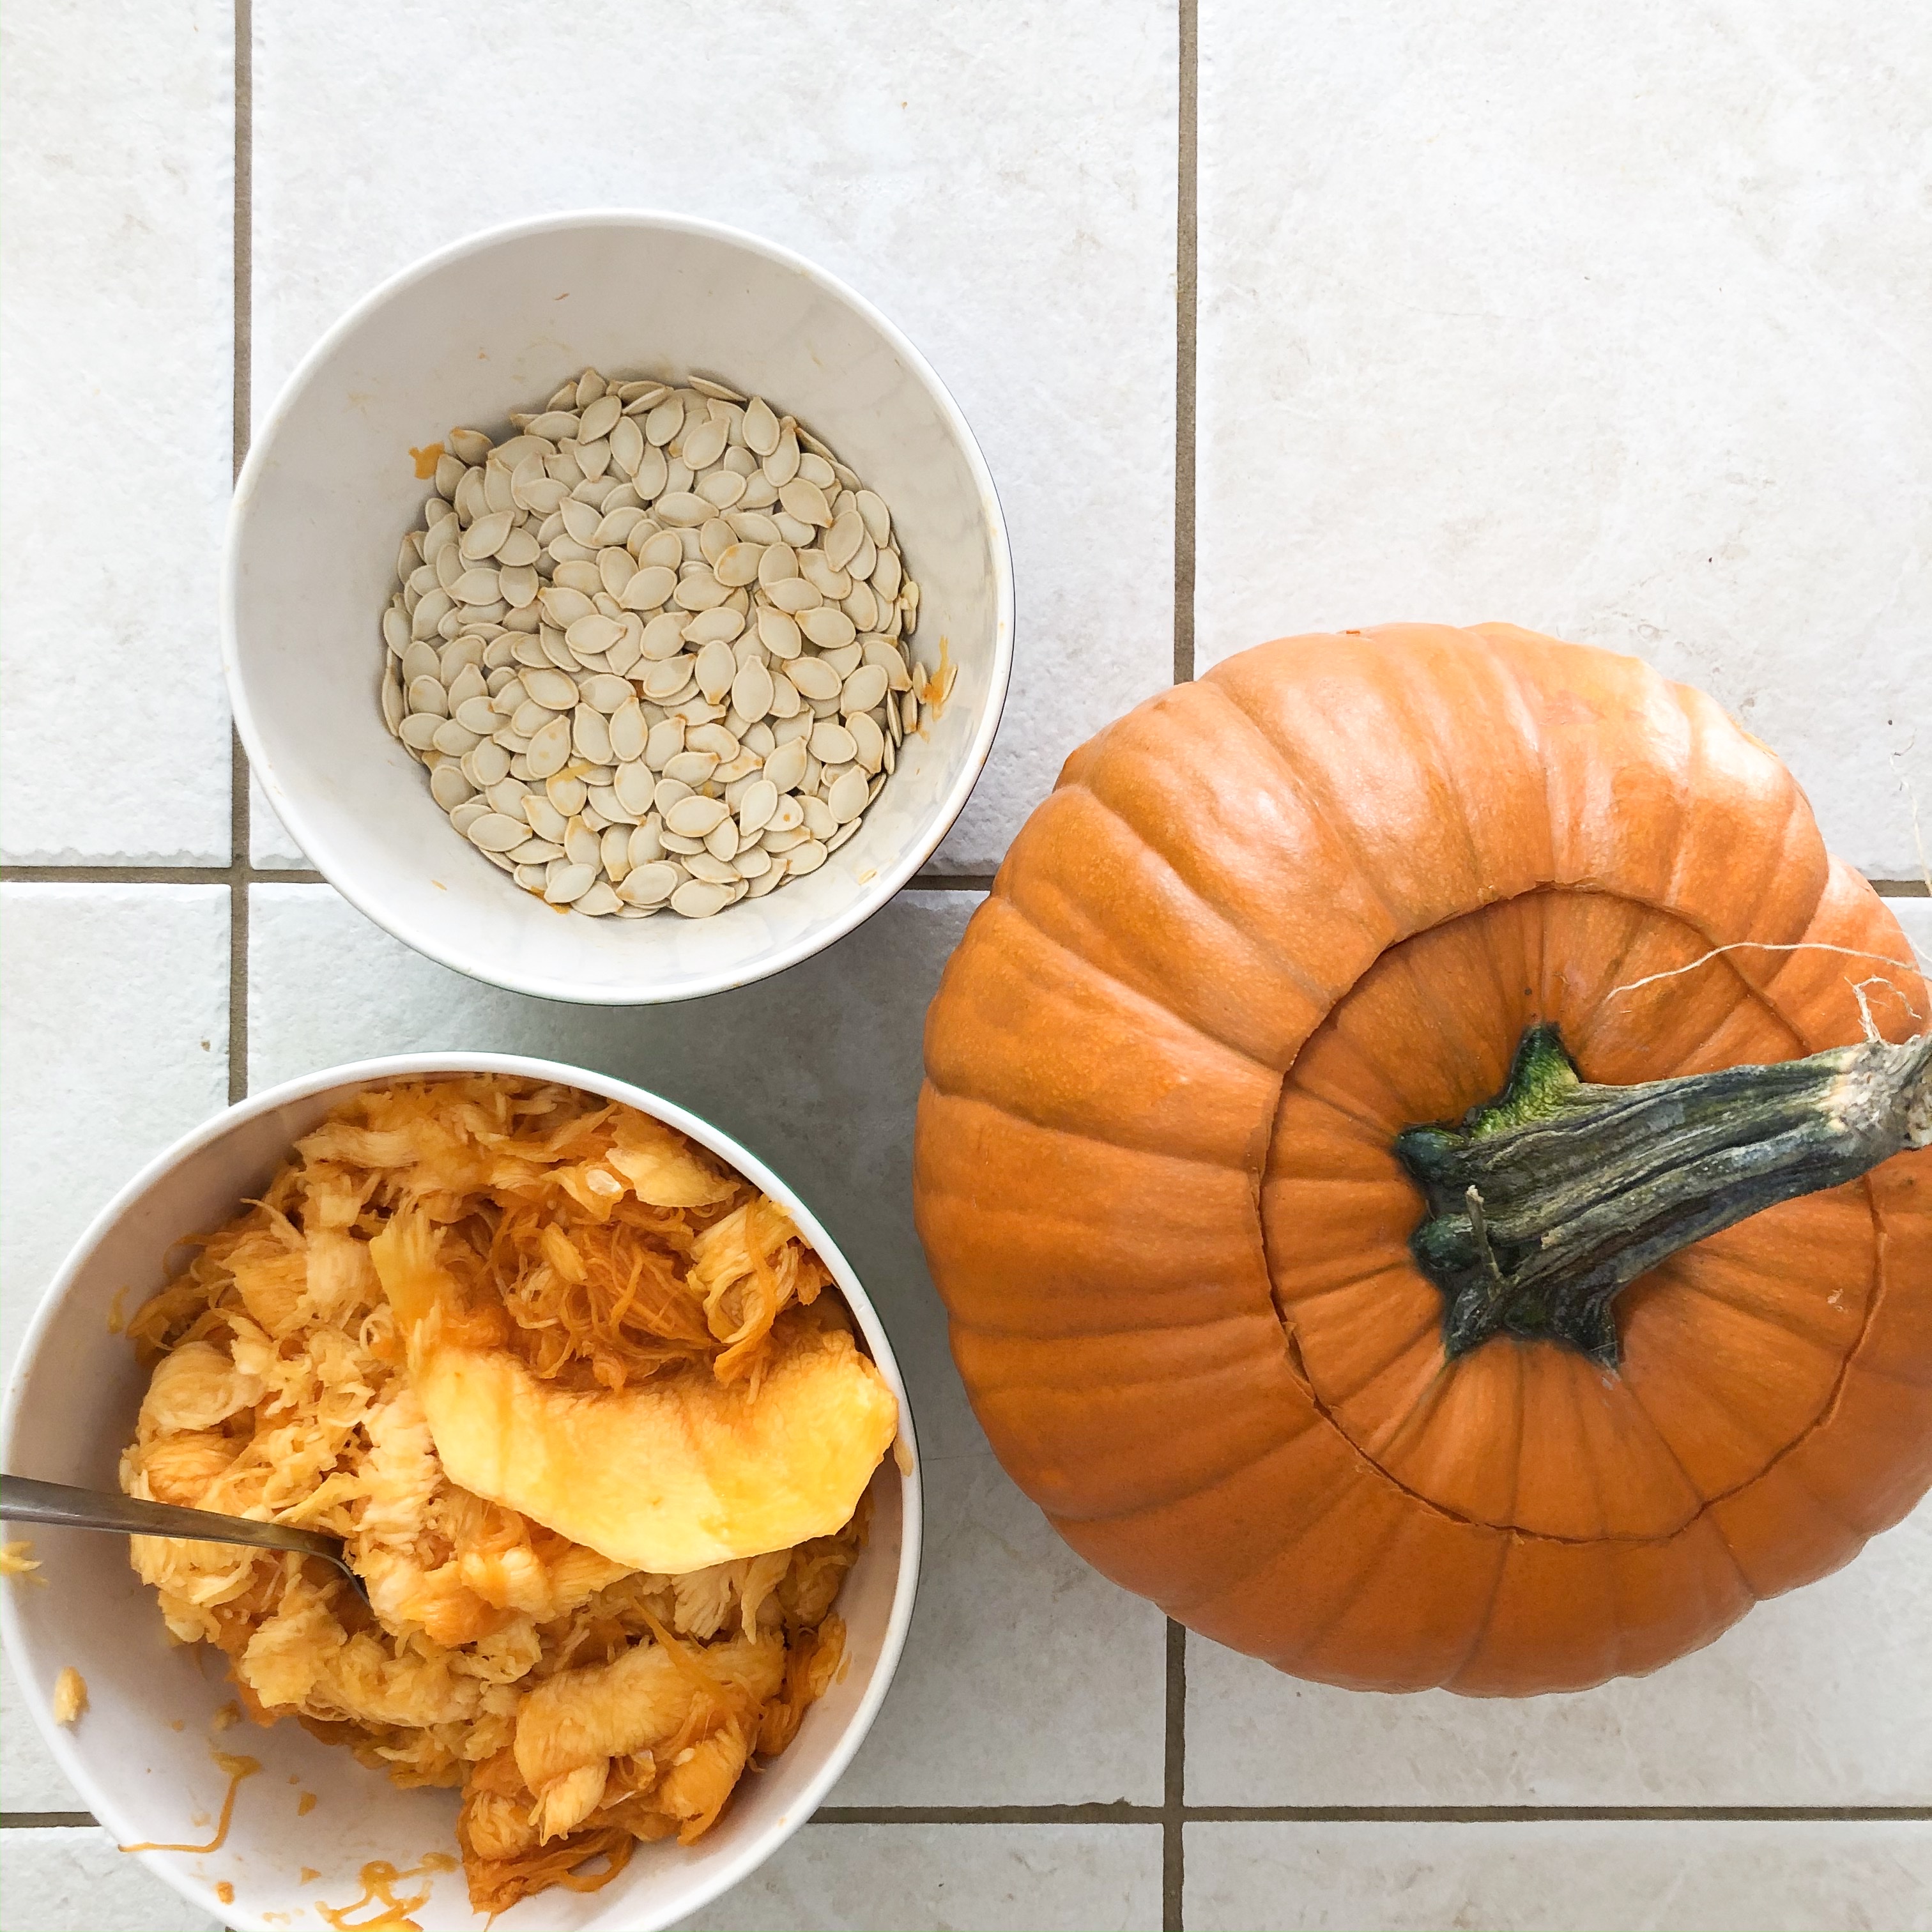
Start by separating the seeds into a bowl. We carved a large and a medium sized pumpkin this year and ended up with approximately 6 cups of seeds. Rinse the seeds well with water, removing any pumpkin flesh that floats to the surface.
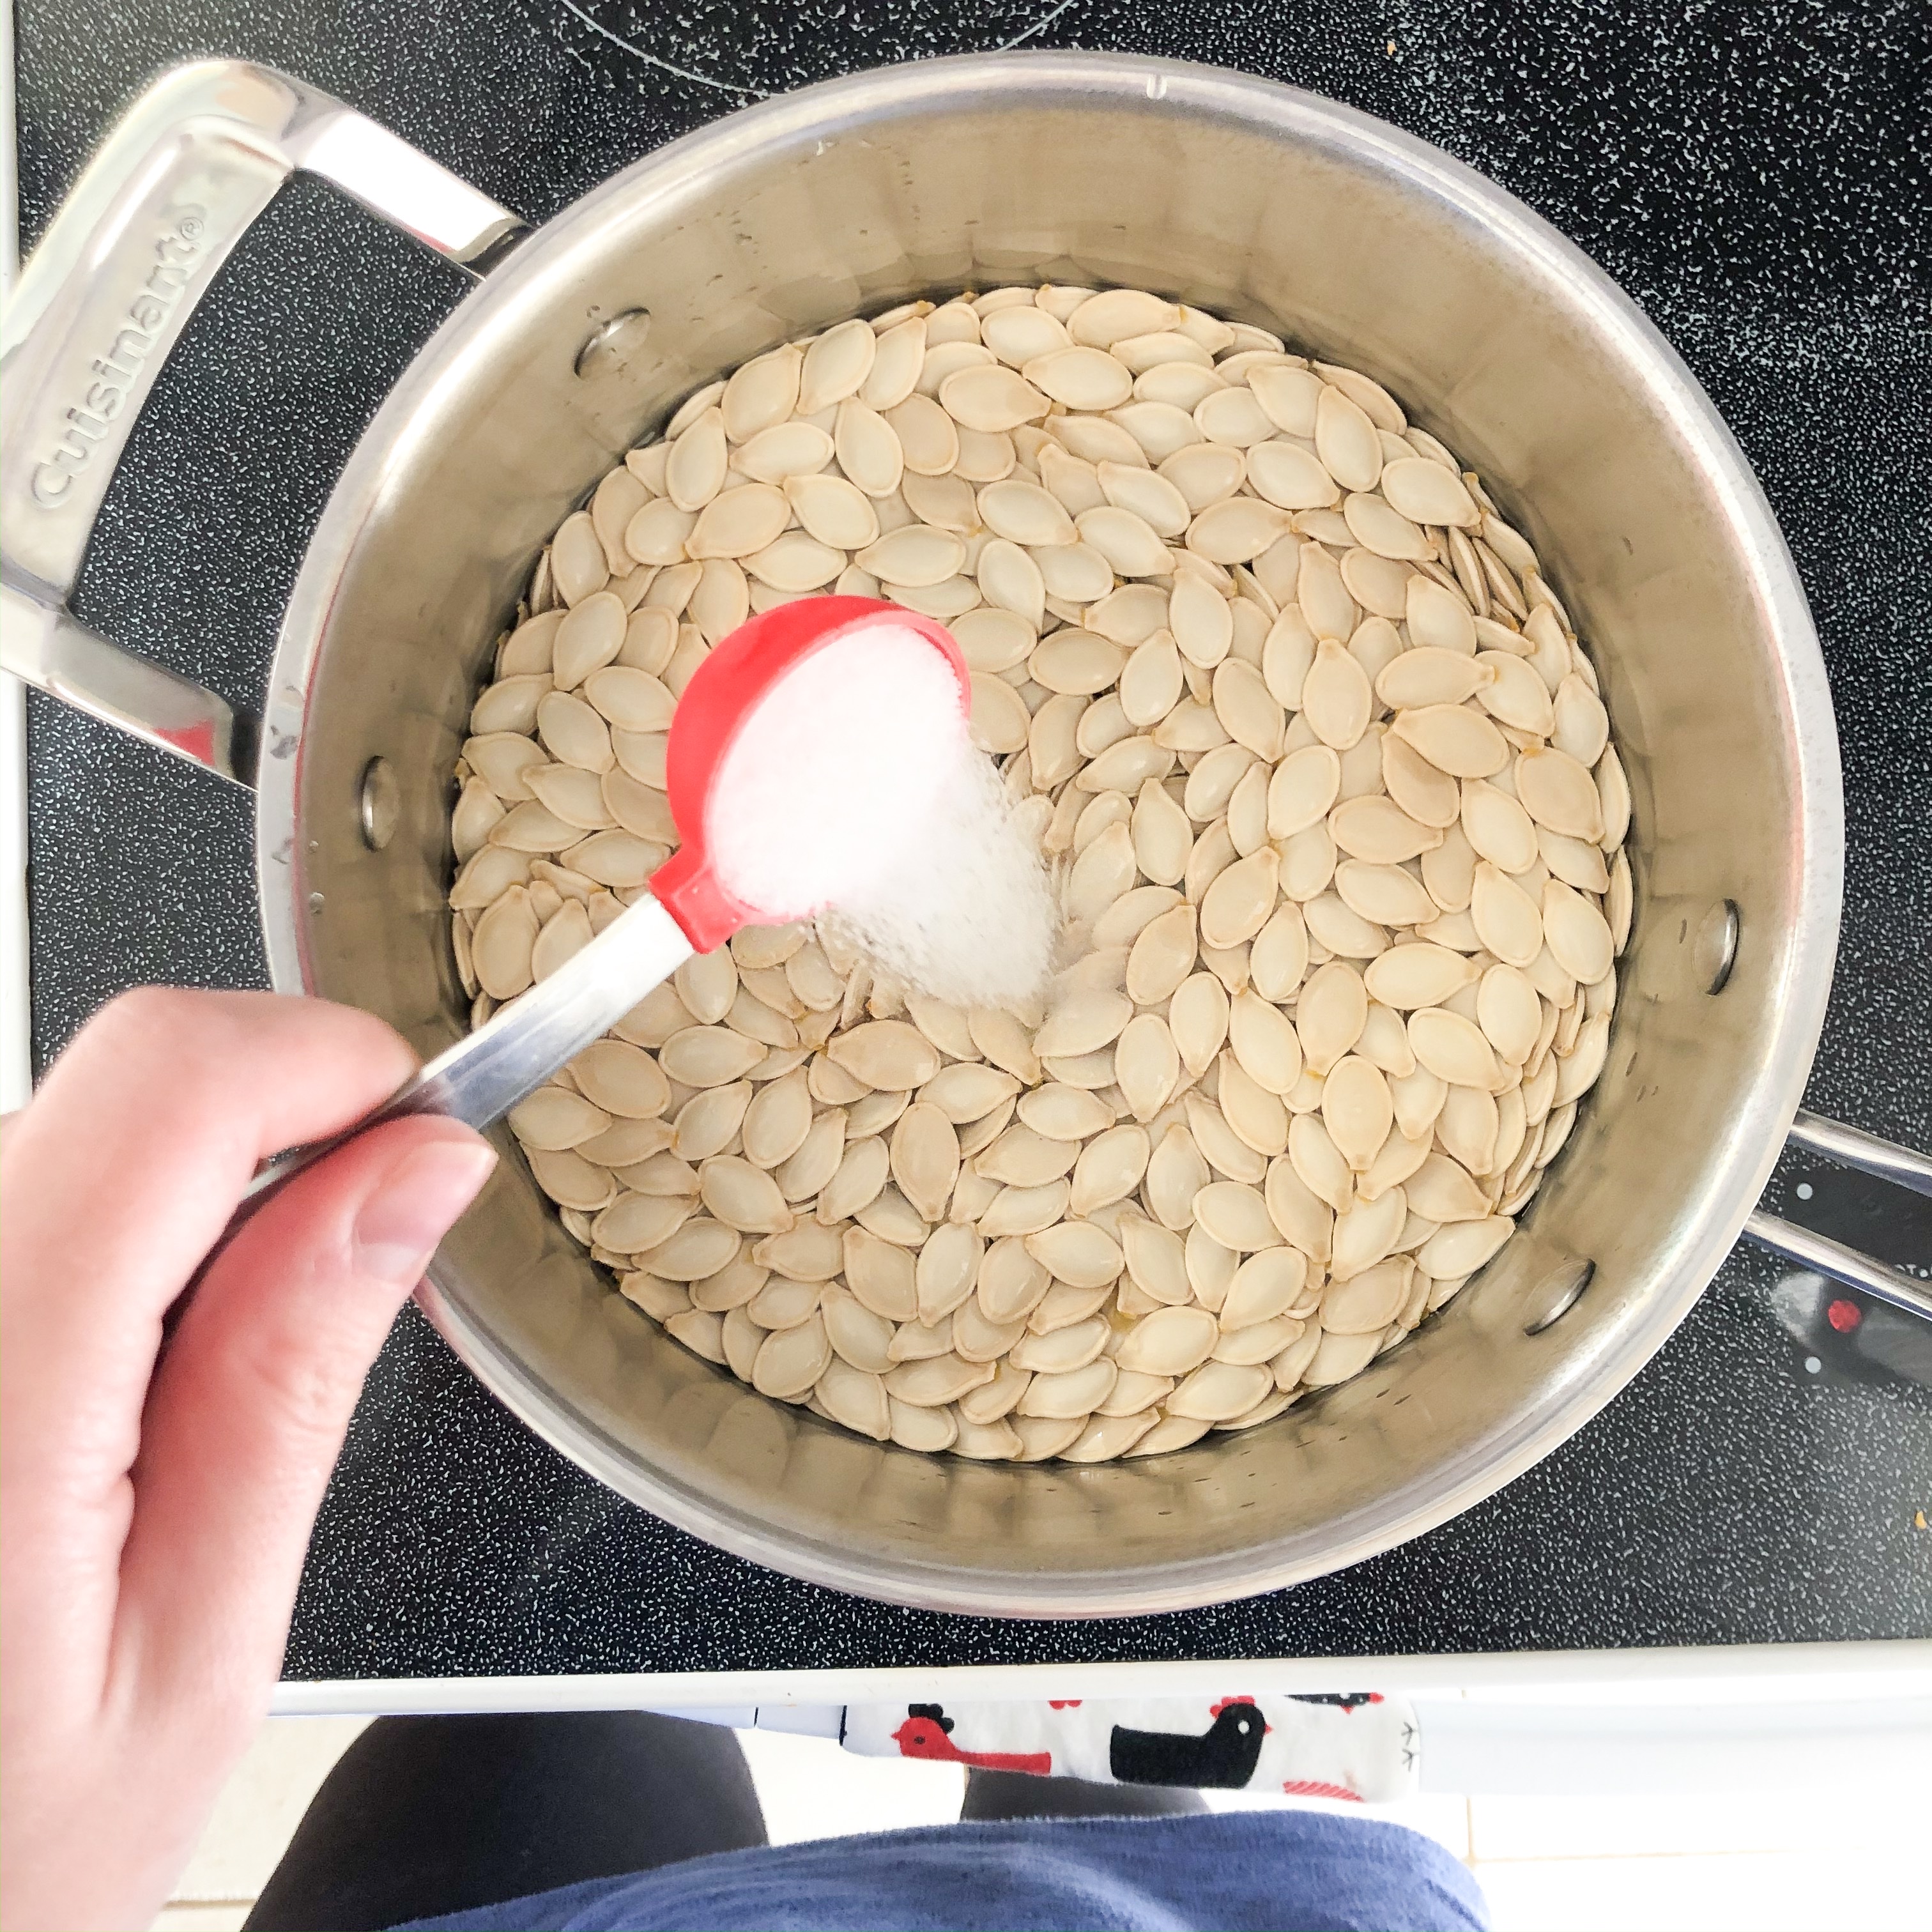
Place the seeds into a medium sized pot with water. Stir in 1 tbsp of salt and boil for 10 minutes. Boiling helps cook the seeds before roasting them in the oven. The salt water also helps infuse the seeds with flavor.
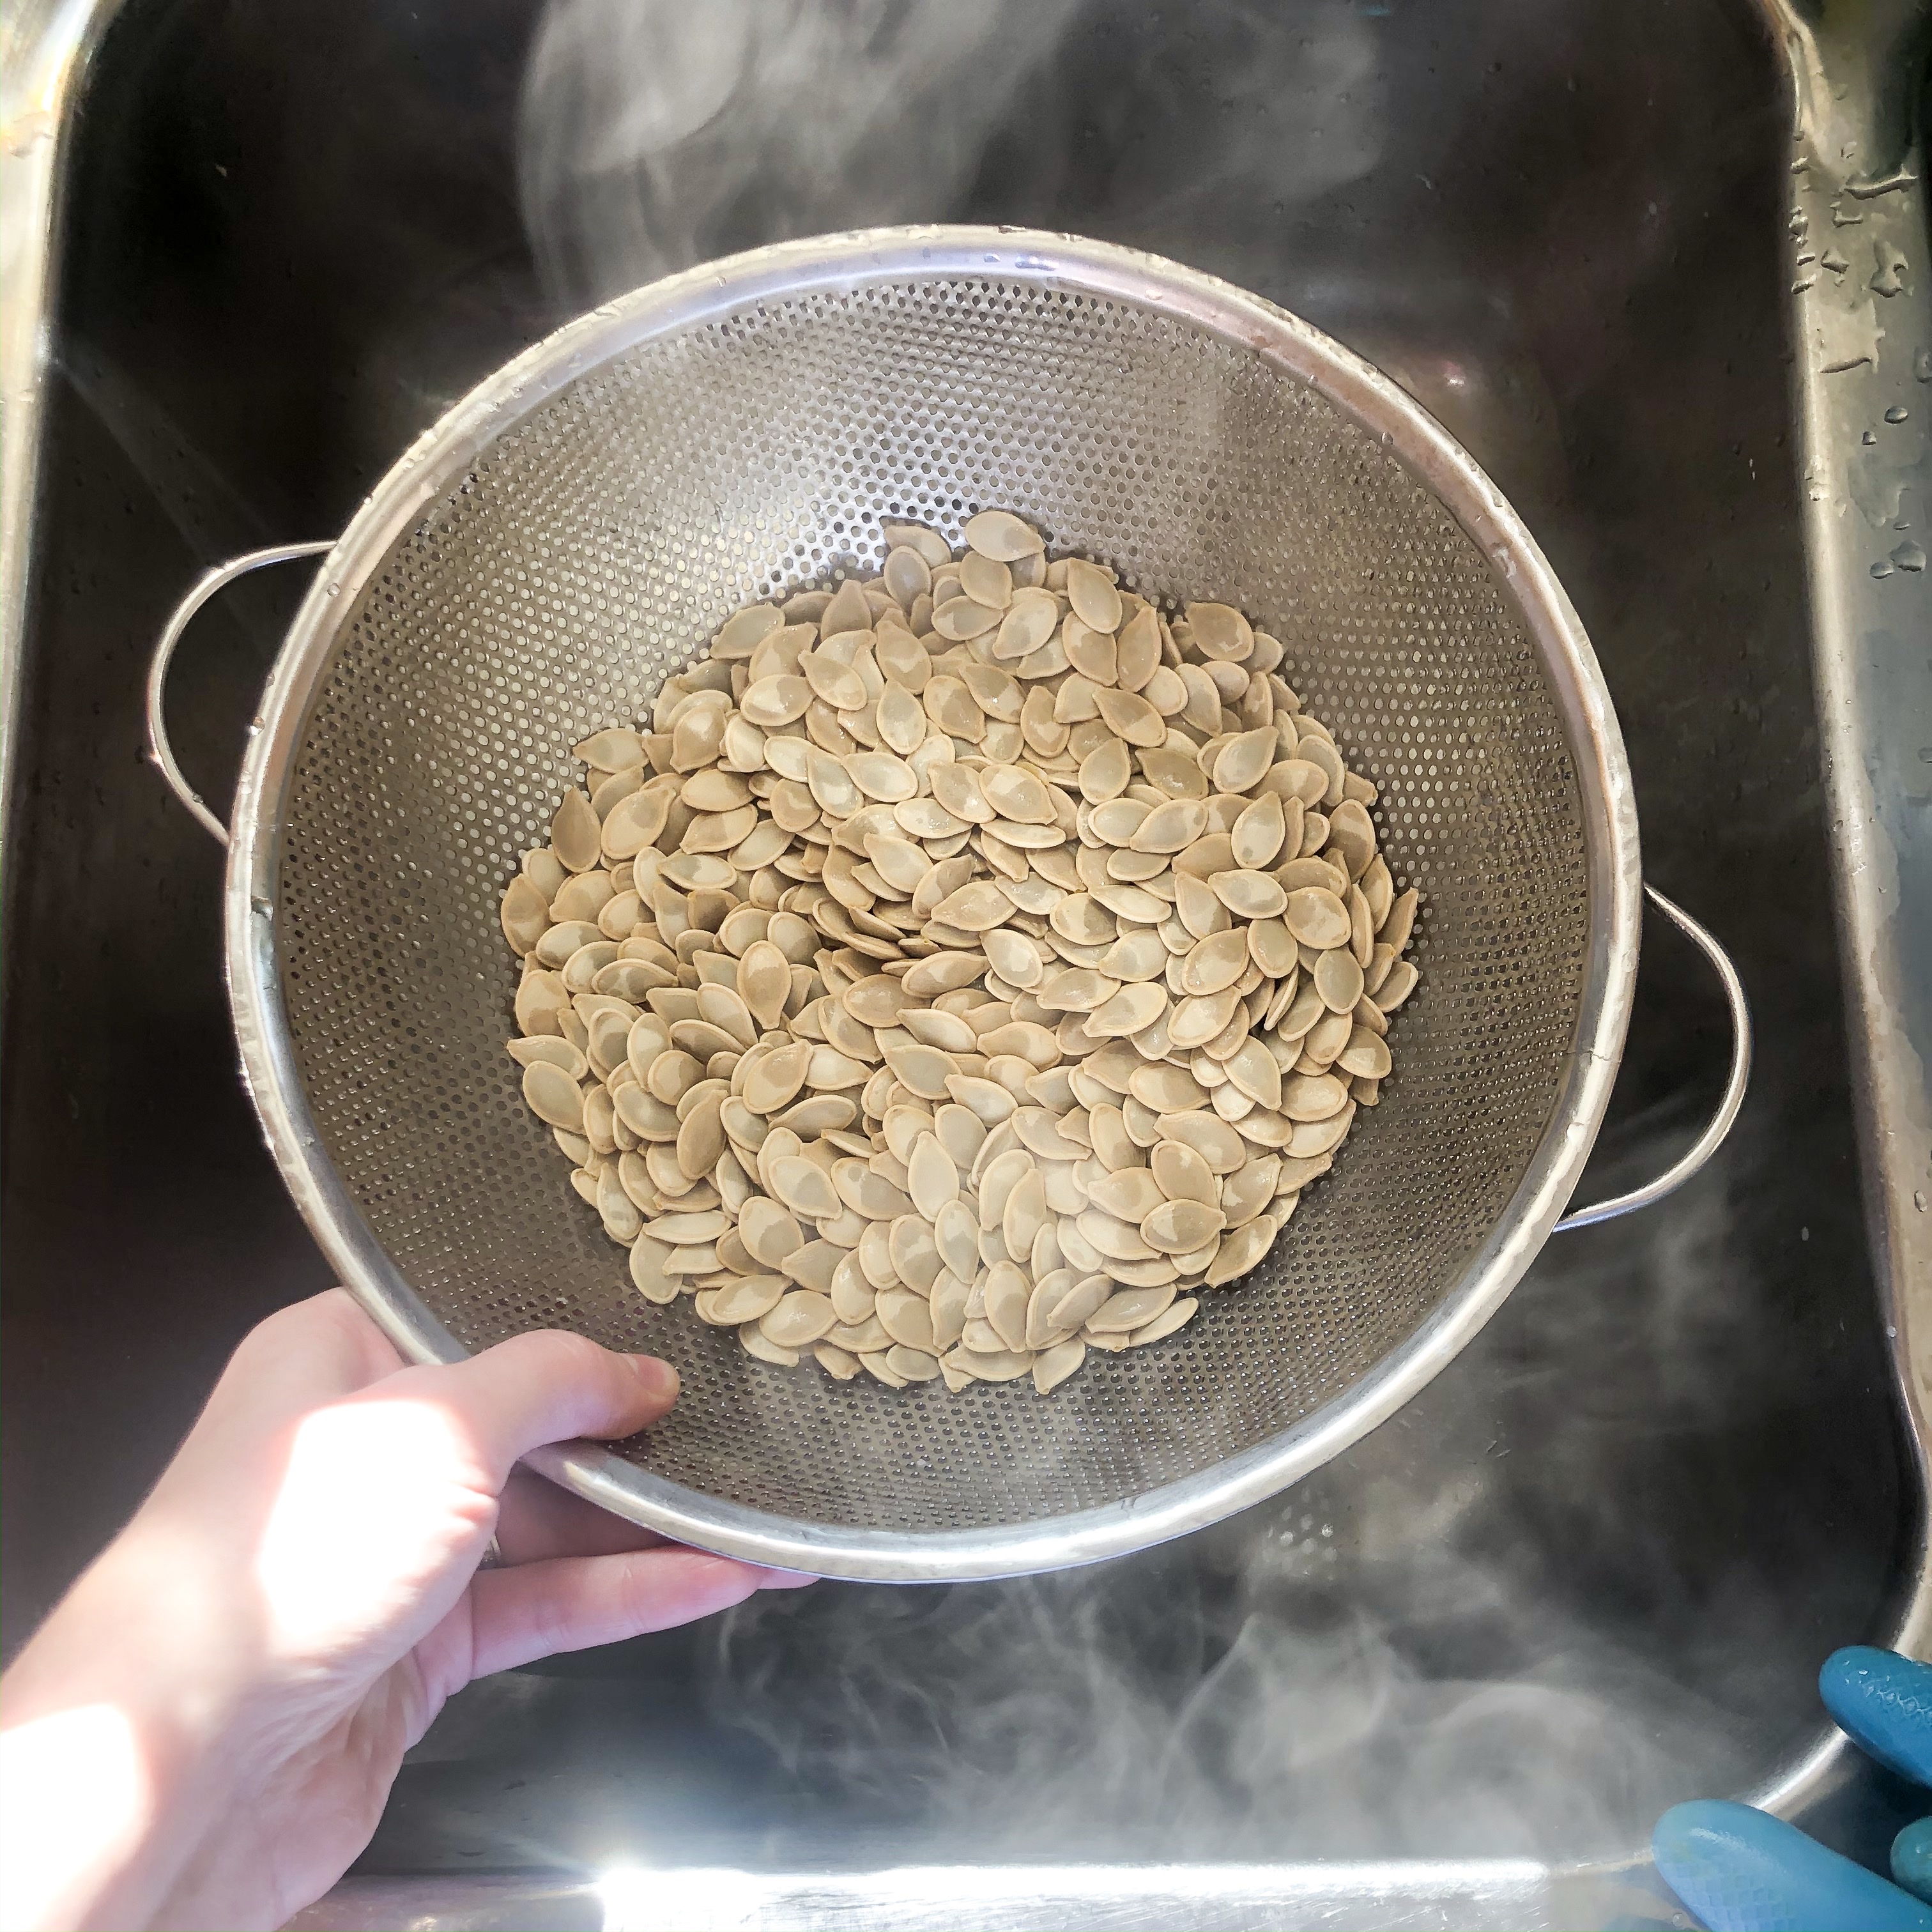
After 10 minutes of boiling, pour the seeds into a colander but do not rinse! Gently pat the seeds dry with paper towel. They do not have to be extremely dry, but shouldn’t be dripping wet either.
You can also sprinkle different herbs and seasonings onto your pumpkin seeds, but I like simple salt best.
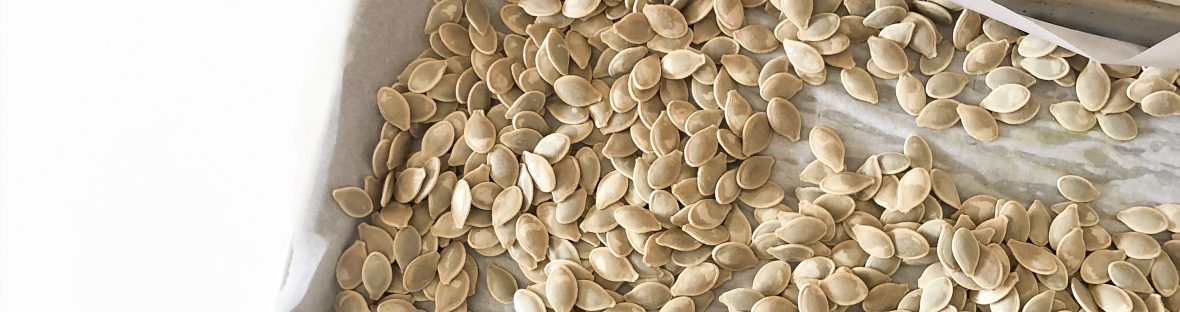
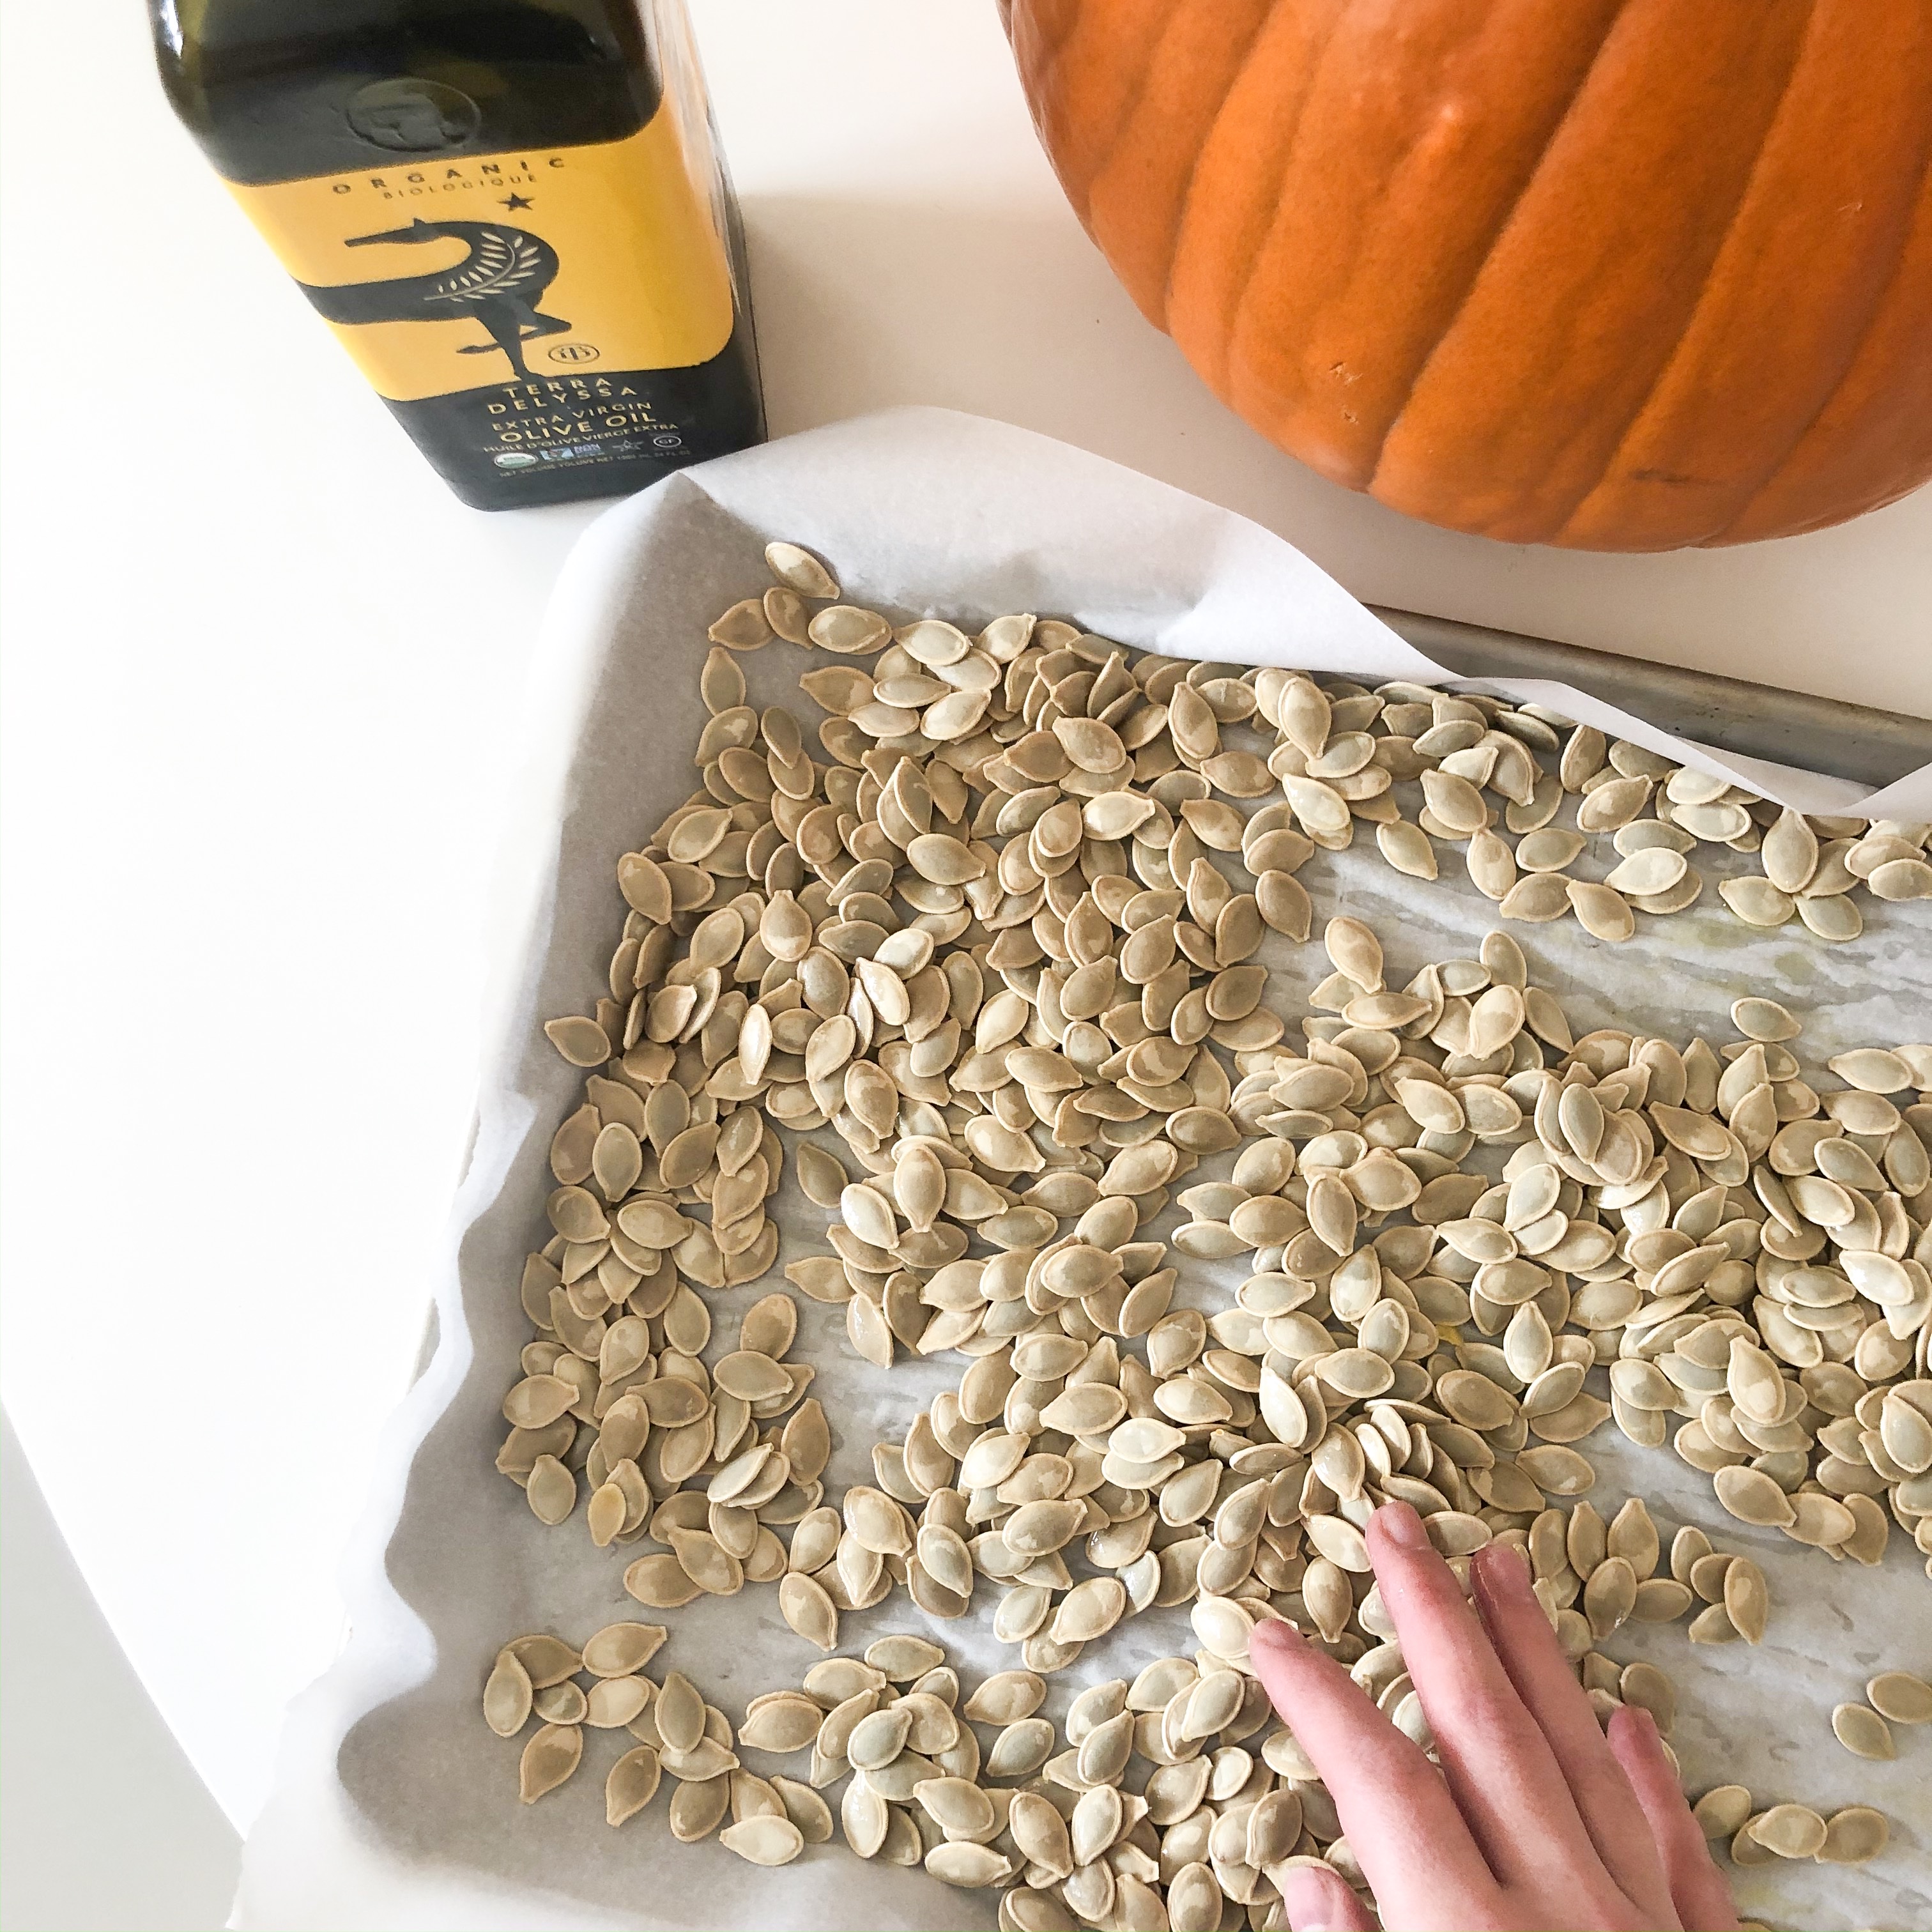
Dump the seeds onto a parchment lined baking sheet and drizzle with olive oil. Toss the seeds in the oil to coat. Sprinkle generously with fine sea salt. Bake in a 300° F oven for 20-30 minutes, tossing the seeds every 5-10 minutes. I might baby my seeds too much, but the first time I made these I burned them, so definitely check them often!
These have been so addictive. My husband and I have been eating them non-stop!
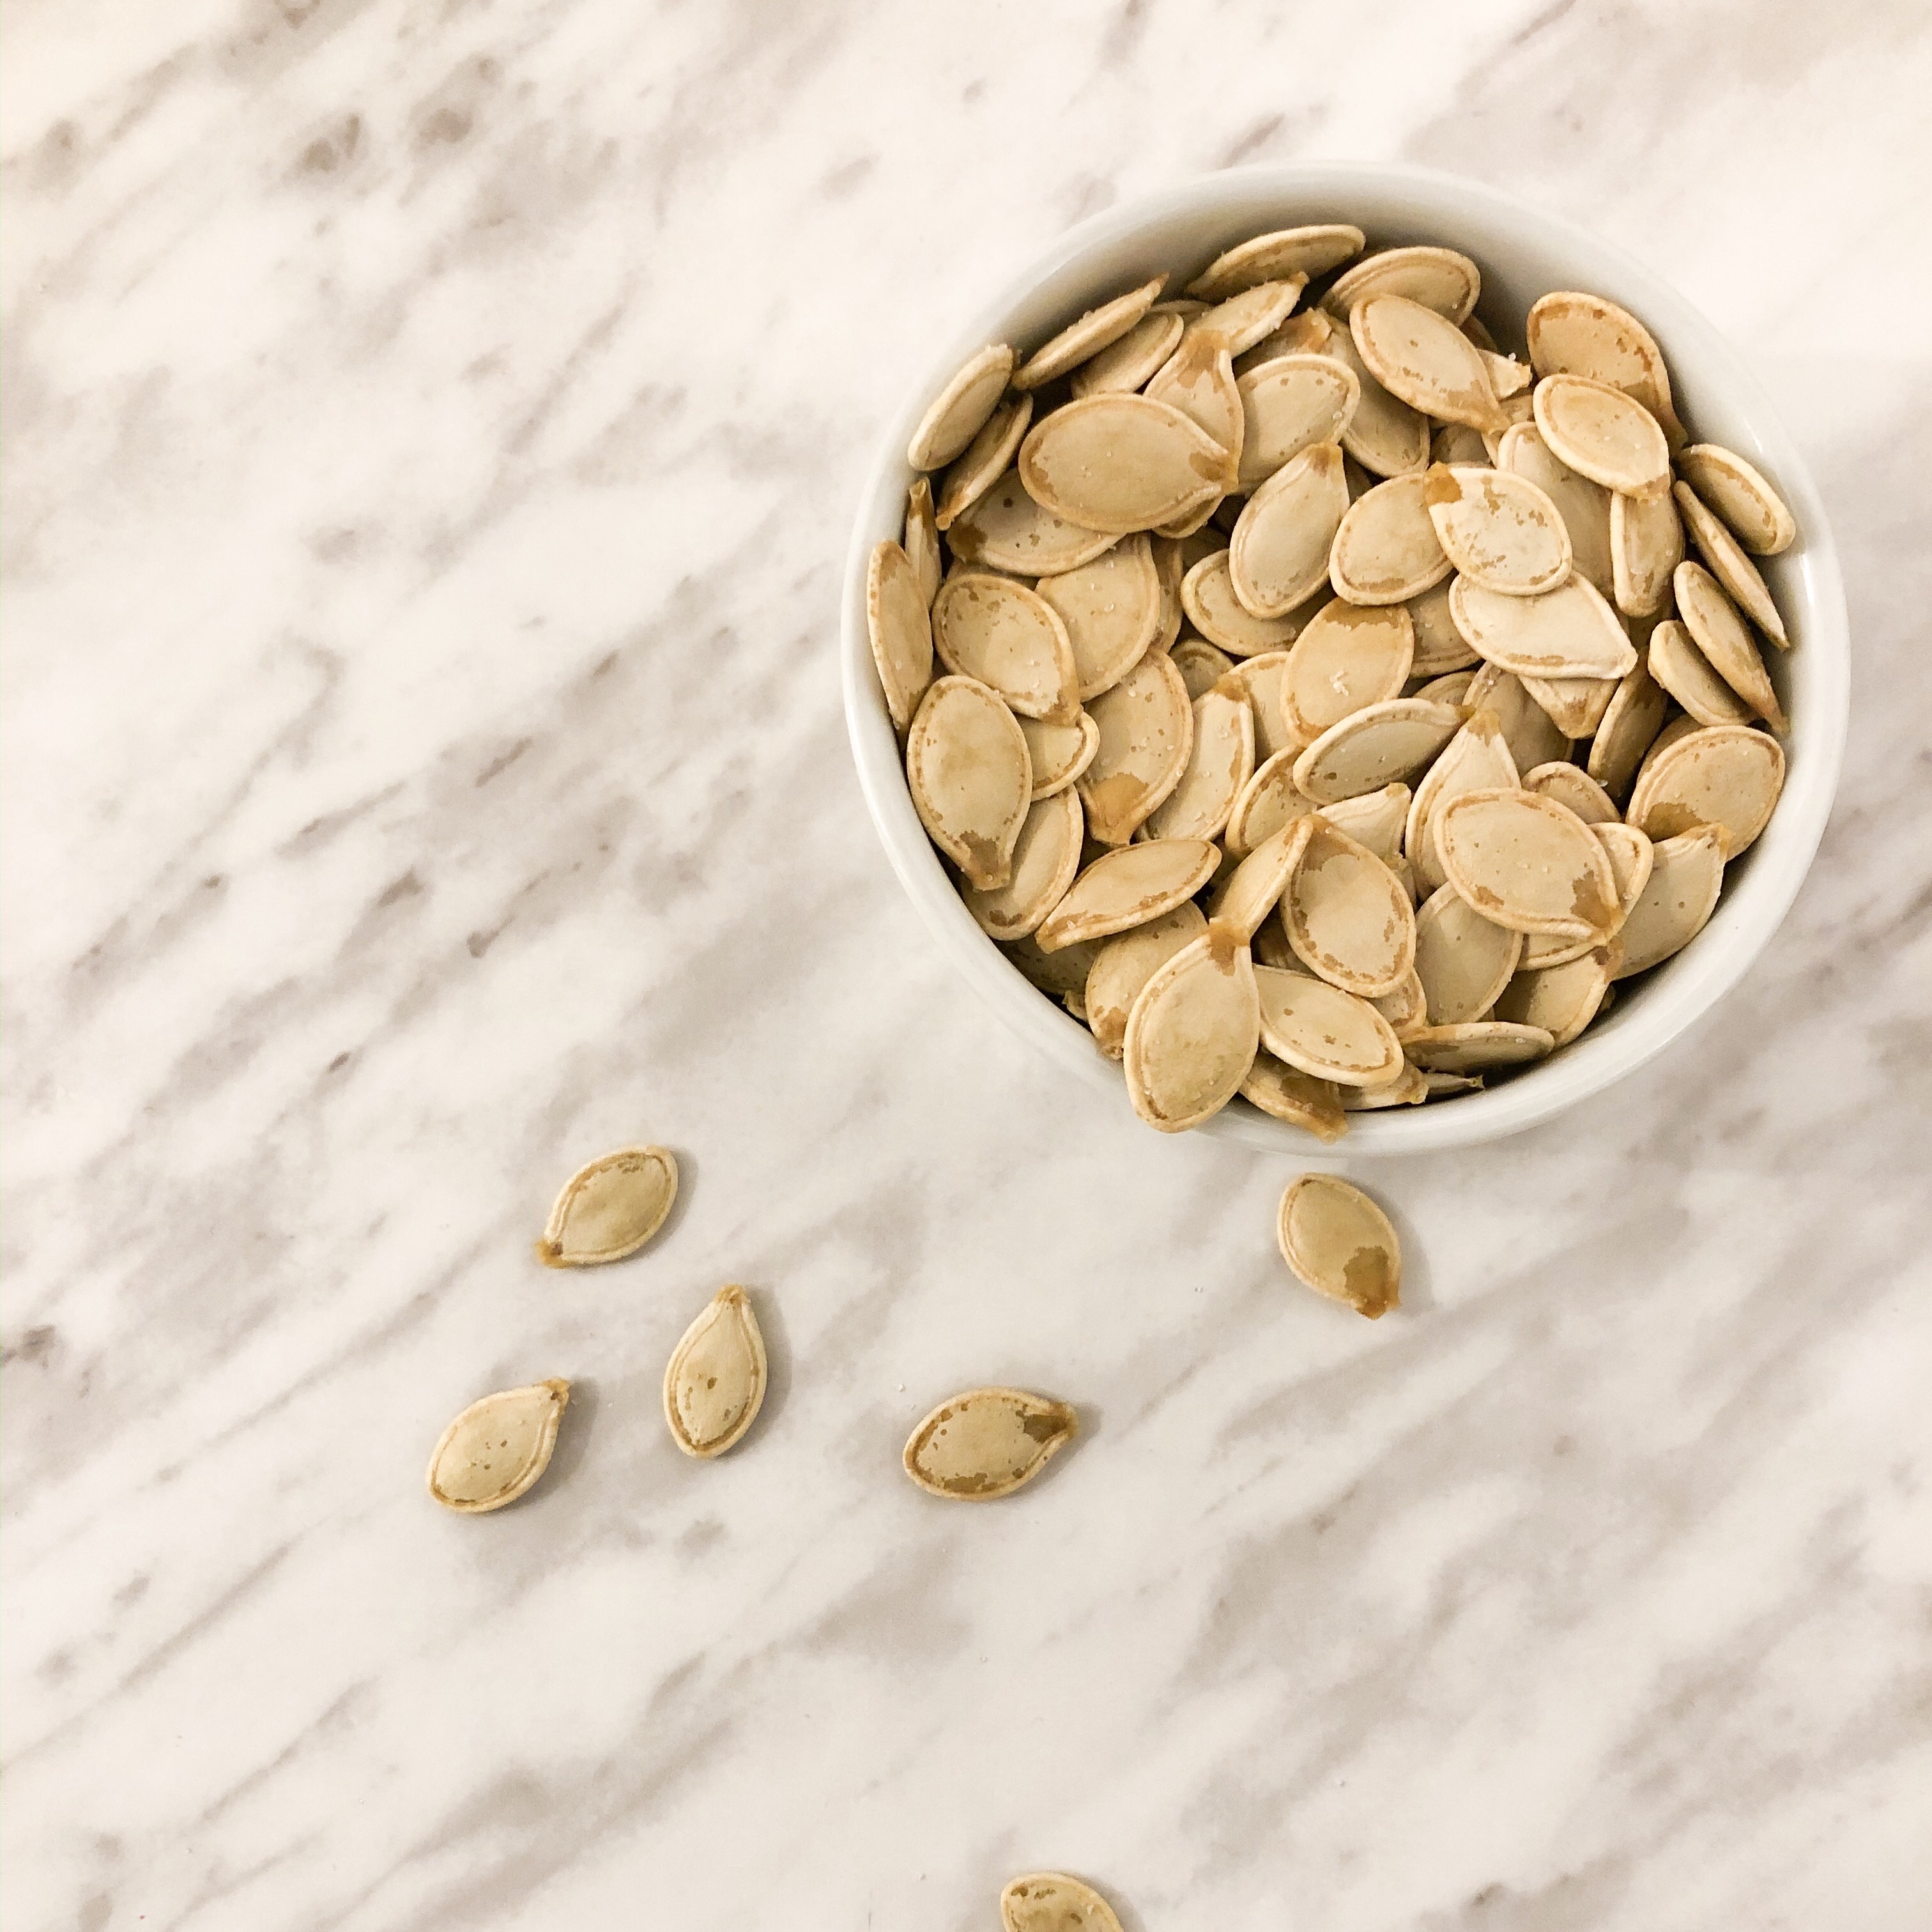
When done, your seeds should be golden, crisp and no longer sticky. Allow to cool and transfer to a sealed container. Not sure how long these keep since they never last long in my house. Happy snacking!
Want more recipes, DIY projects and craft ideas? Check out my Instagram and Pinterest pages for more inspiration!