
I’ve been looking for wooden pumpkin cut-outs this year and have had a lot of trouble finding unfinished ones. Most stores are selling wooden pumpkins fully decorated. Yes they are nice, but my urge to craft is strong! I don’t want to buy something premade, I want to make it myself.
On one of my many trips to Dollarama, I found these small pumpkin cut outs. At a $1.25 each, I figured it was worth a try repainting one and creating something even better.
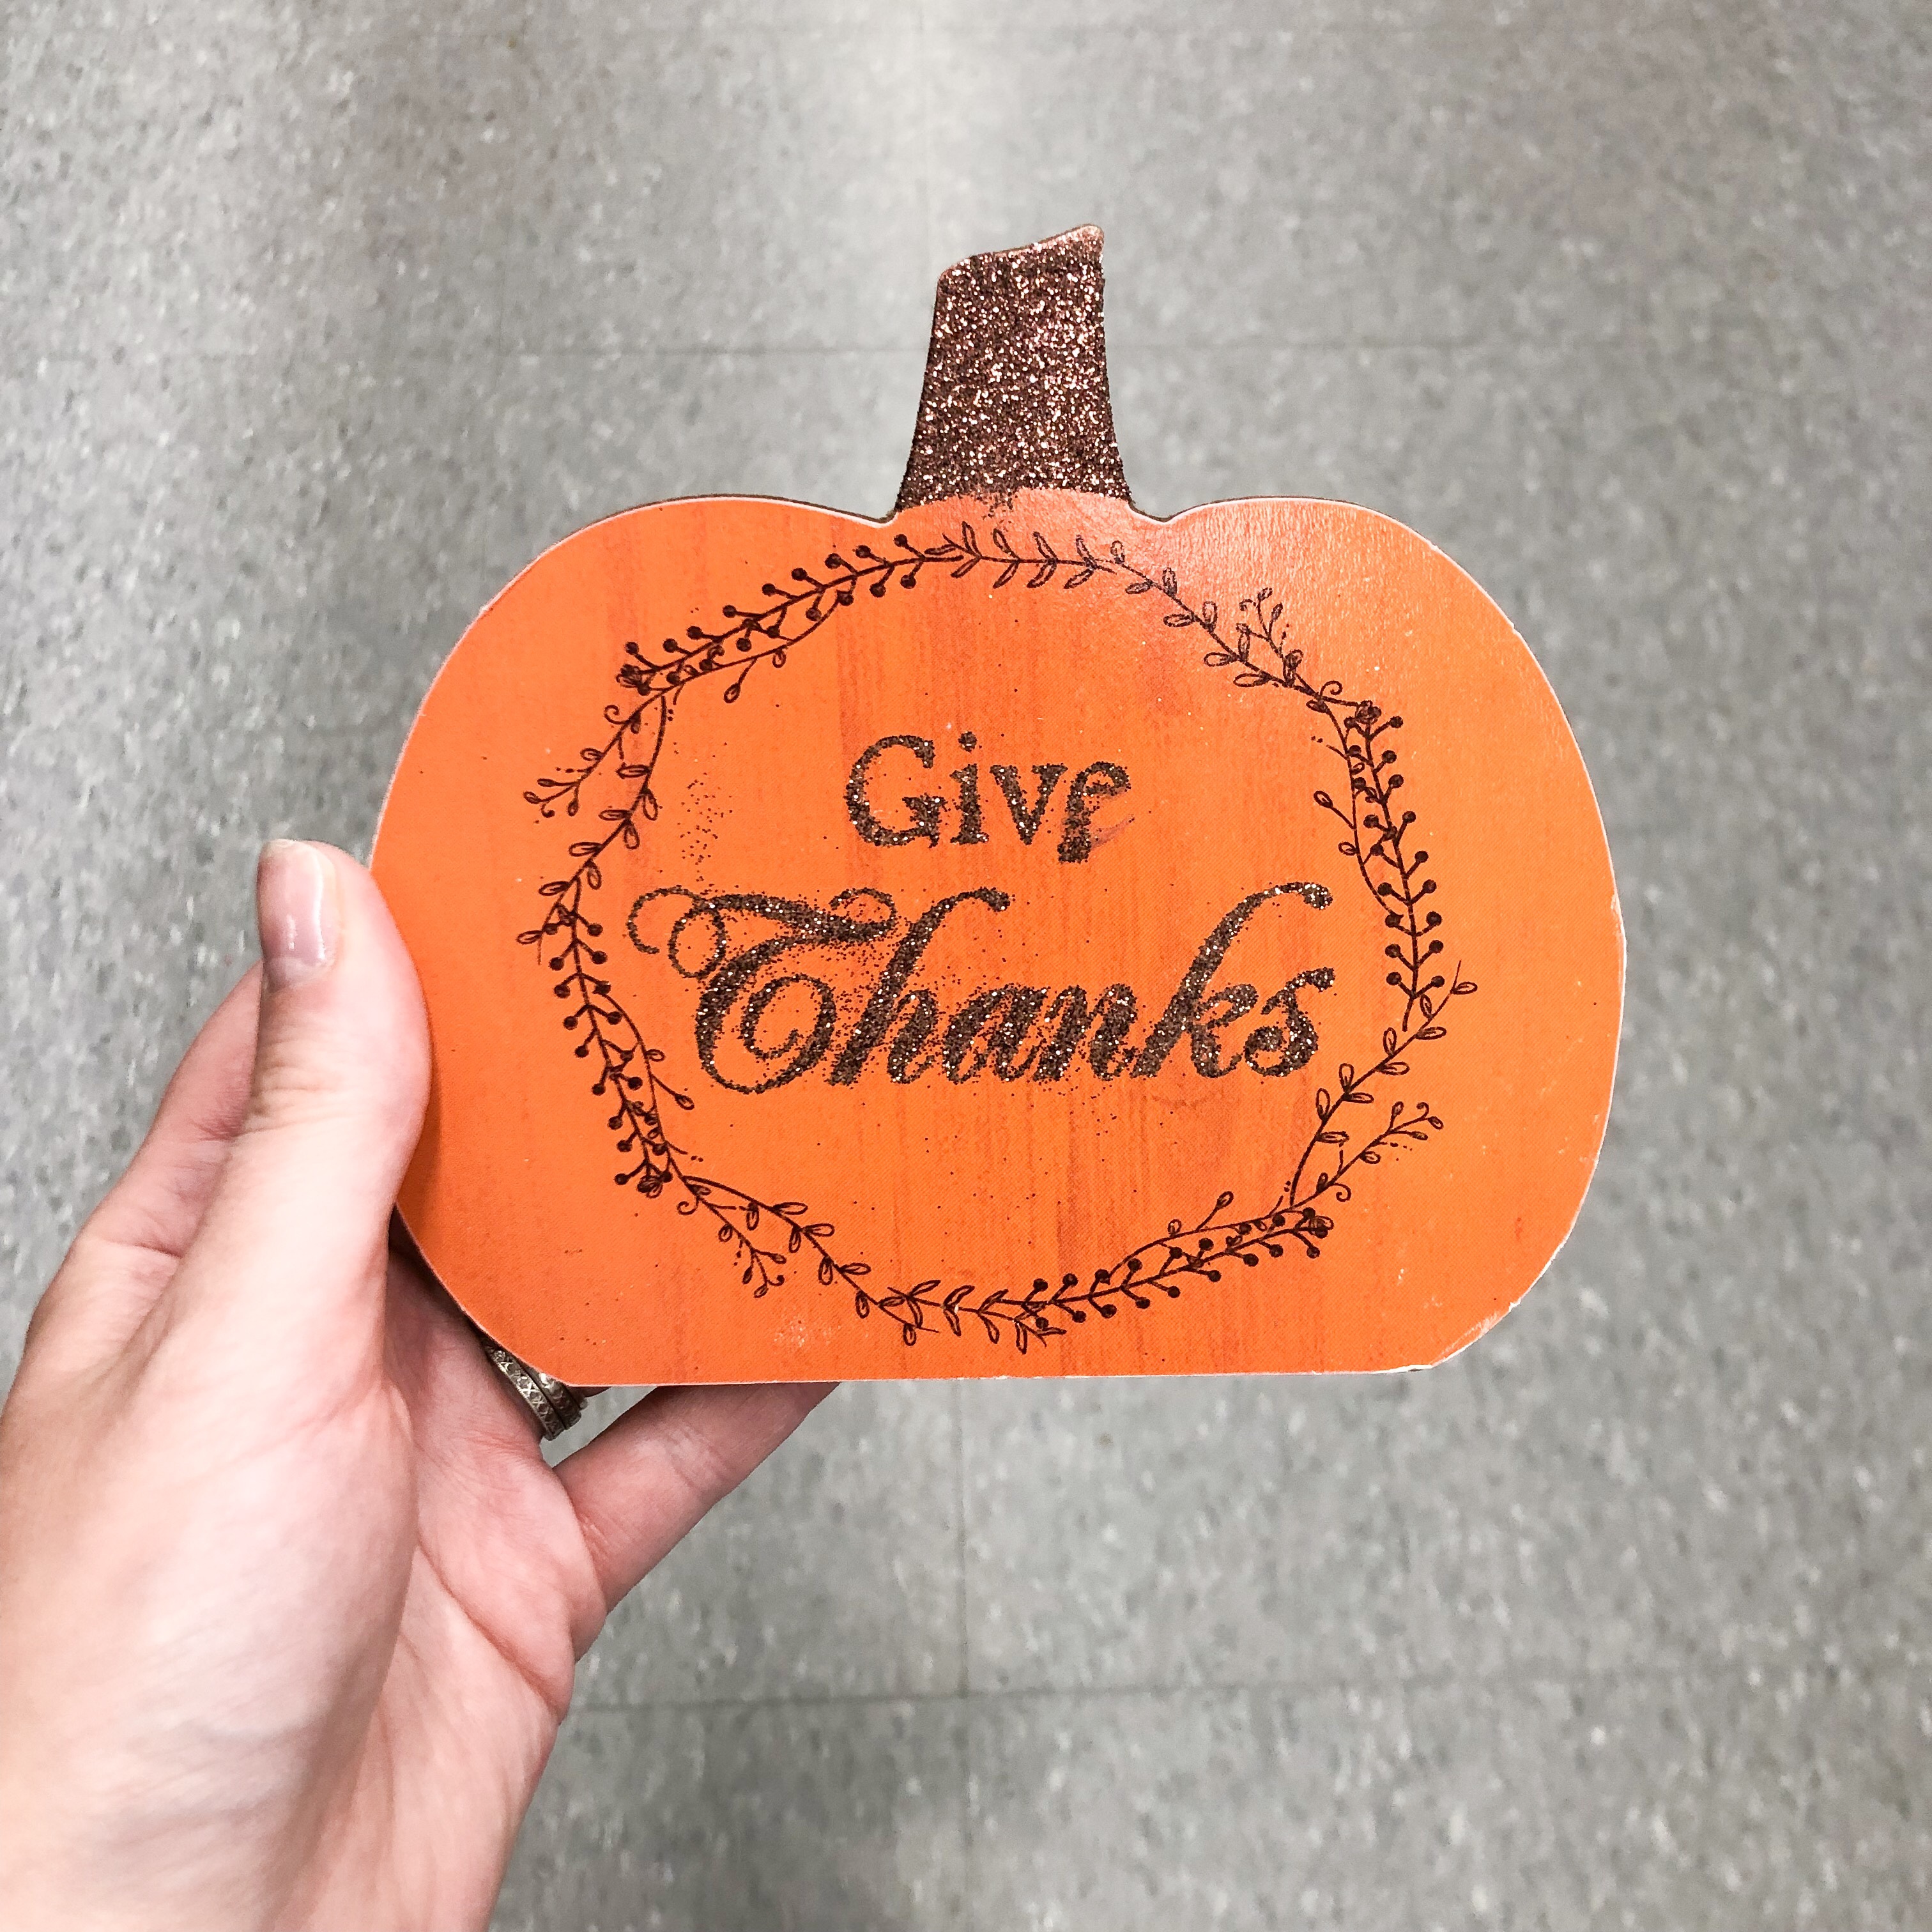
The original Dollarama pumpkin. They all looked rough and this was the best one.
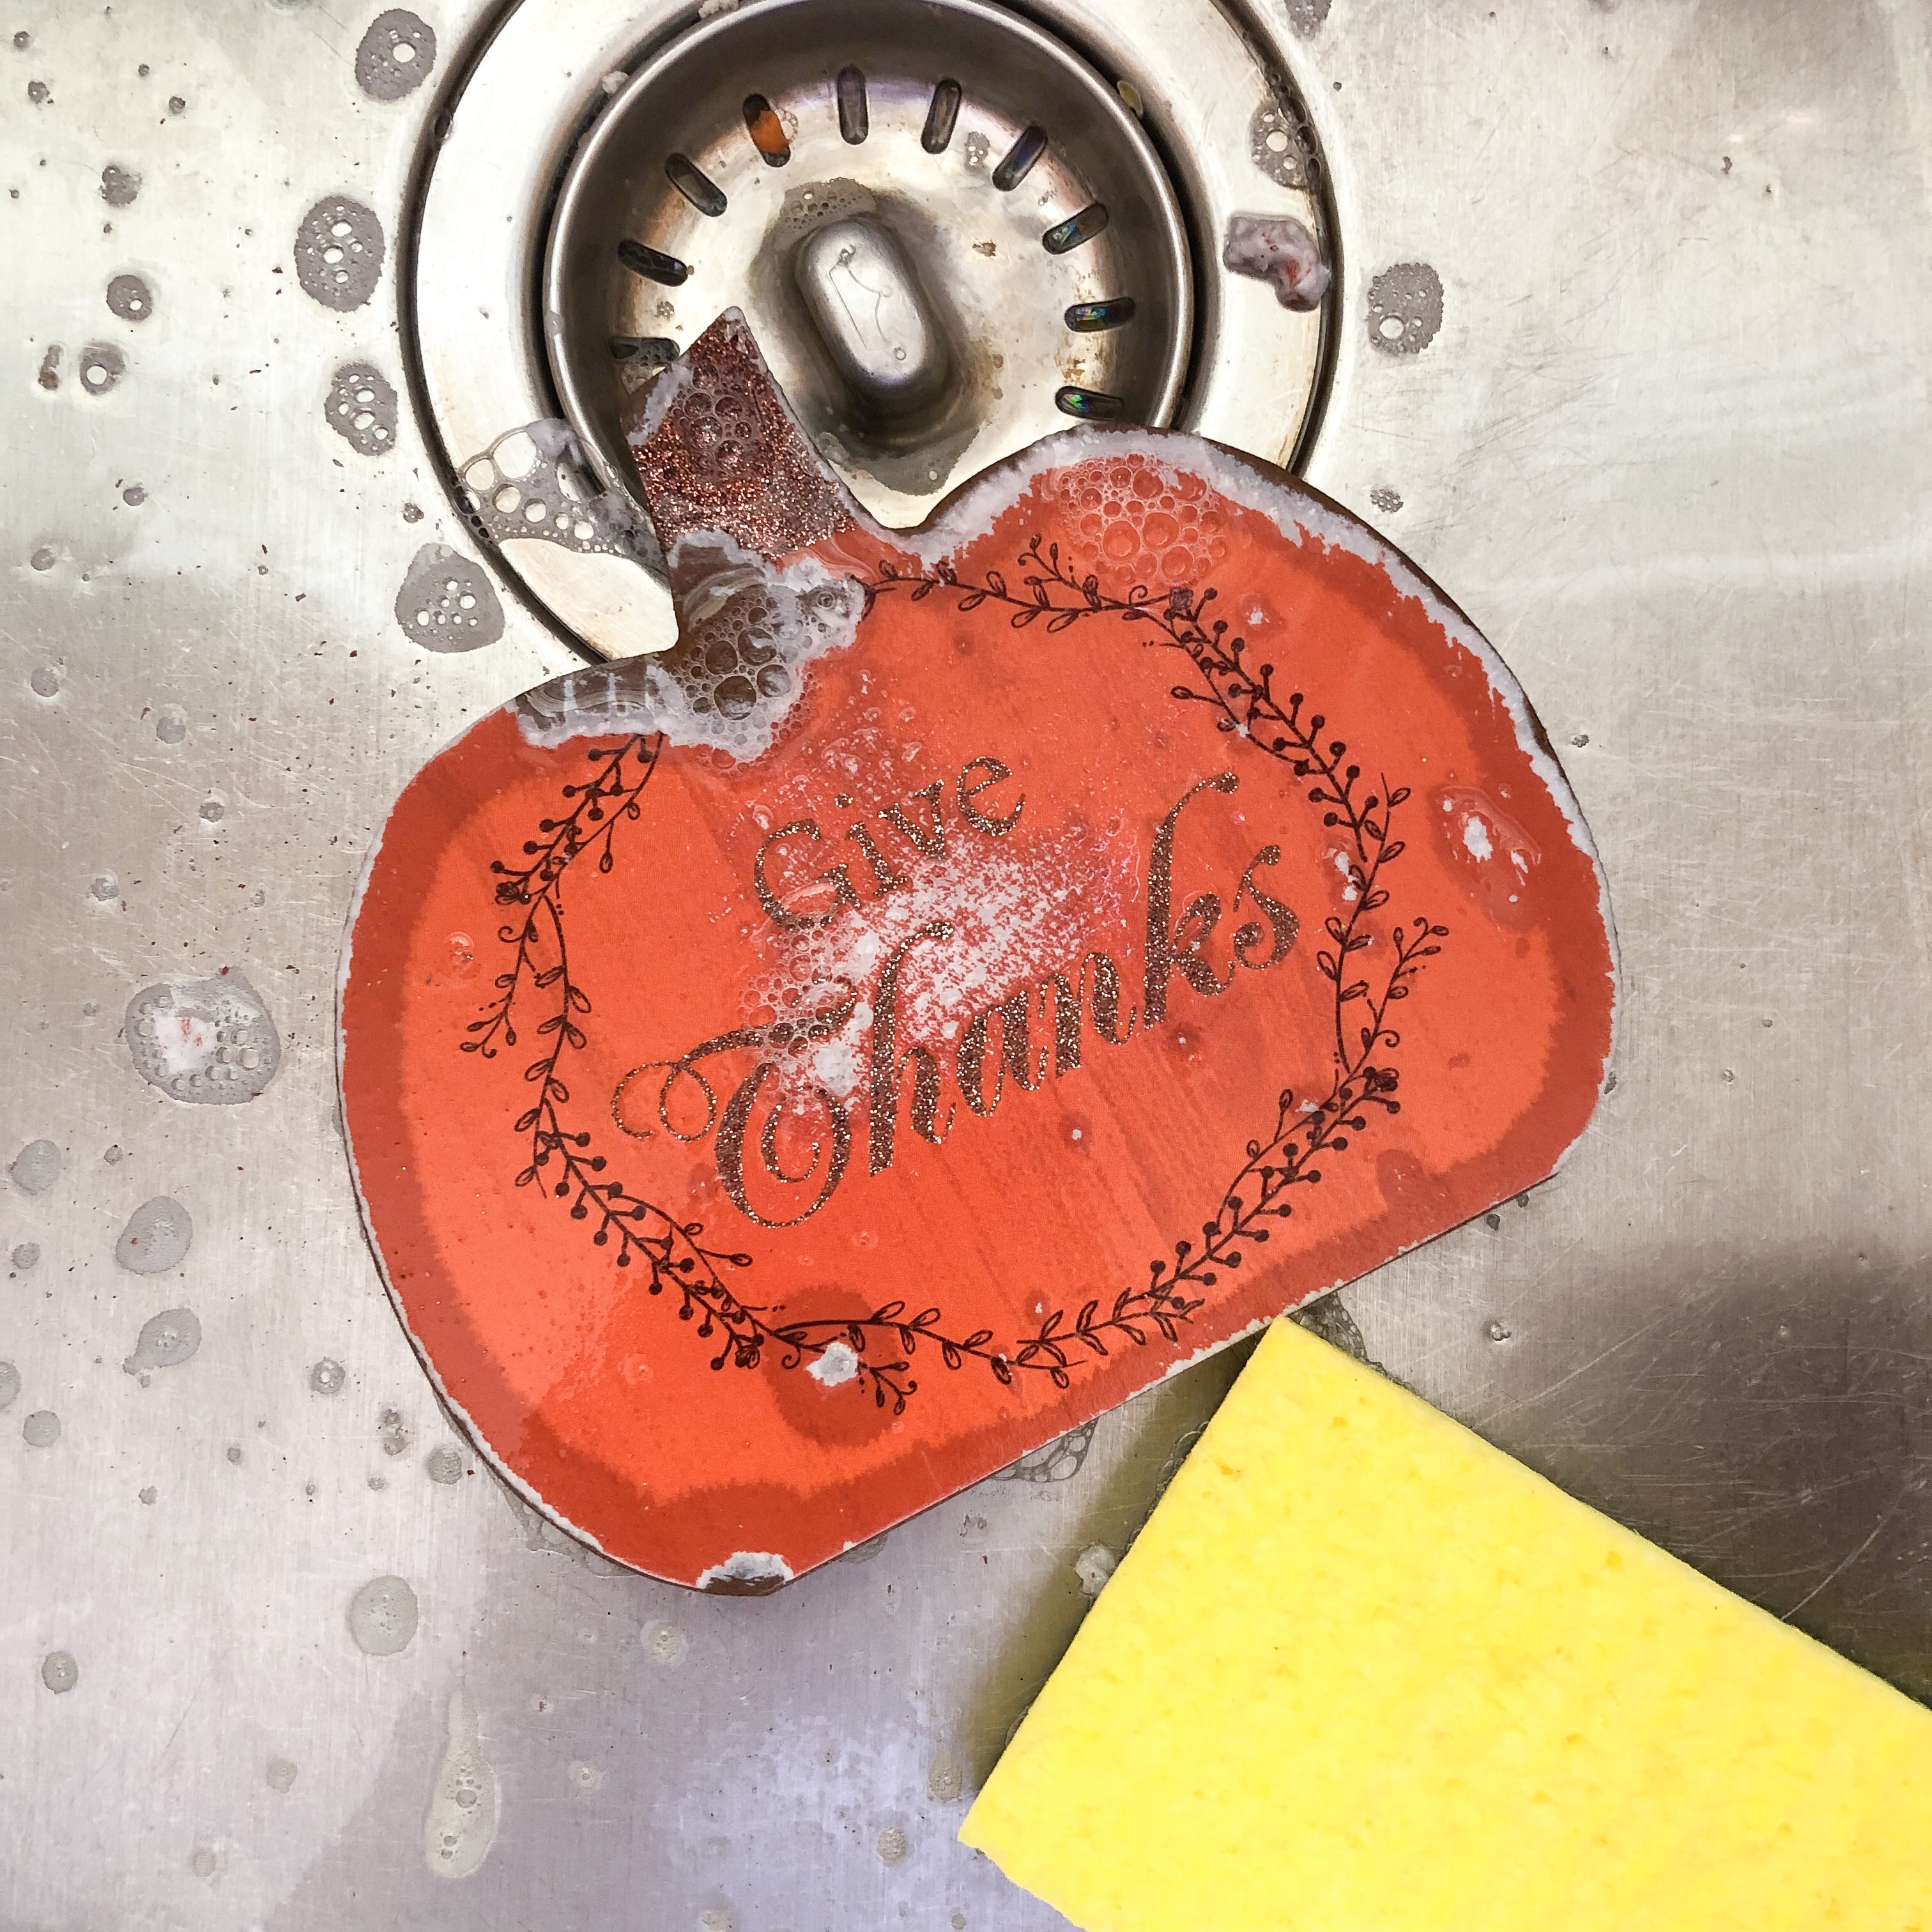
I discovered the design on the front was actually a large sticker! It came off really easily with some warm soapy water and a scrubby sponge. I was so excited to have this great blank slate to create a more modern pumpkin decoration.
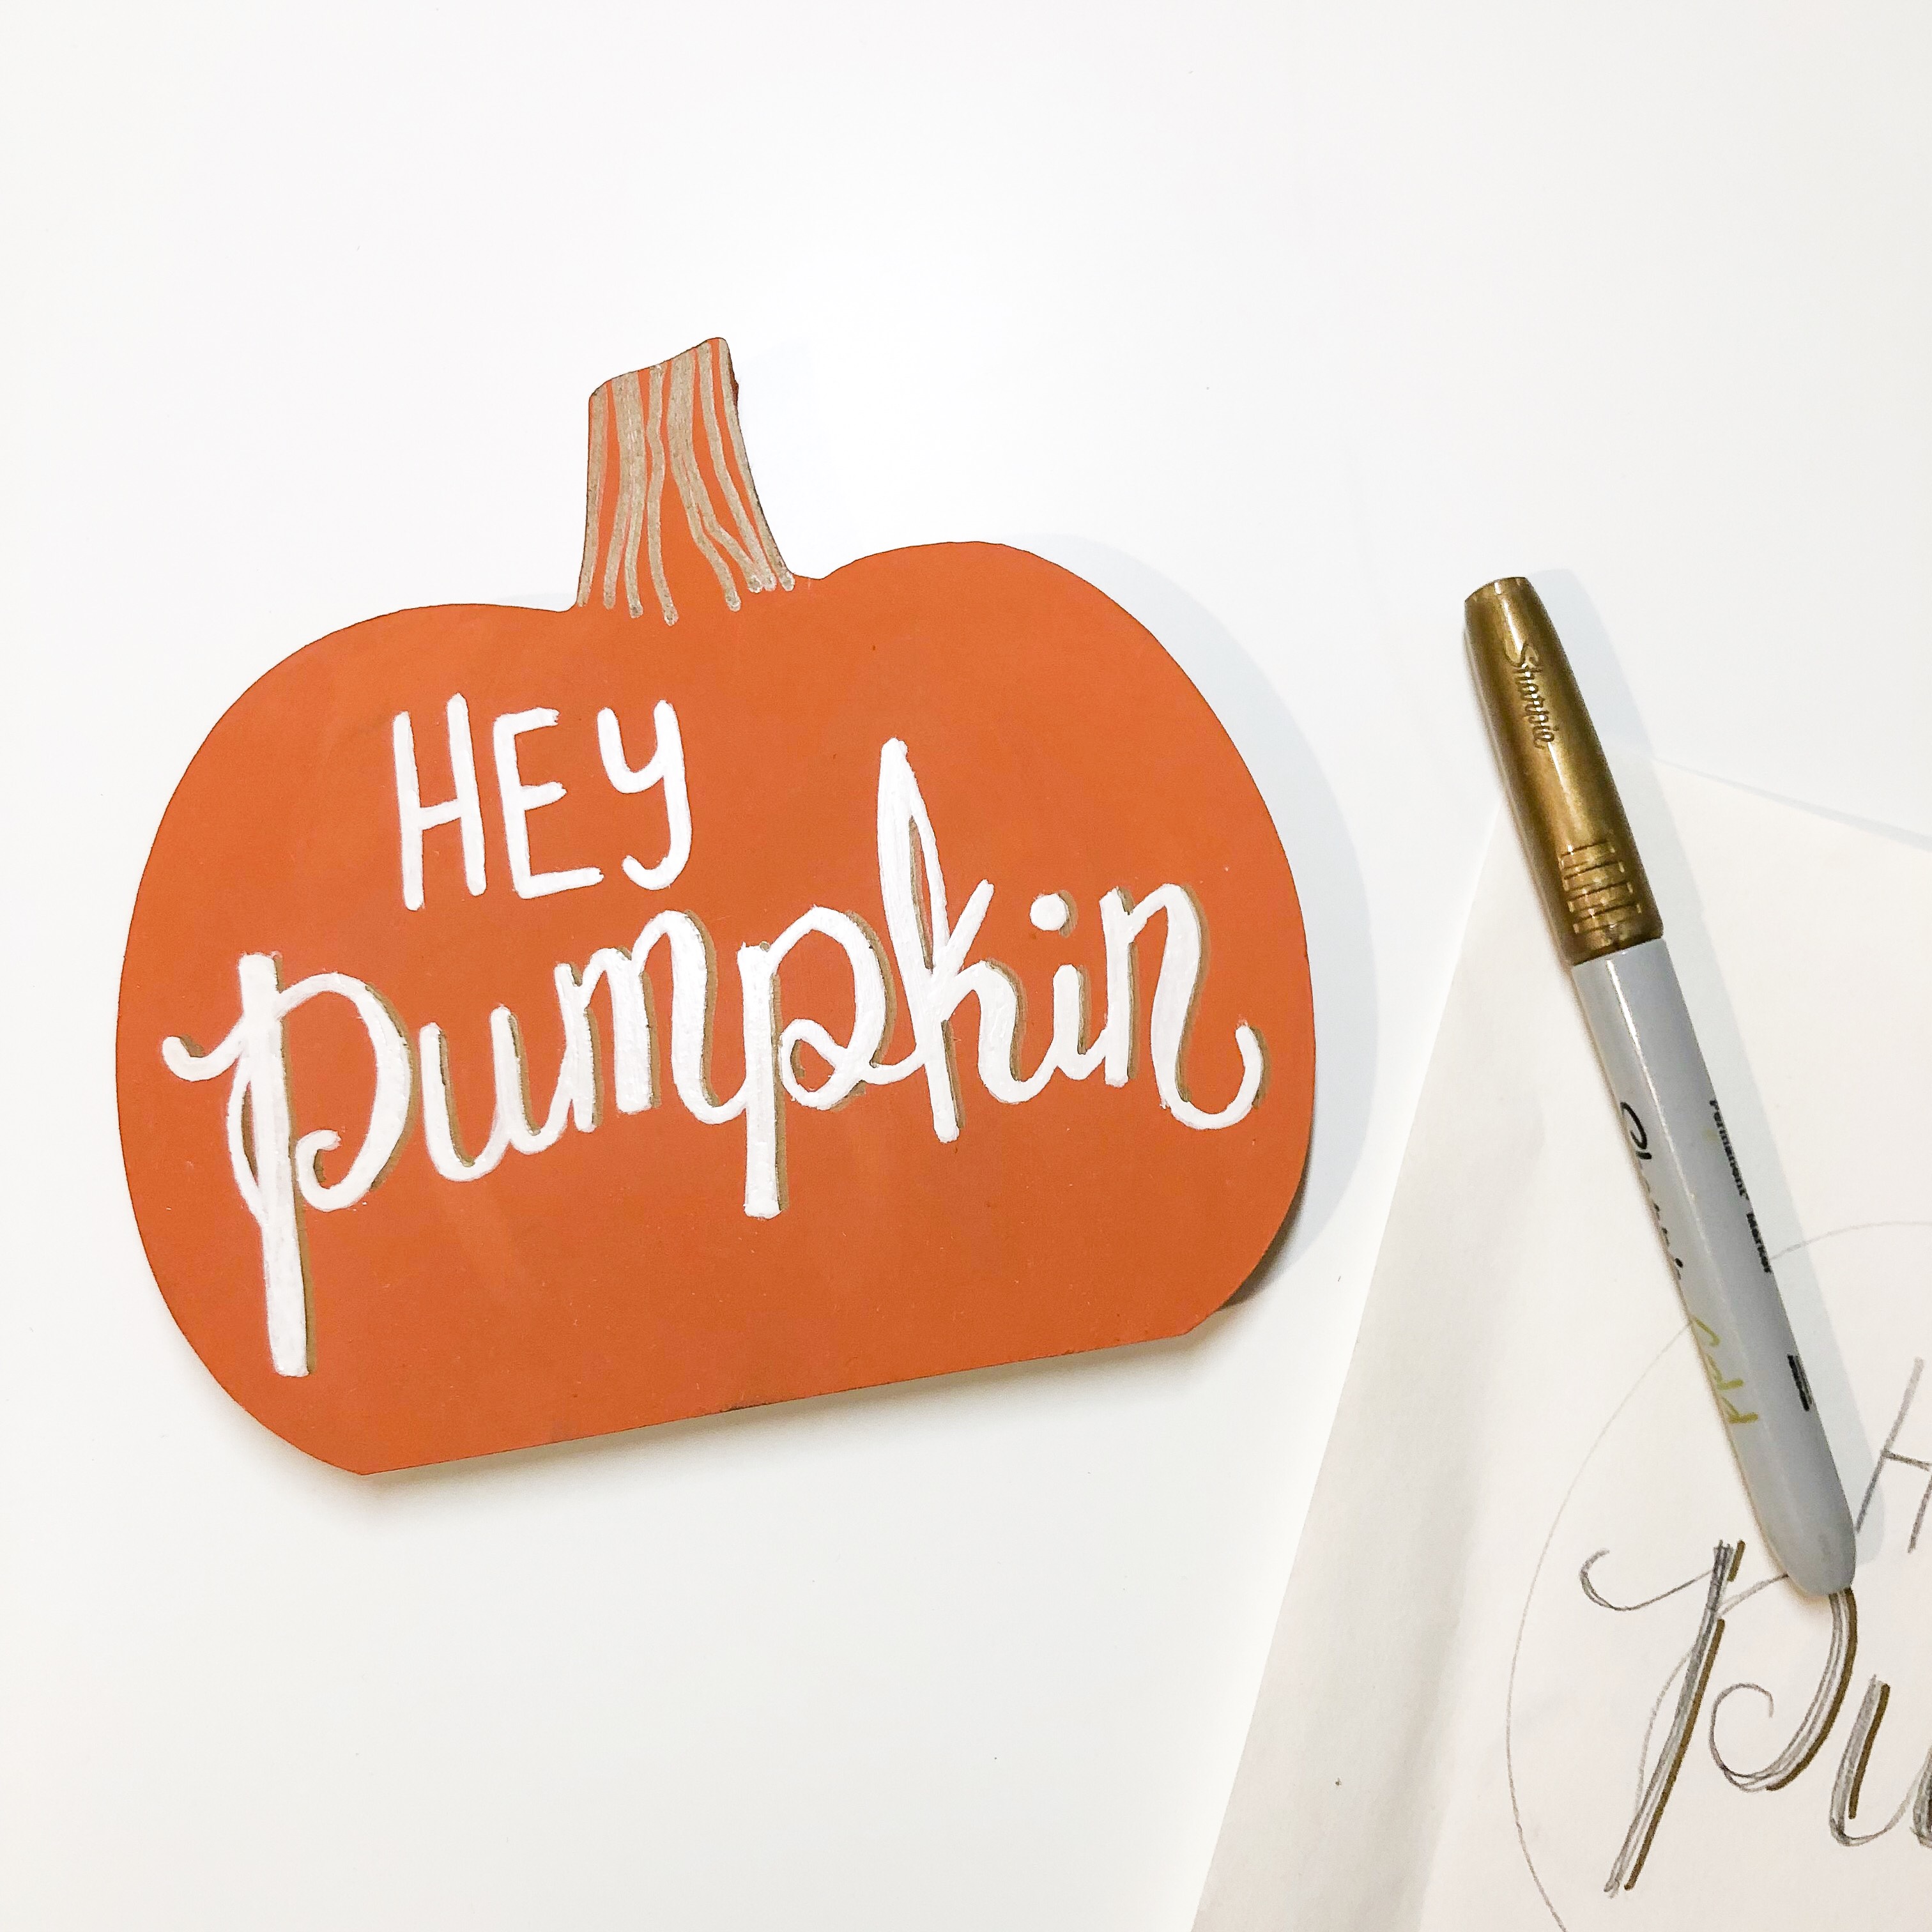
Here’s how I created my hand lettered pumpkin sign and what you need to make your own:
– wooden pumpkin cut-out
– Folkart multisurface paint in Toasted Terra Cotta and Daffodil Yellow
– Sharpie oil based paint pen in white
– Sharpie metallic gold pen
I painted both the front and back of my wooden pumpkin with Folkart Multisurface paint using a mixture of the colours Toasted Terra Cotta and Daffodil Yellow. I left the paint to dry really well overnight before moving on to the lettering.
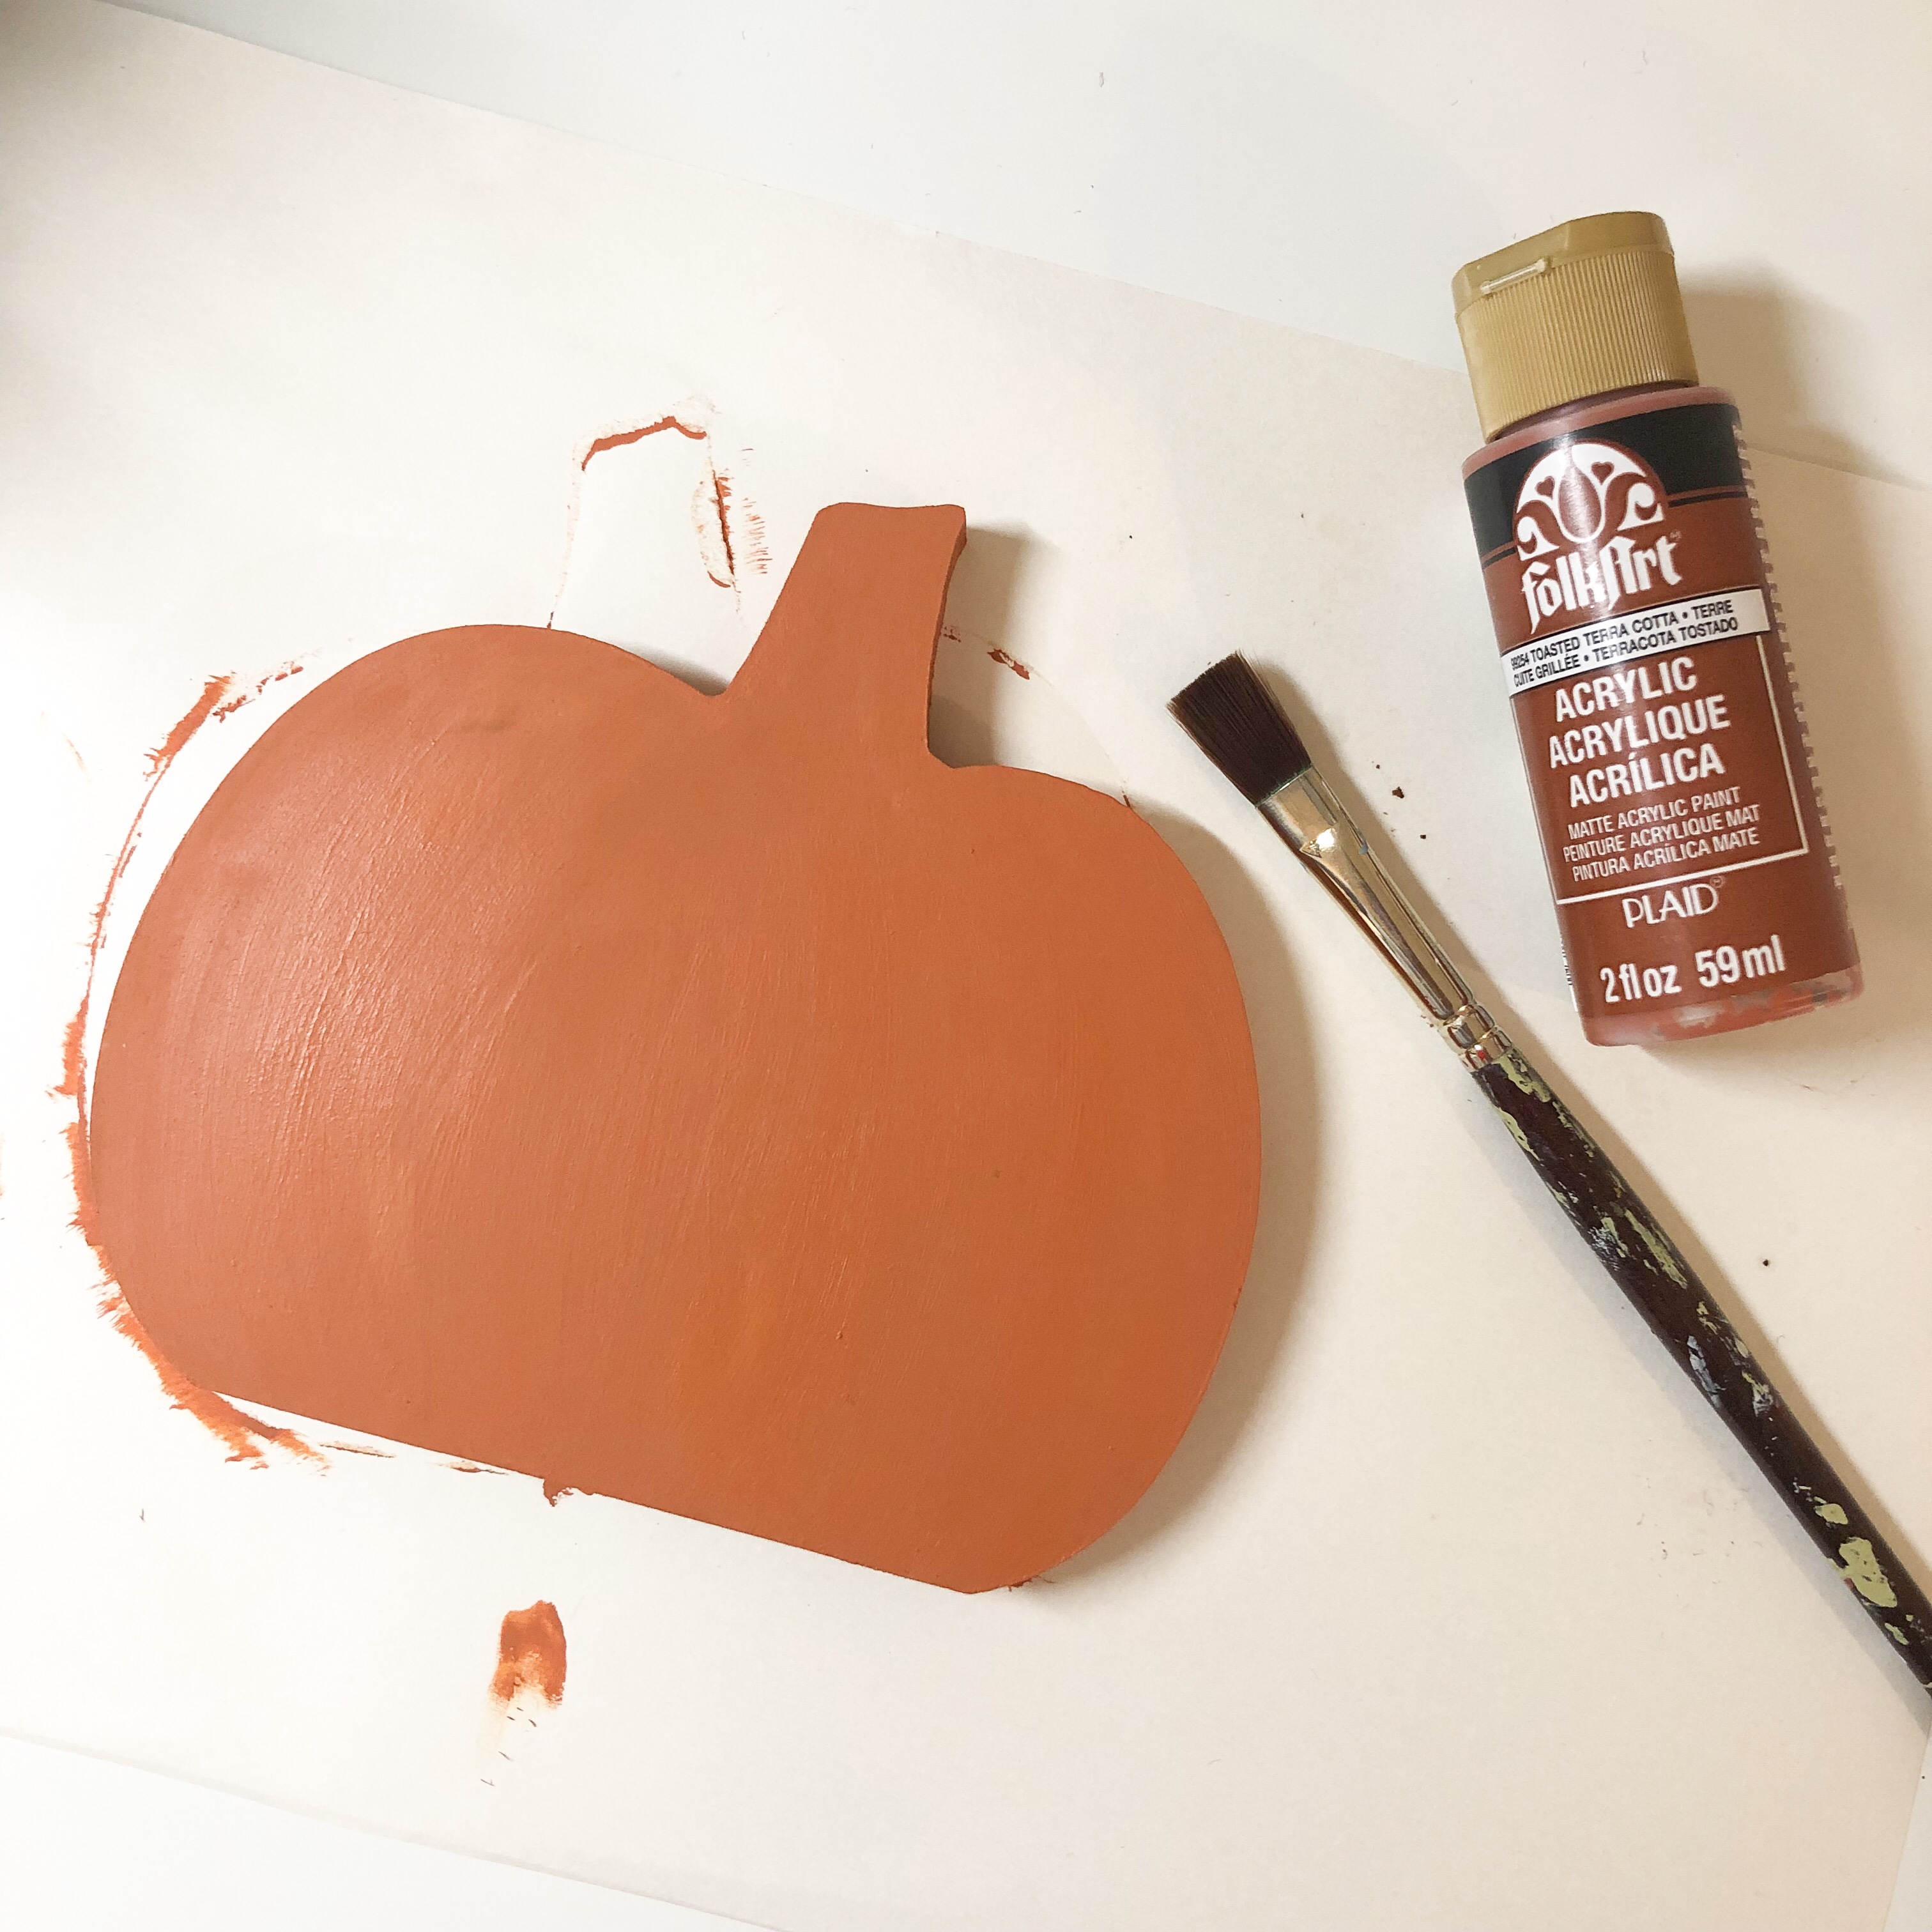
These pumpkins were made of a smooth particle board, perfect for painting.
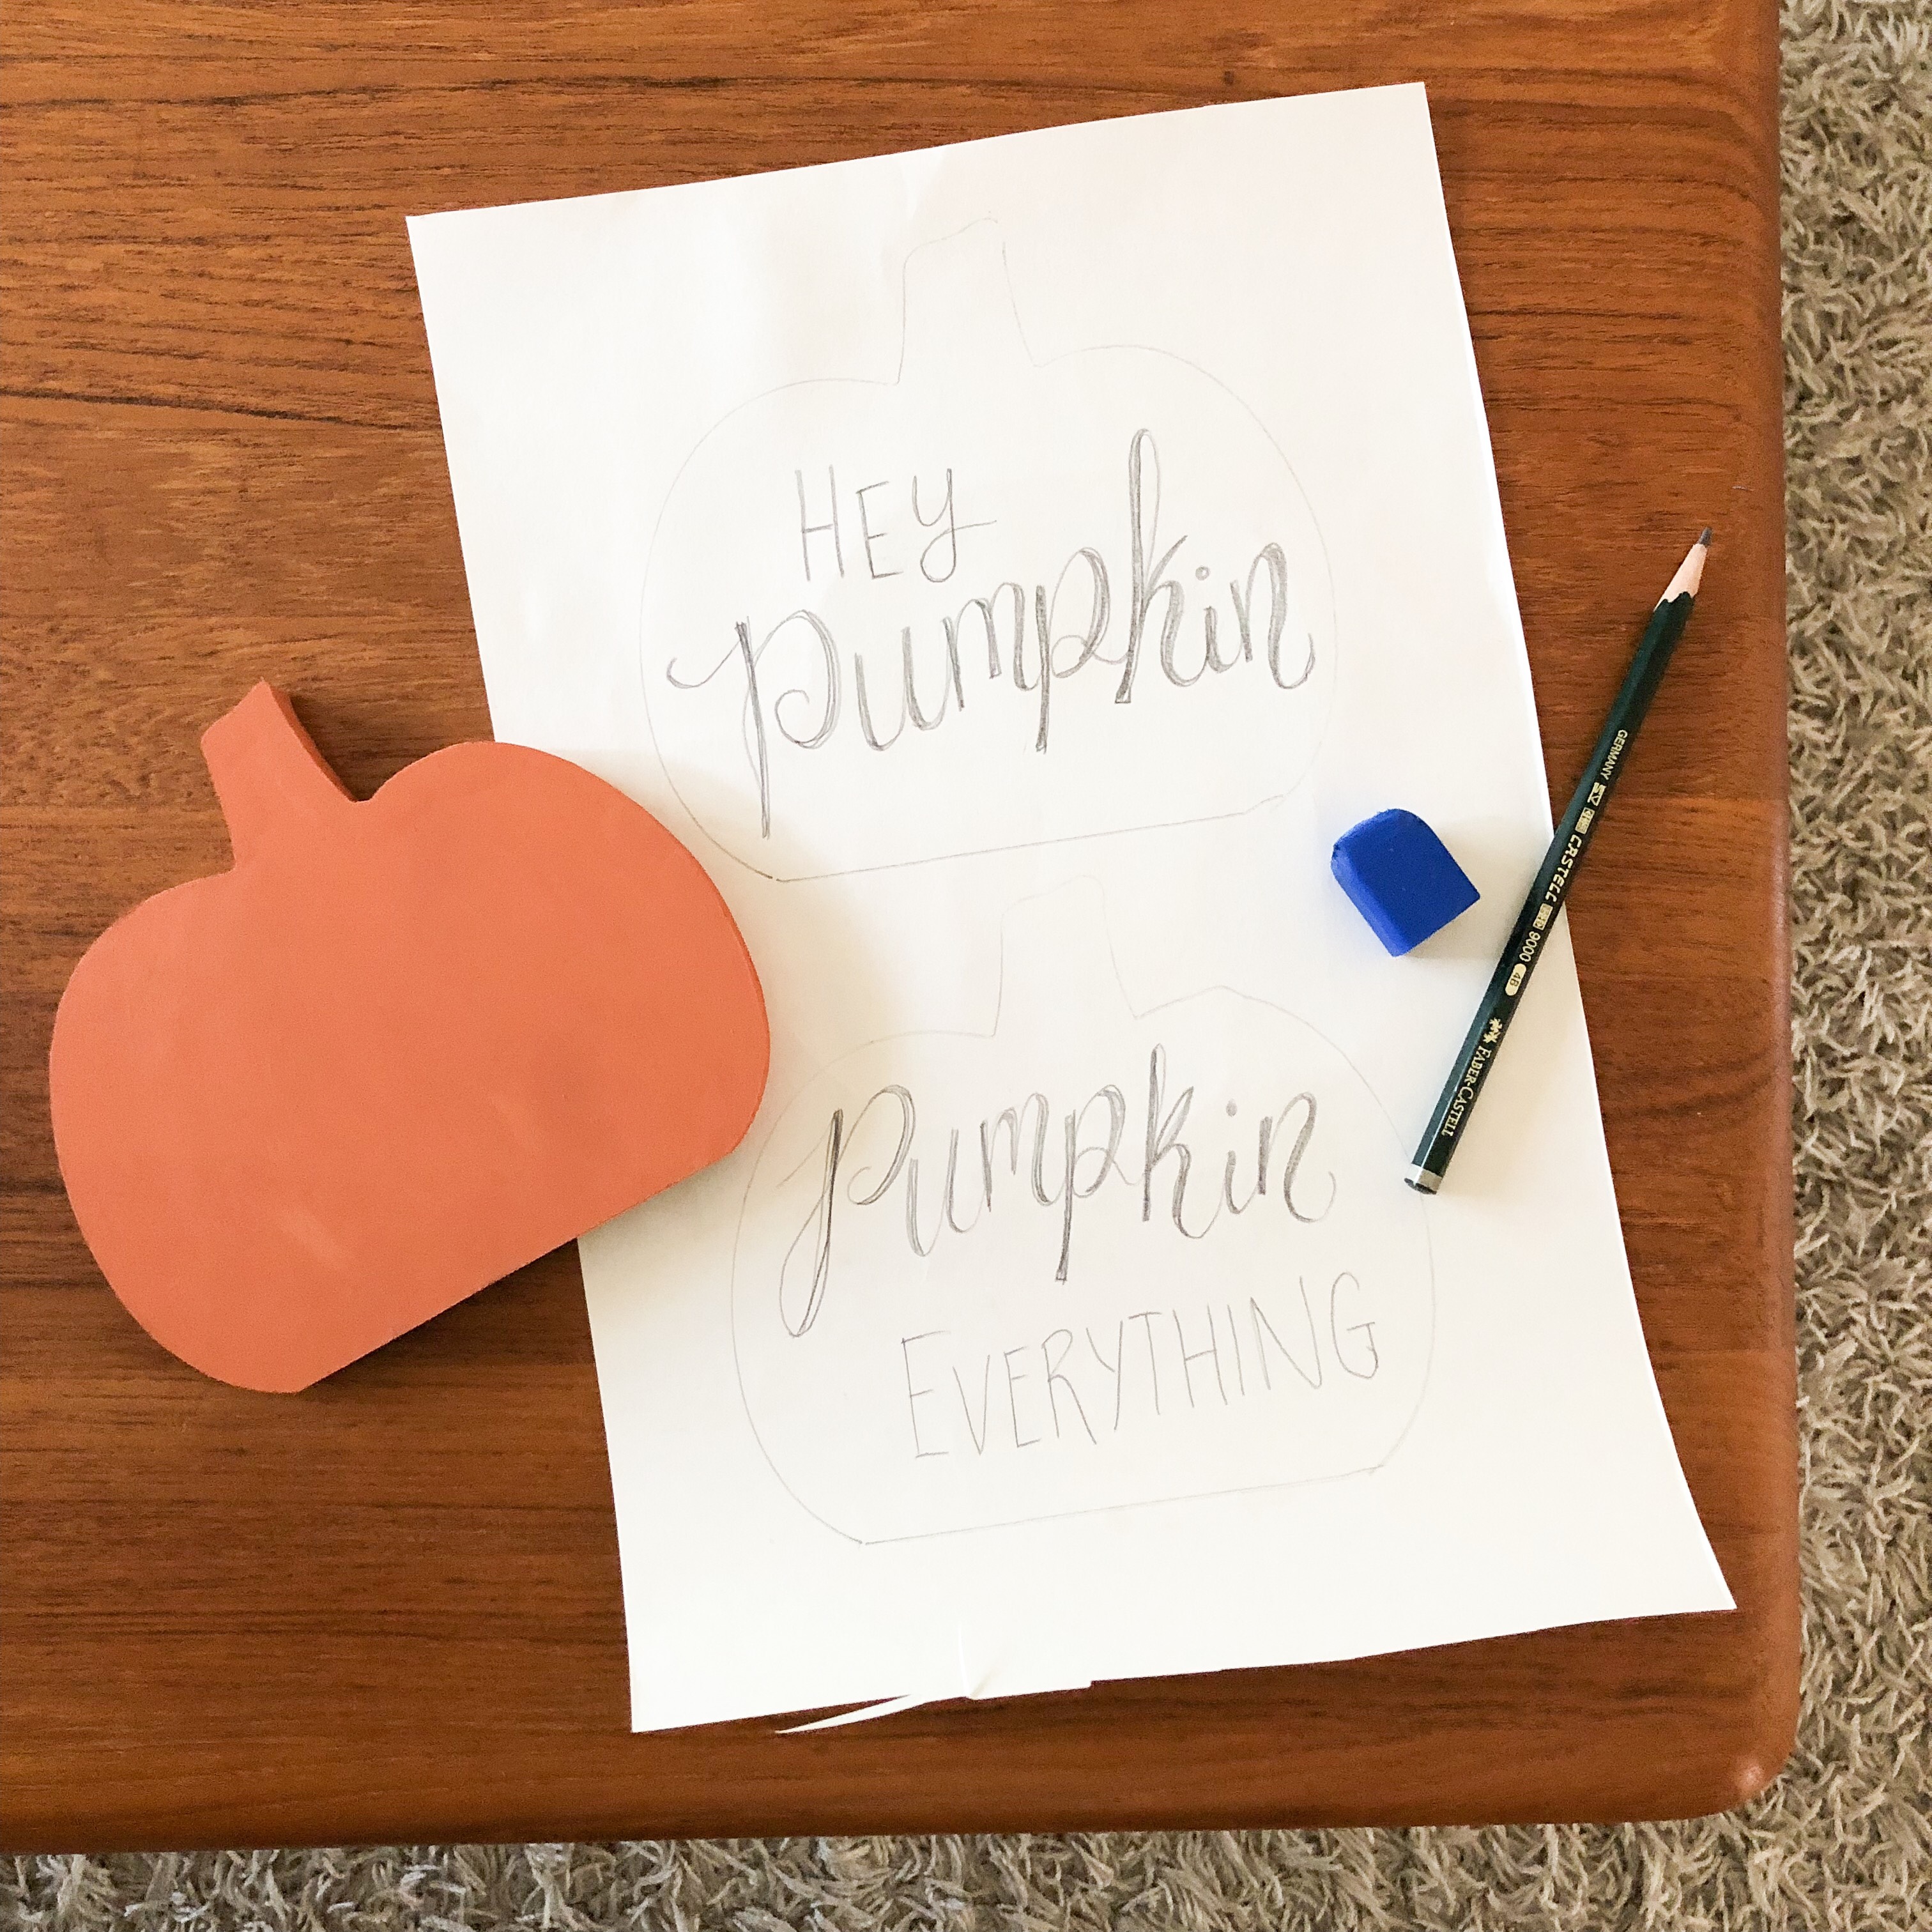
Unless you are skilled at hand lettering, practicing is probably a good idea. I traced the pumpkin onto paper and practiced a few phrases in pencil. Once I was happy with the wording and placement, I used chalk to lightly draw the letters onto my pumpkin. I learned this trick from an awesome workshop run by Crafted Together Co, a local couple who hand letter beautiful signs. The chalk can easily be erased so you can play around and get your letters perfectly positioned before using your paint pen.
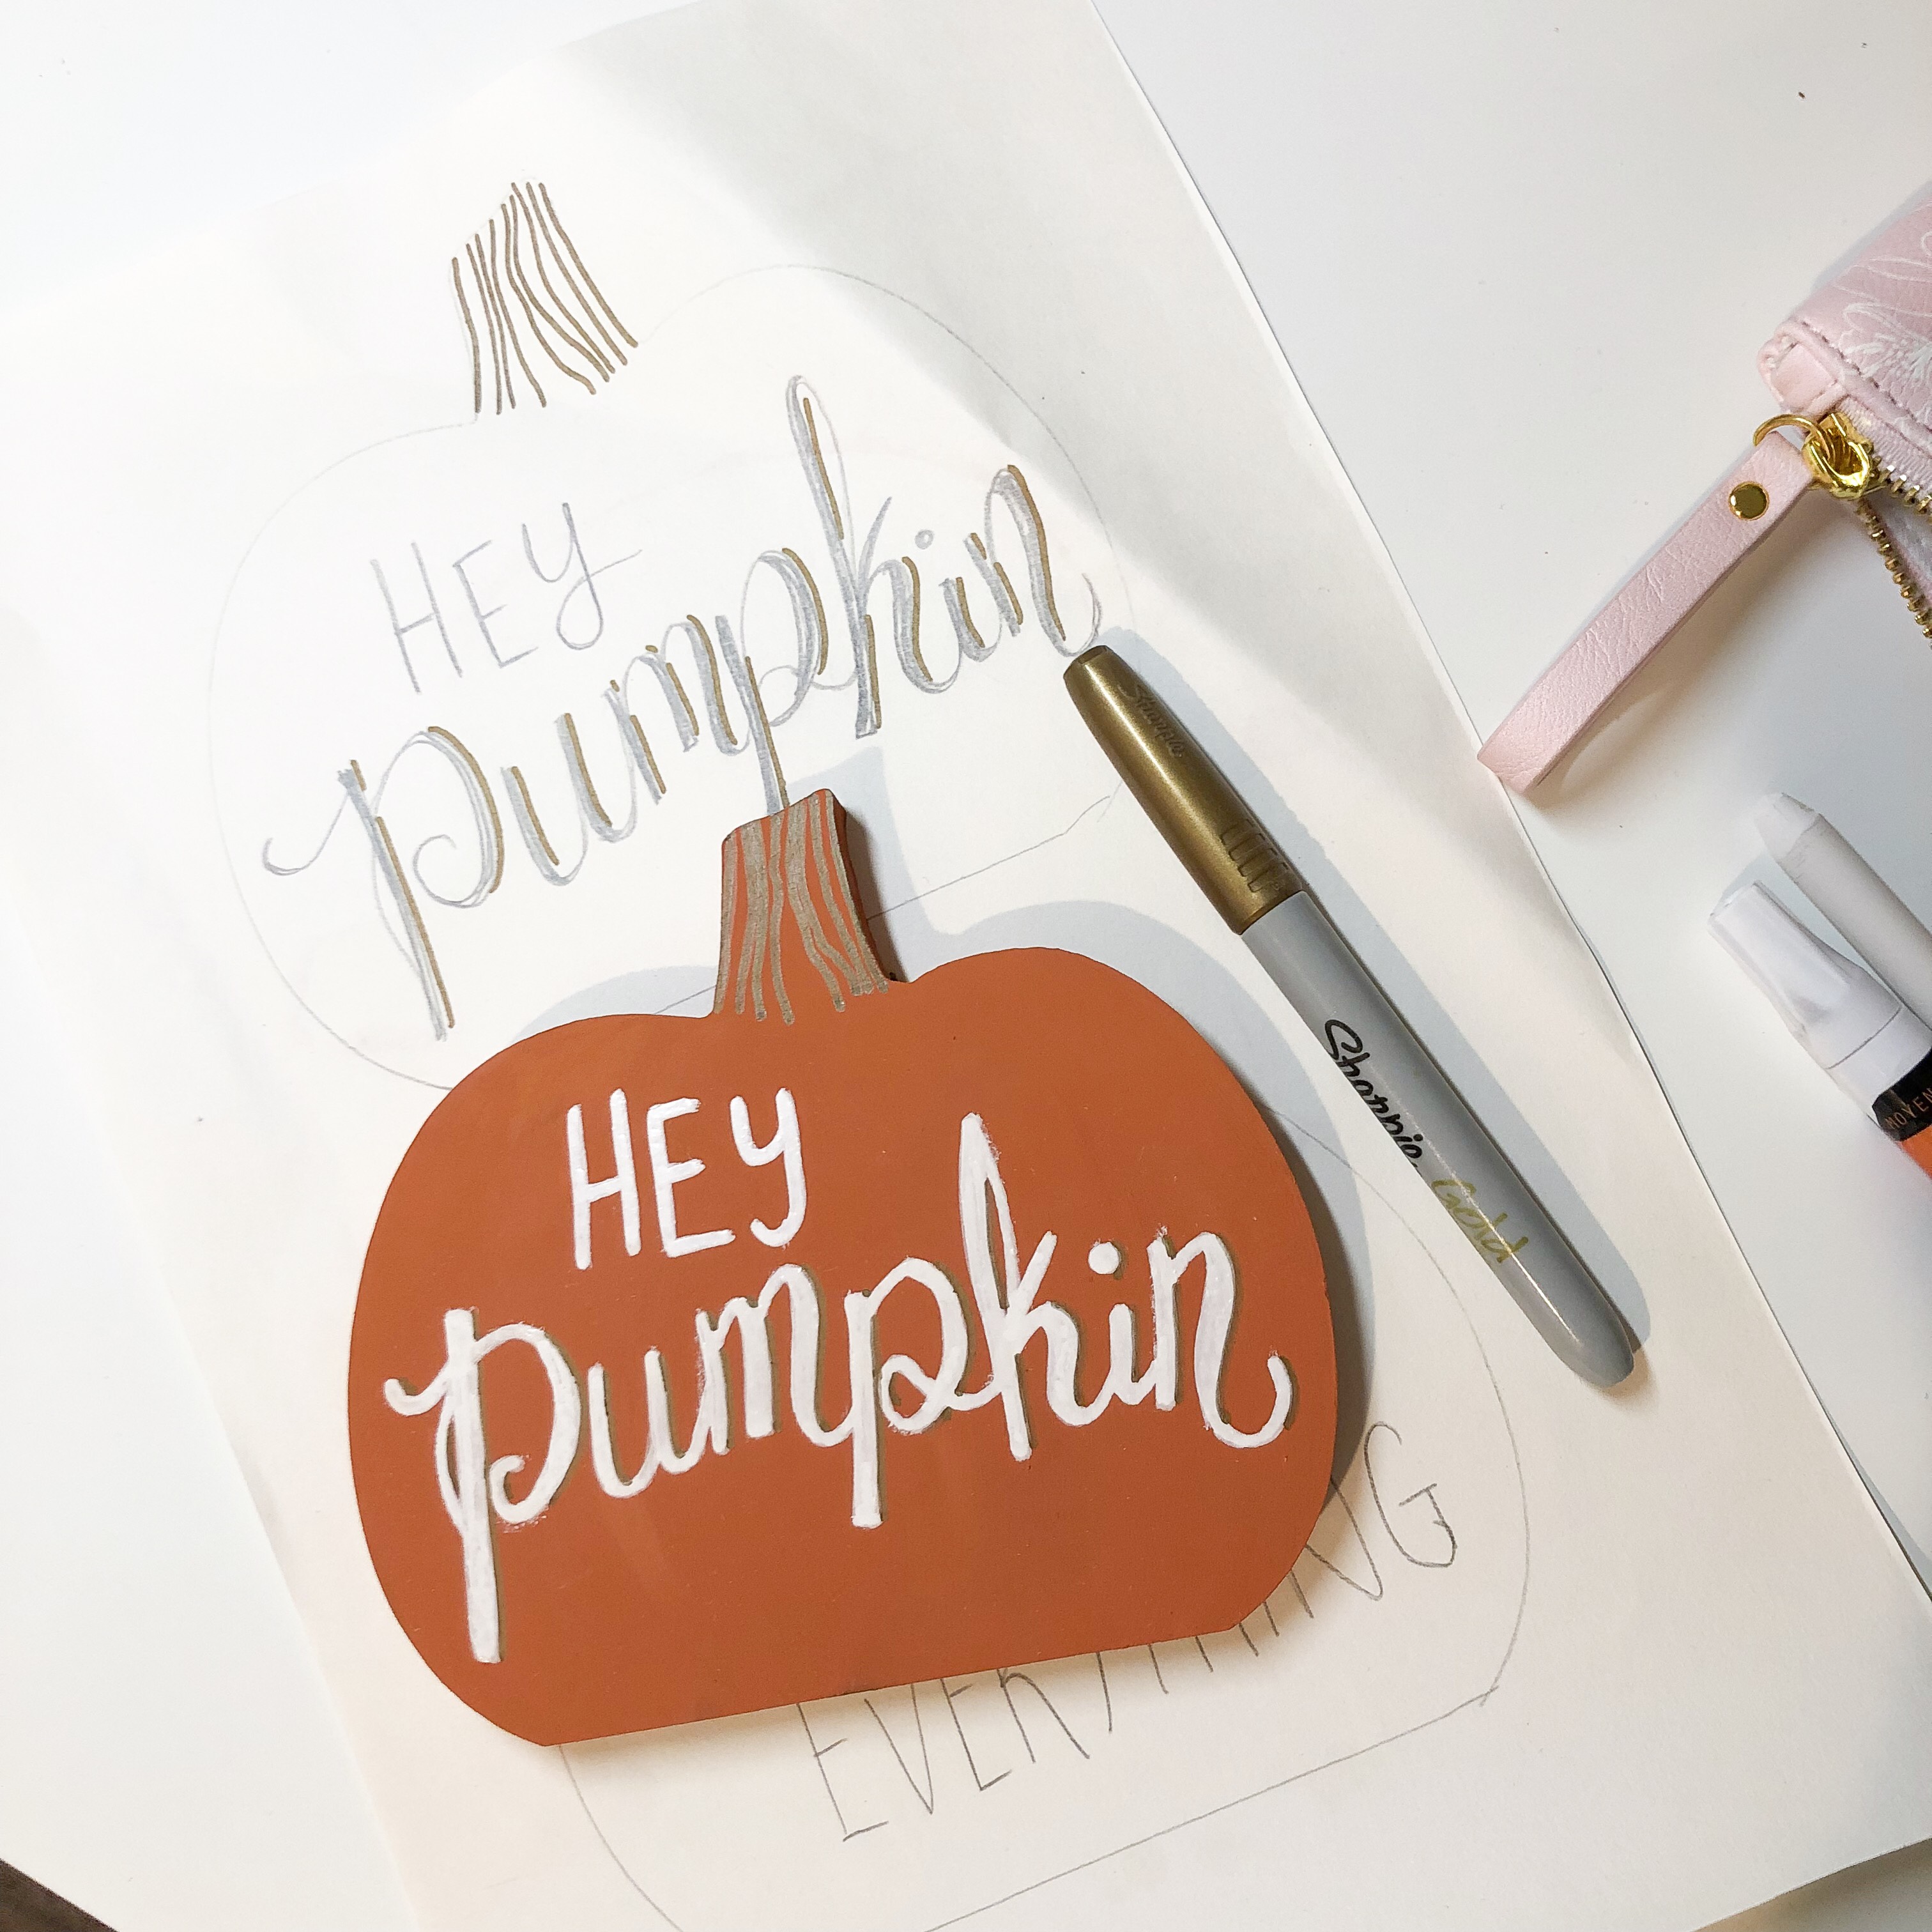
Once your outline has been traced out in chalk and you are happy with how it looks, it’s time to start tracing with the paint pen. If the pen is brand new, you will have to shake and depress the tip multiple times on some scrap paper to get he ink flowing. Begin tracing your letters with thin and thick lines to give the look of calligraphy. Be careful not to smudge the pen with your hand. You will most likely need to do multiple coats to get the letters looking even. I waited in between coats so that I didn’t risk smudging and didn’t lift the first coat of paint with my pen. I also used a gold sharpie marker to add some shadows and details at the end.
The gold was a last minute decision and I’m really happy with how it turned out.
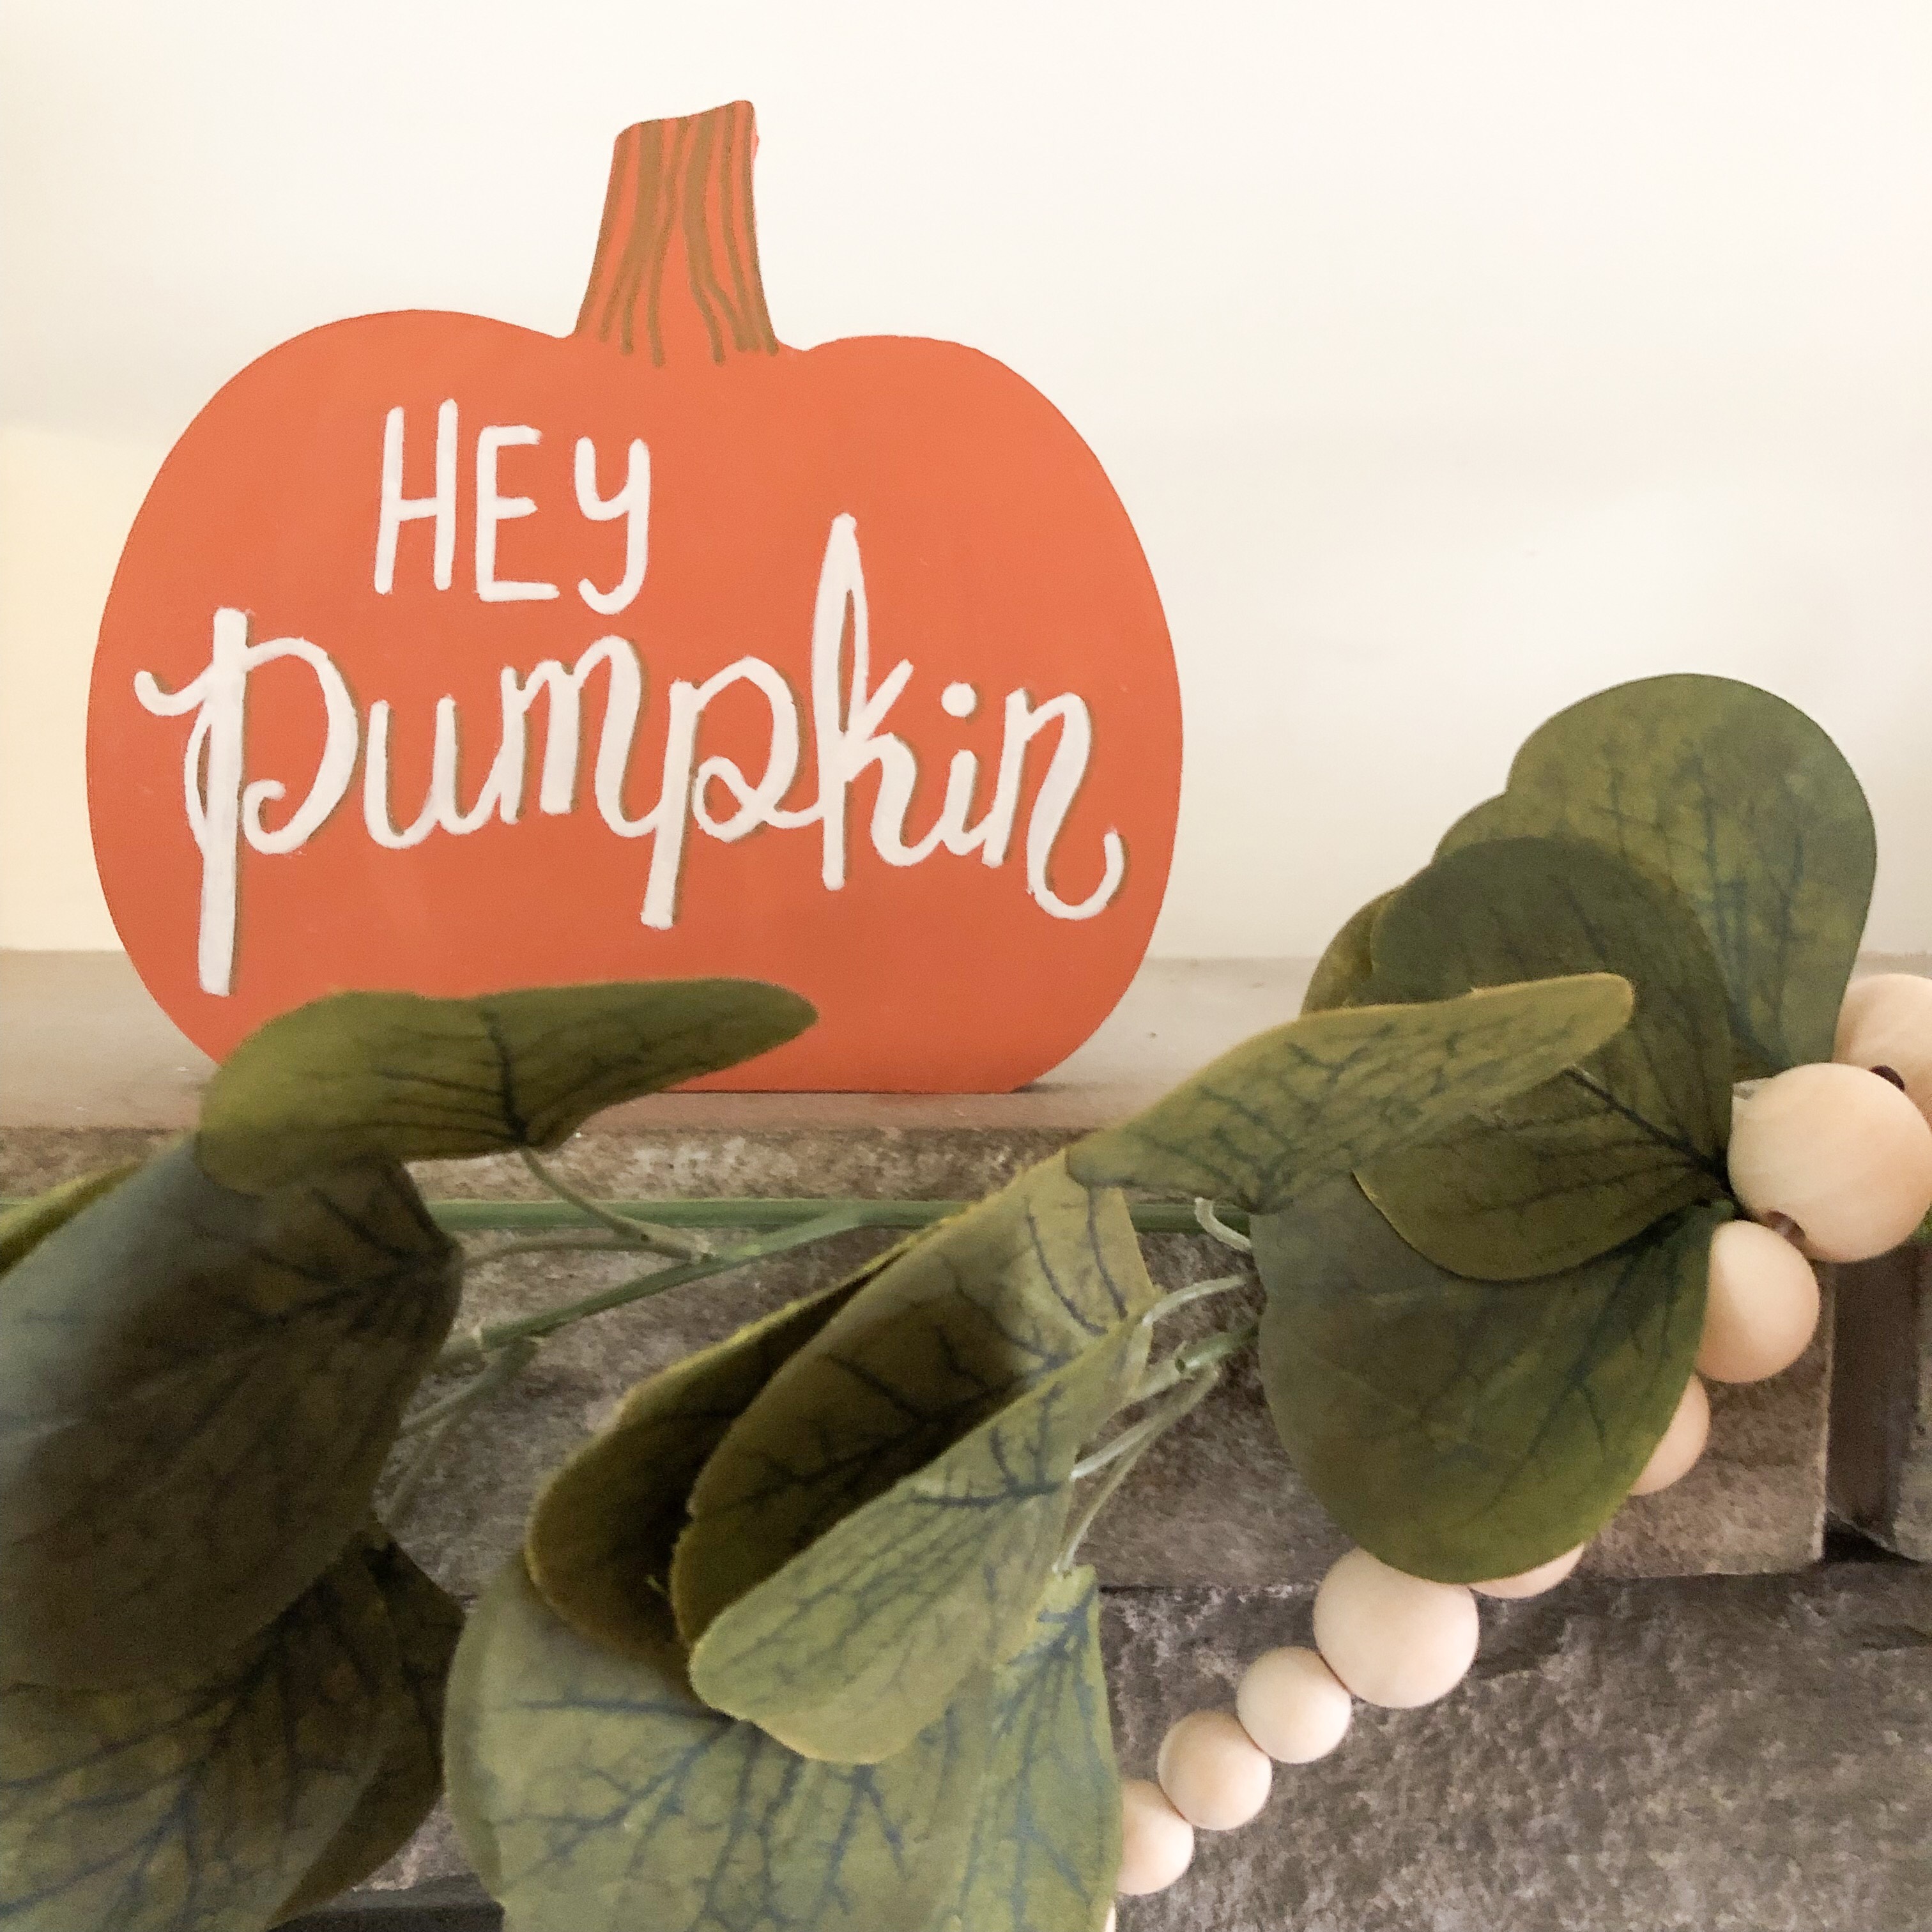
That’s it! My pumpkin sign has a home on my mantle along with a eucalyptus garland and some other fall decor. If I can find a larger pumpkin cut out, I may make another that says “Boo” for Halloween.
Want more DIY and craft projects? Don’t forget to follow me on Pinterest and Instagram and sign up for my newsletter for more inspiration, projects, and ideas.